New tools! The shop is doing textiles now!?

2 things I would not have expected at the beginning of this year: that I would be outfitting the shop with sewing capabilities, and that I would be enjoying it this much!

It looks like I’ll be doing some prototype and light production work for a local company that designs soft-goods for tactical applications [mostly slings]. Before I can do that well though, I’d better learn how any of this stuff works!

My first sewing machine! A singer HD6380, ordered from a refurbishing outfit for 50% off. I couldn’t tell you it wasn’t brand new however.

Very very first stitches on a scrap end of HyperD 300. straight, box, zig-zag and bartack [sort of] stitches. So far so good.

Ripstop By The Roll is an awesome technical fabric company that makes these pouch kits. I ordered several sizes at at $6.50 for the small ones I figured it was a fine practice project I wouldn’t regret too much if I screwed a couple up.

Dialing in thread tension and holding stuff straight was the first lessons here. Also I found out what happens if you hit a zipper at speed [the needle breaks off].

They’re functional though. I plan to much better organize my camping pack. I was getting frustrated trying to keep track of lots of stuff in my bag while getting rained on during a recent trip in the mountains.

Excellent! We have a similar unit at the house for sewing.

Working my way into the heavier stuff. The gray thread is a MARA 50 and the black is a mil-spec B-69 bonded nylon.

I tested both and both ran well, with slightly different needle sizes and tensions. This machine is punching through 1 and 2 layers of polypropelene webbing just fine though!

I watched a few online tutorials for bags and pouches and settled on a boxy-bag/dopp kit sort of design. But before starting on that, I decided I needed a hot knife, and I neither wanted to wait or spend $100+ on one right away. To the electronics box!

I got my spare Weller iron out and a pocket knife to be sacrificed. I cut the tip off and silver-soldered it to some brass rod to make a cutting tip. The idea was that silver-solder should be able to survive the heat from a 140watt soldering iron meant for electronics solder.

Turns out: that iron will totally get hot enough to melt silver solder. My new cutting tip promptly fell apart :frowning:

Then the @the.sway.man.13 stopped by and wanted to take a shot at making something work. He brazed the same blade directly to the brass rod.

Original solder tip on the right, the now-collaborative attempt at a brass/steel hot knife in the center, and a bent piece of brass rod that seemed to make an OK cord cutter by itself.

Also, this one didn’t work either! Too much resistance I guess? The steel cutting tip would just not get hot enough.

I went back to testing stuff at the Singer while theswayman stayed determined to make the hotknife concept work.

And work he did! He proceeded to hammer-forge the 1/8" brass rod into blade shapes. A couple different sizes and shapes to test- how much contact area still cuts ok, narrower bits for cutting into corners or following curved templates, etc.

So 100% brass blades? Works amazing! We were cutting through strapping, 4 layers of Cordura, even plastic zippers.

Some test scraps from the first bag I attempted. I cut all that material with a roller-knife and as I was warned, had a serious problem with the edges of ripstop nylon trying to ravel constantly.

None of that with a hotknife though!

1 Like

Tsk, didn’t get some WIP pictures of these bags, but I’ll get some on the next batch. Got some gray Cordura on the way next!

But anyway here’s a box-bag. Or utility bag. Or dopp bag depending on who you ask. But I followed a great tutorial on making these and it turned out great. Practiced several high-strength stitches, good assembly practice, zipper stitching, and putting linings in things!

1000d Cordura outside, 1.6oz hyperD ripstop nylon inside. Now the morale patch velcro panels are for show, but also added by me to help keep the lining stuck inside better.

I have not yet begun to get carried away with this! I’ll be trying 4 more with a gray exterior when the material arrives. Kinda thinking I’ll try some white bags with a red interior too, possibly the other way around as well. My new medkit needs some internal organizers.


2’x4’ chunk of 18ga steel makes a great hotknife table. Also just under those bags is the blank-size for this size. 14.5x18". Very handy to have a cutting template even for simple rectangles for repeat jobs. Very precise, and holds itself down on slippery fabric much better than trying to hold a 36" straightedge down while pressing sideways.

Current state of the workbench. On loan to me is this fancy automatic hotknife strap-cutter. Beefy machine. It pulls any length of material you want off a roll, cuts it, and repeats that for however many you want. Going to be very useful for some production work I have coming up soon.

1 Like

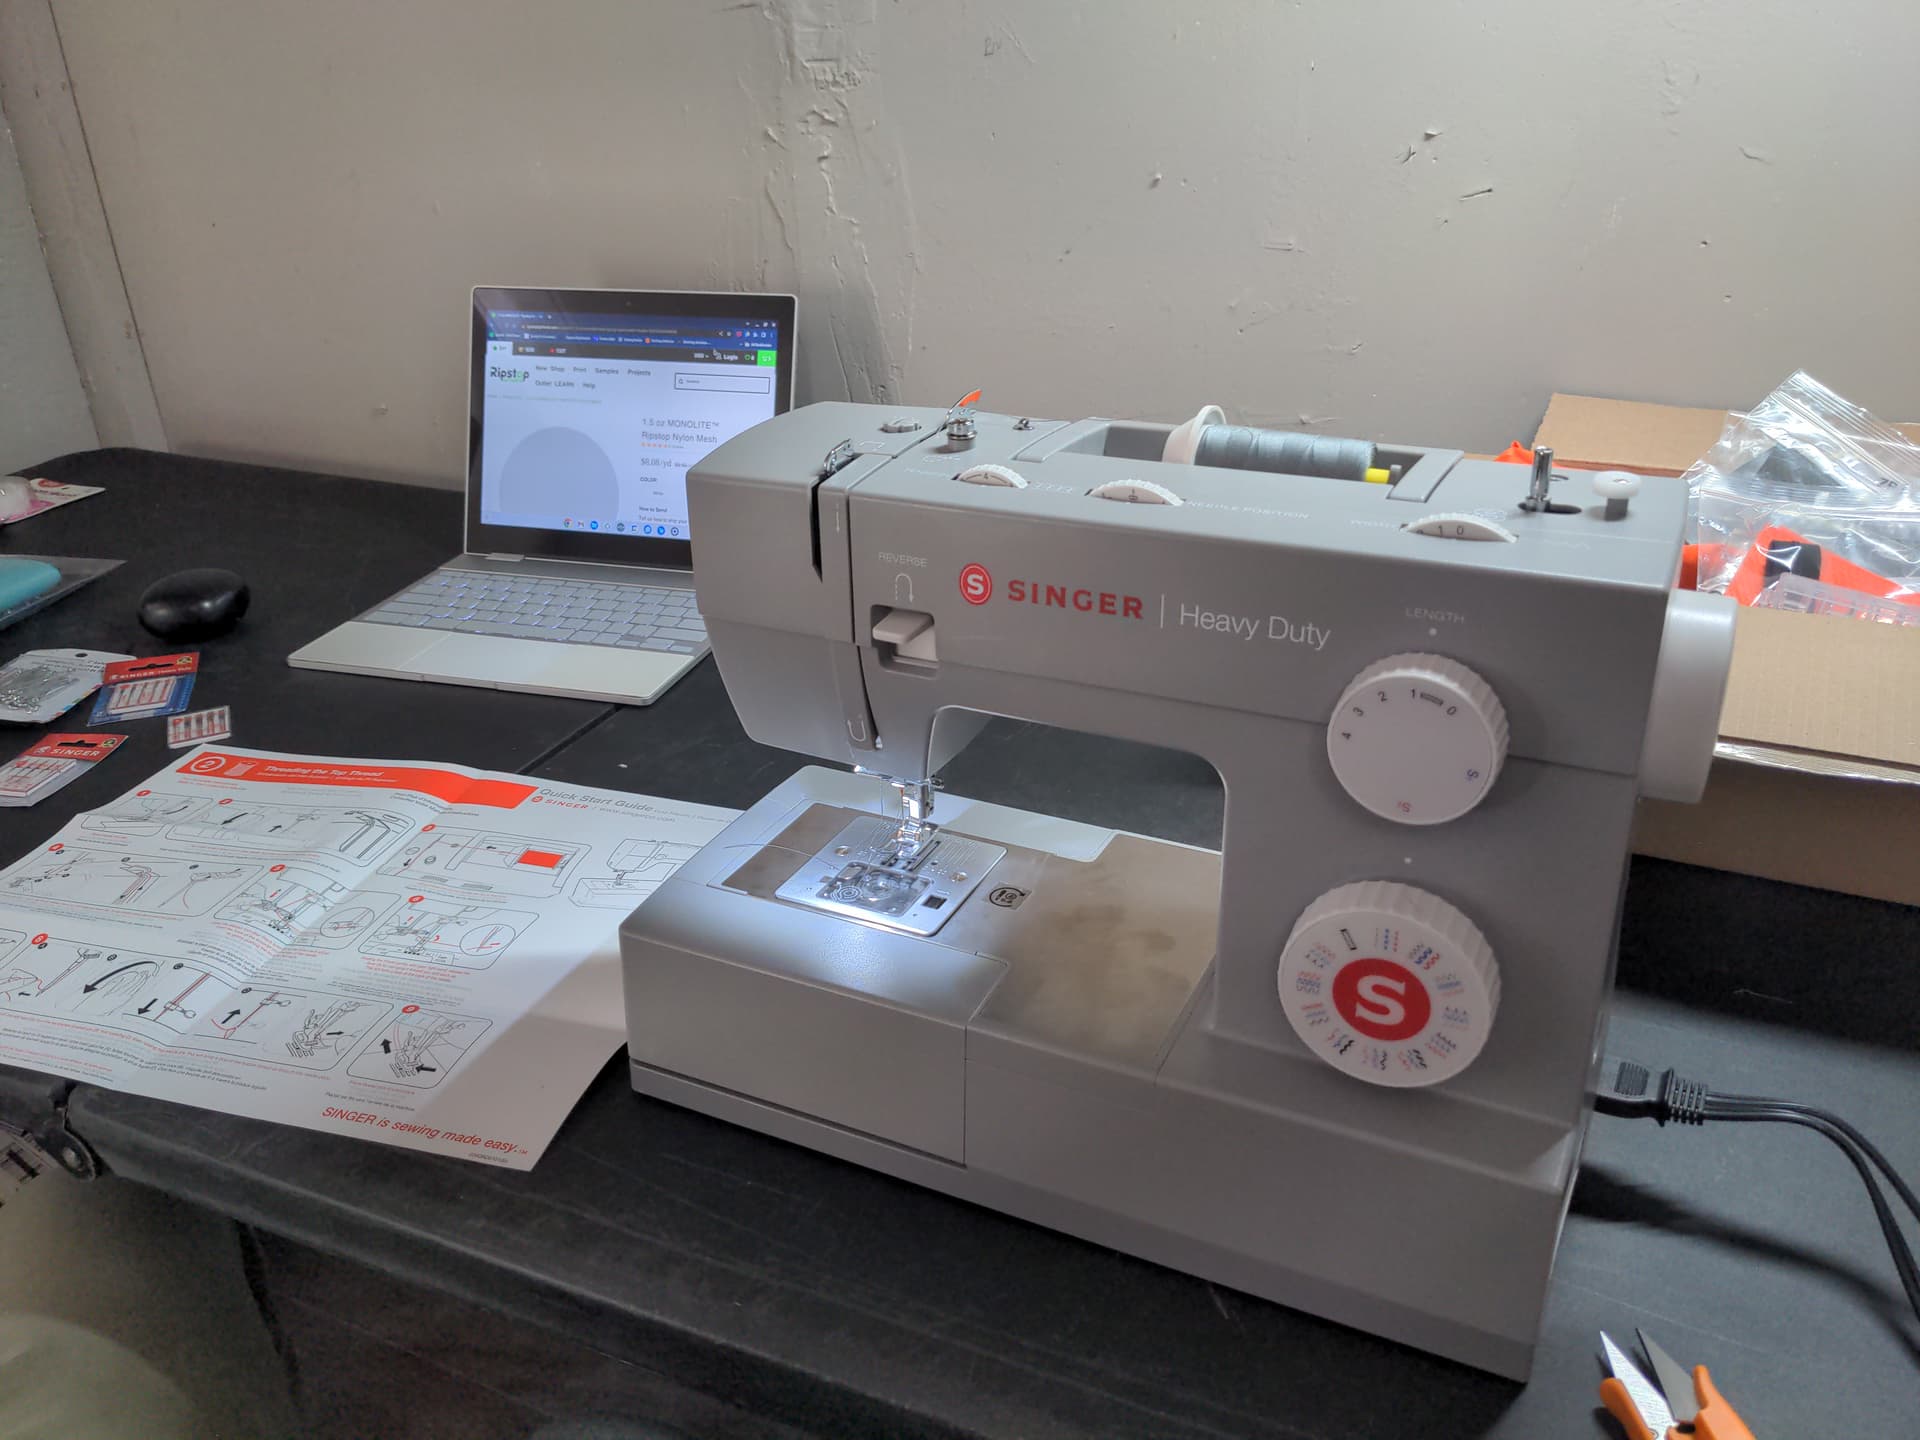
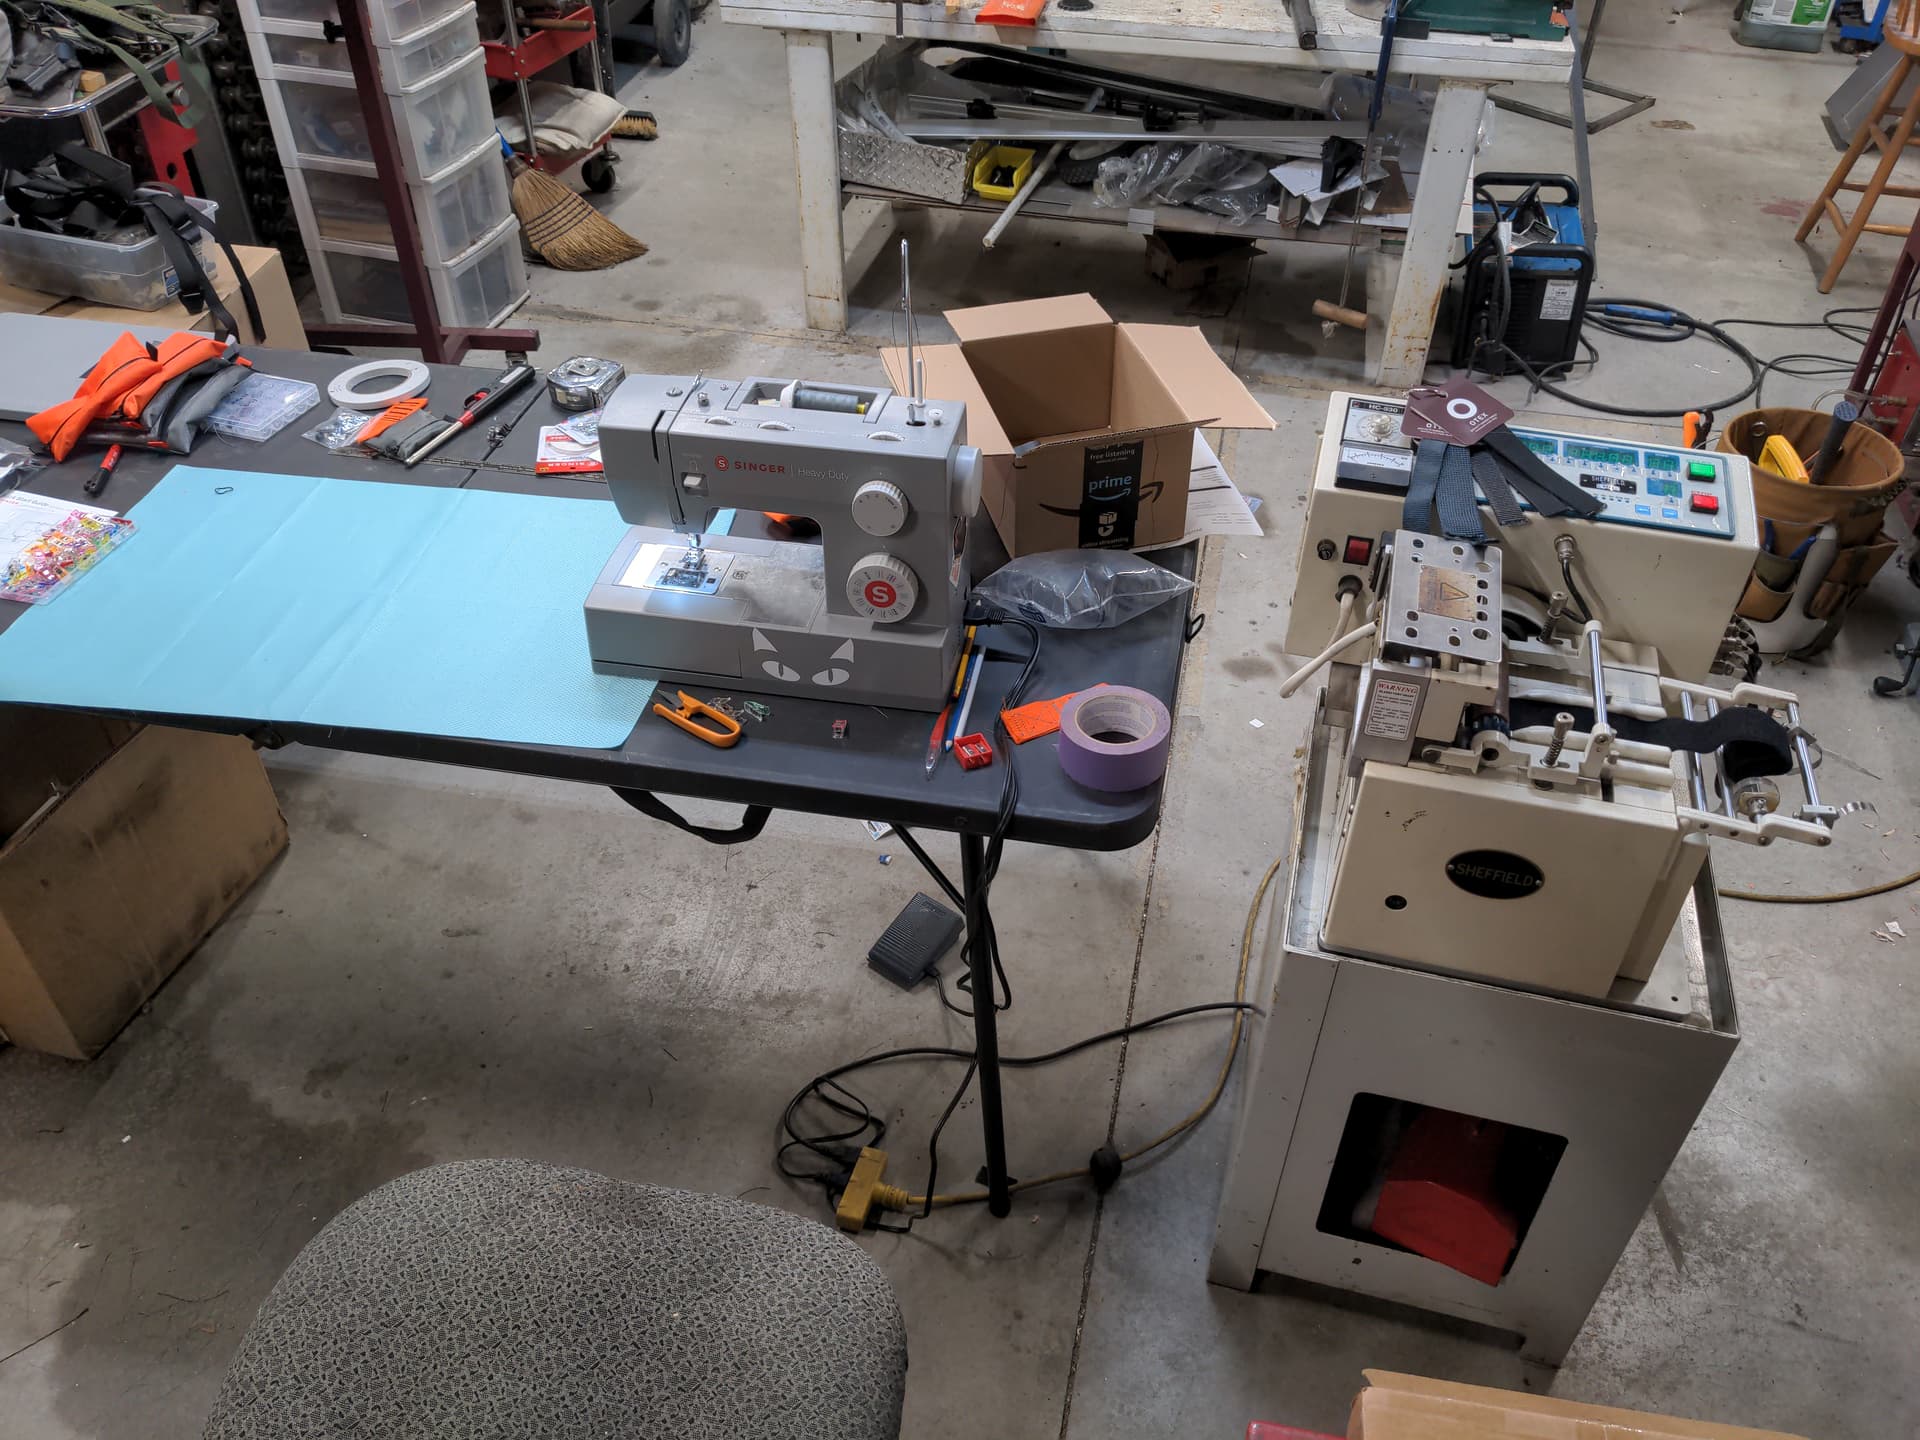
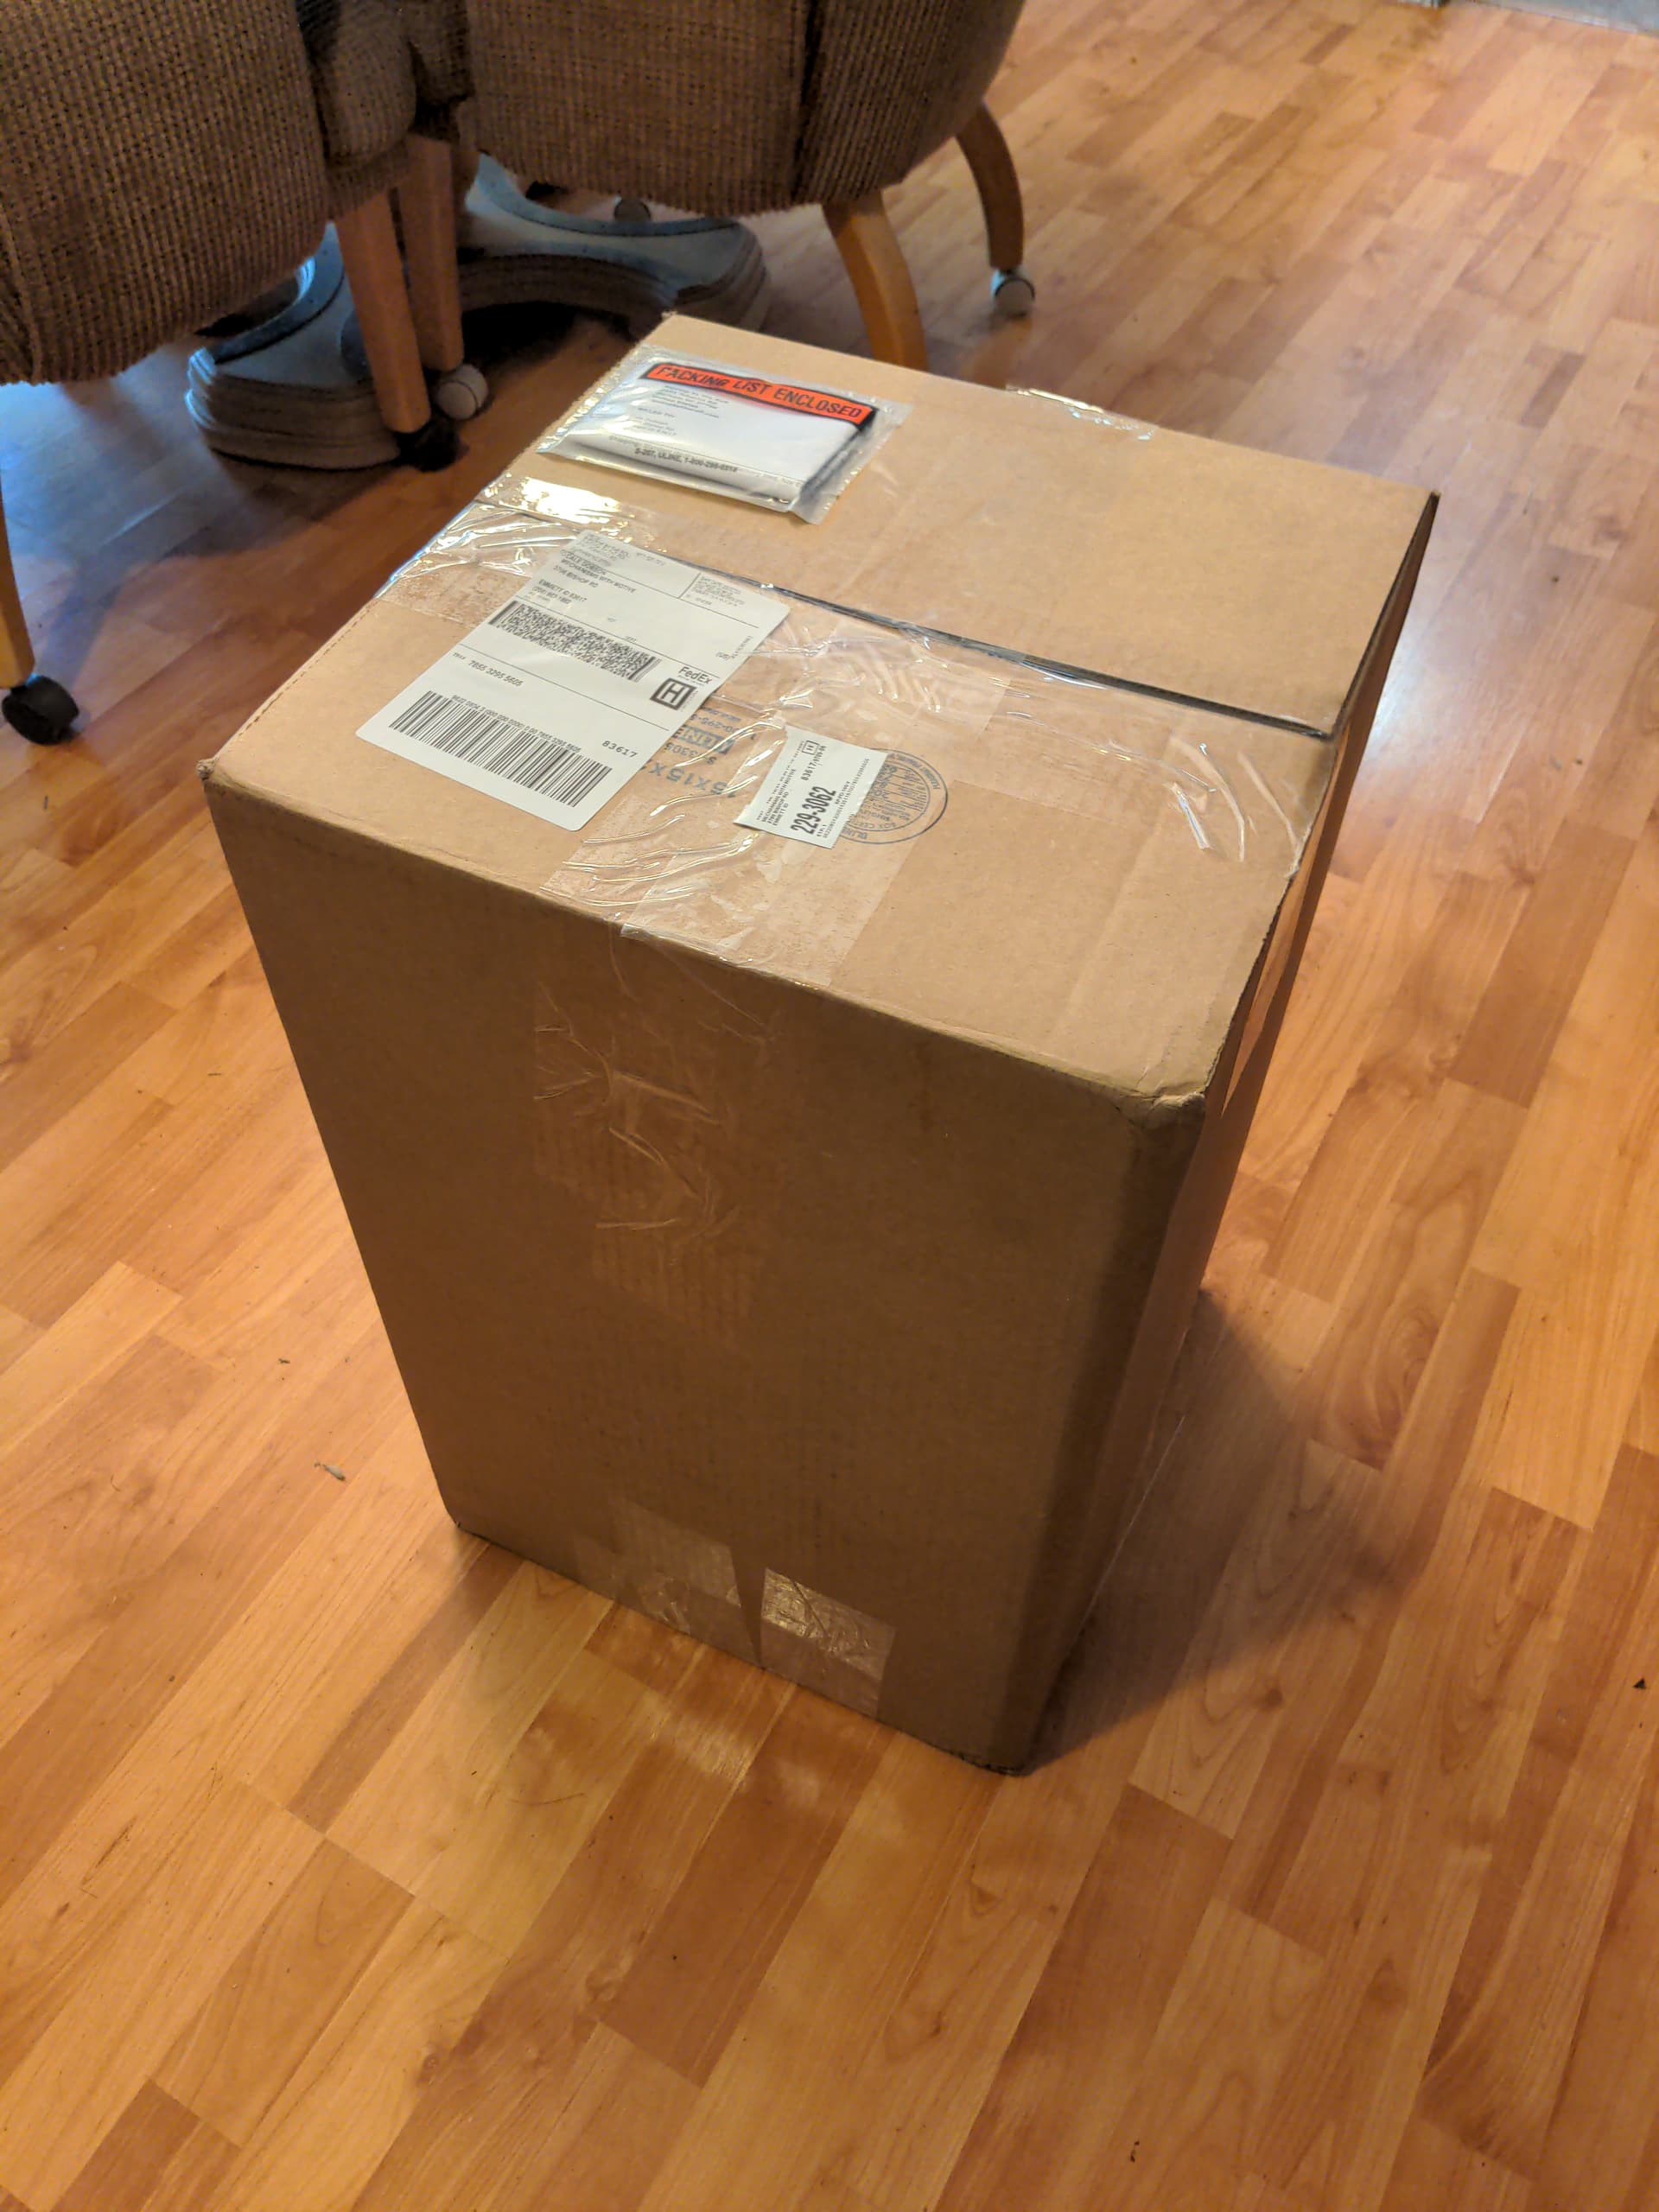
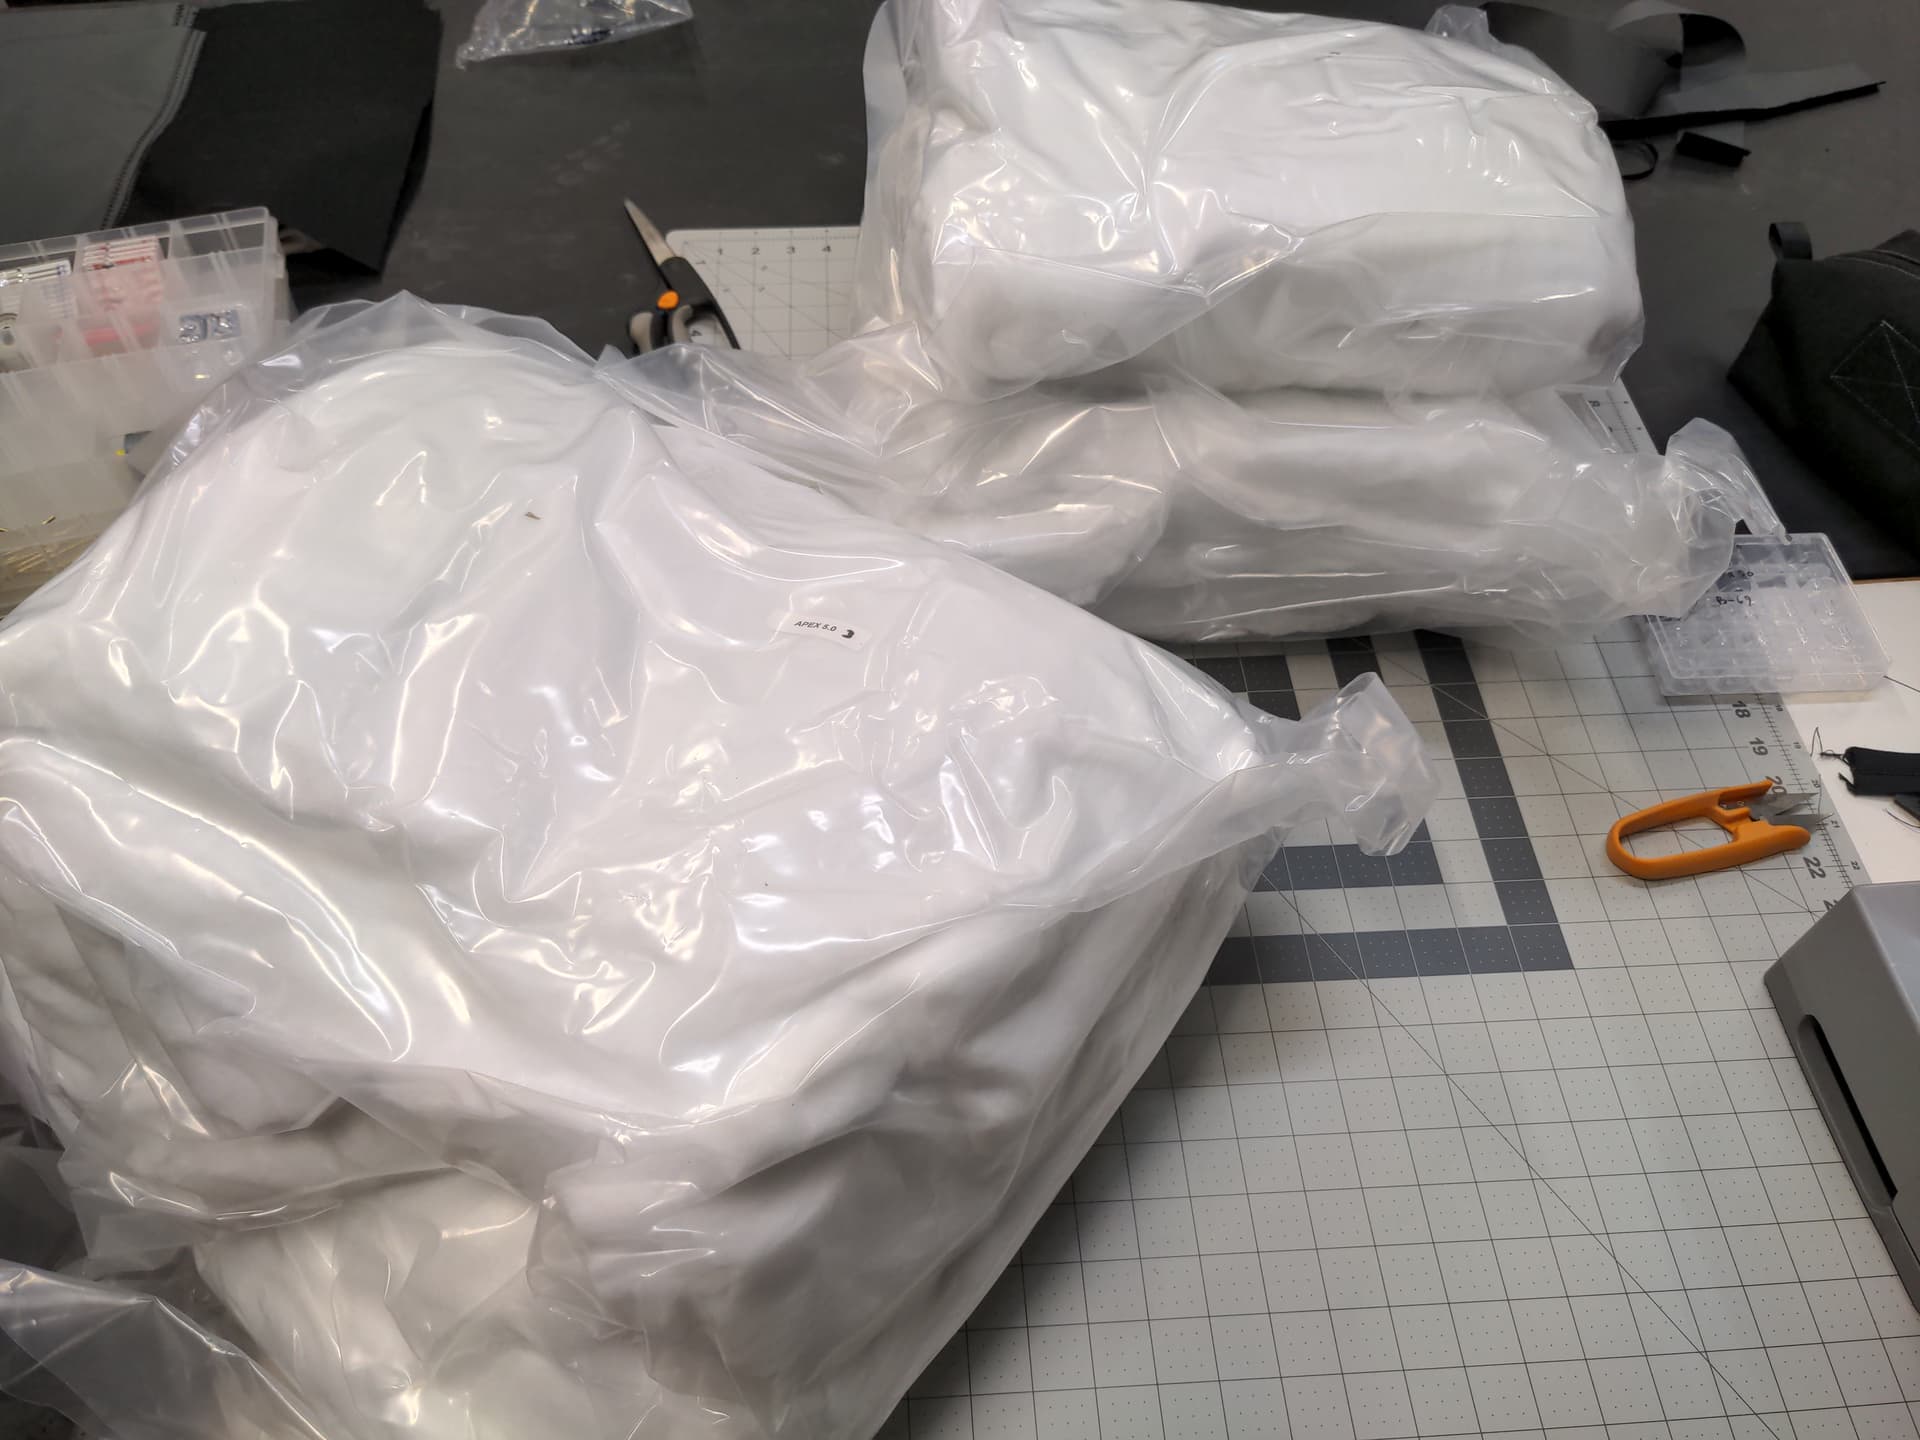
Still waiting for my latest order of zippers, velcro, etc. to arrive so I can resume more fun projects.

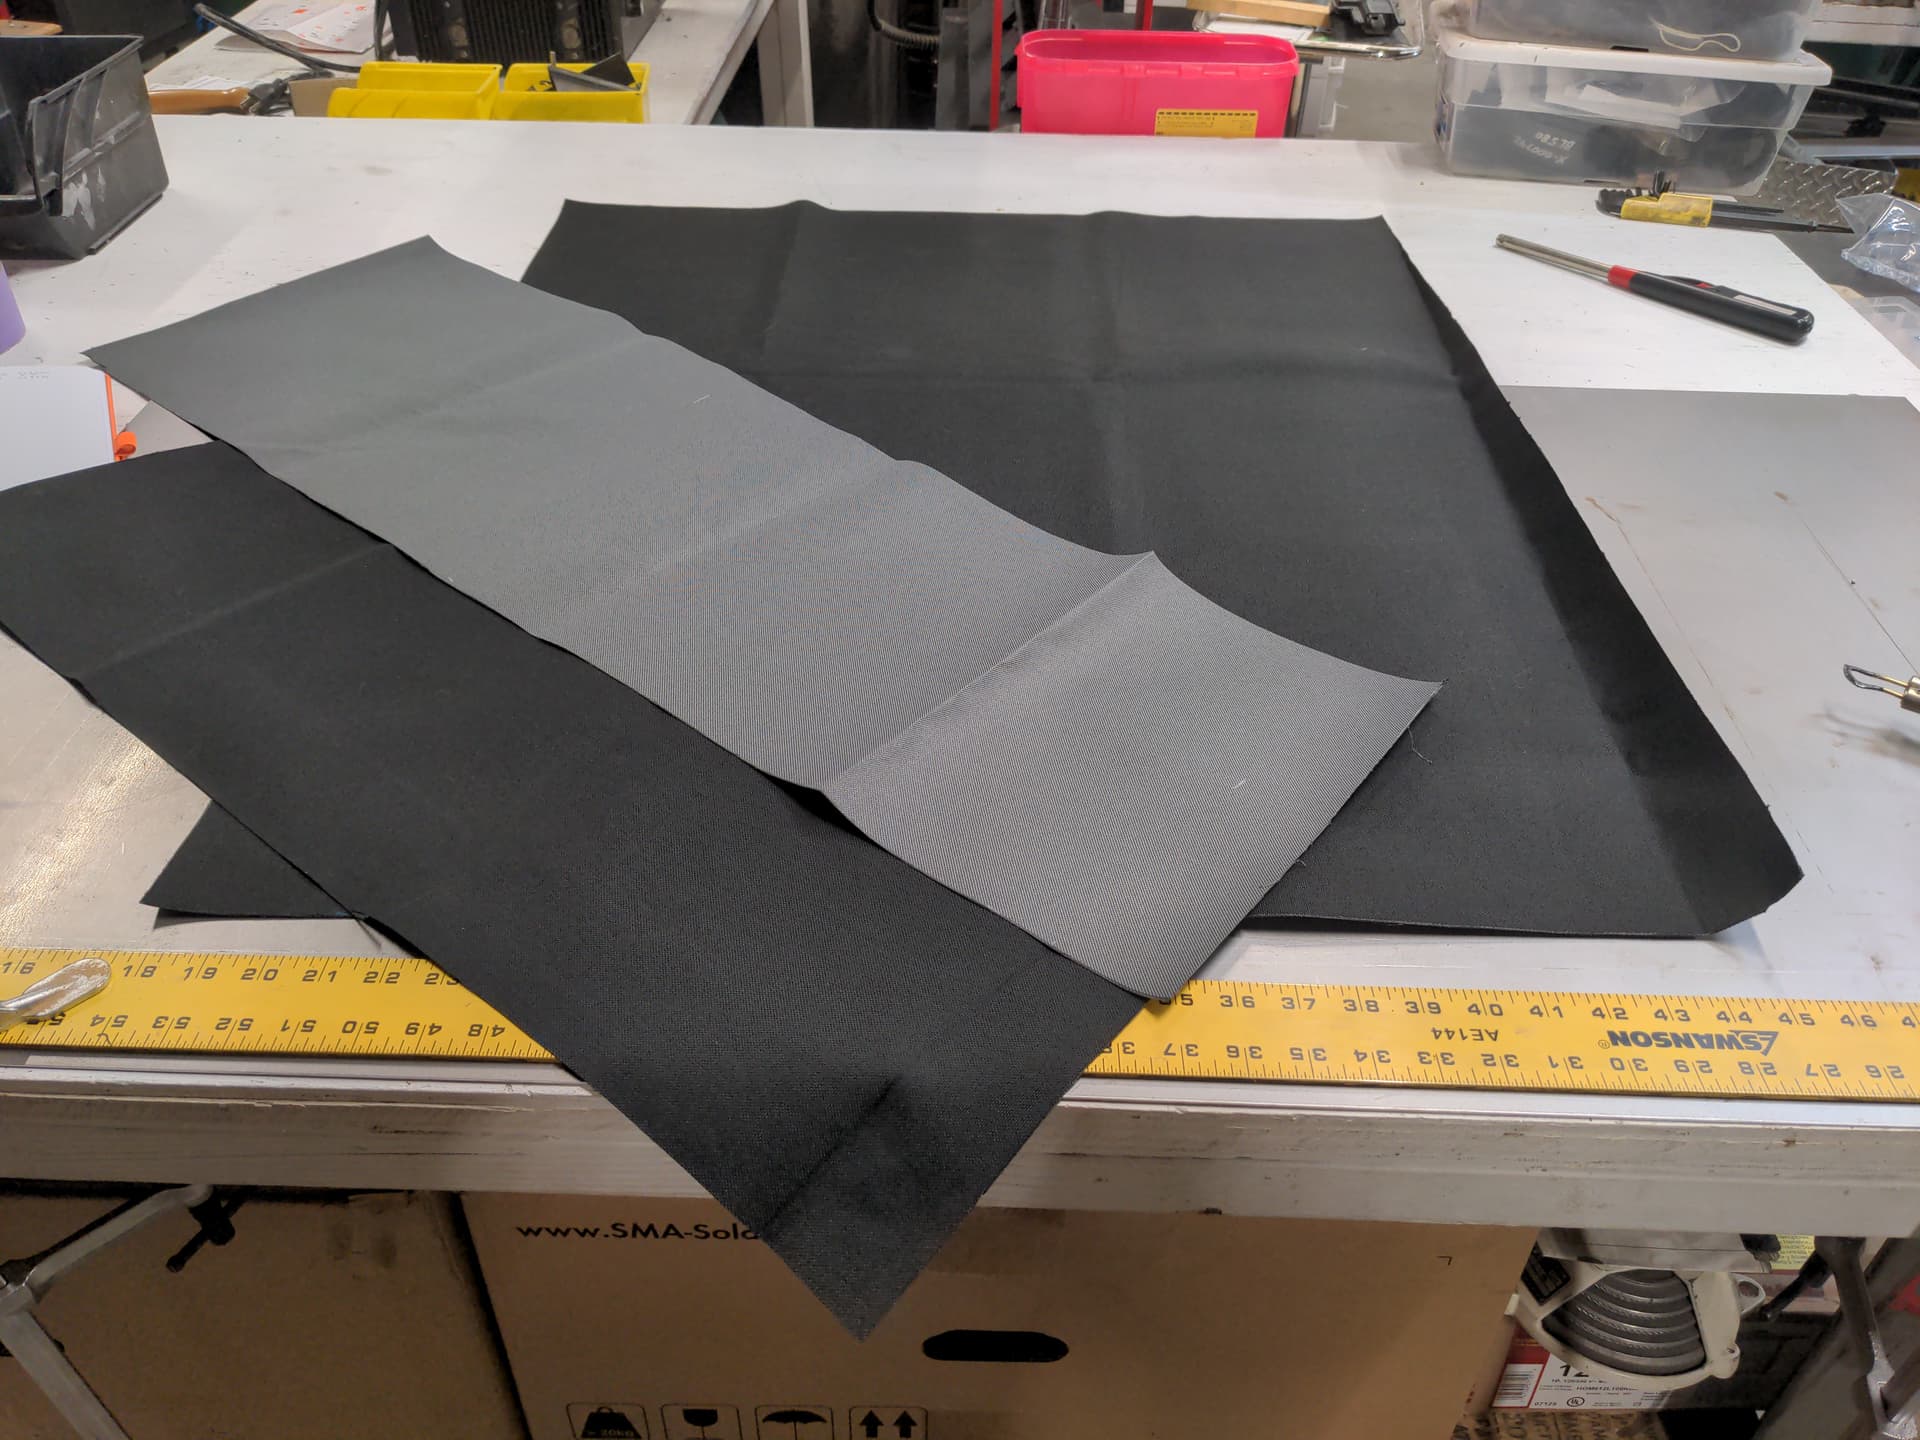
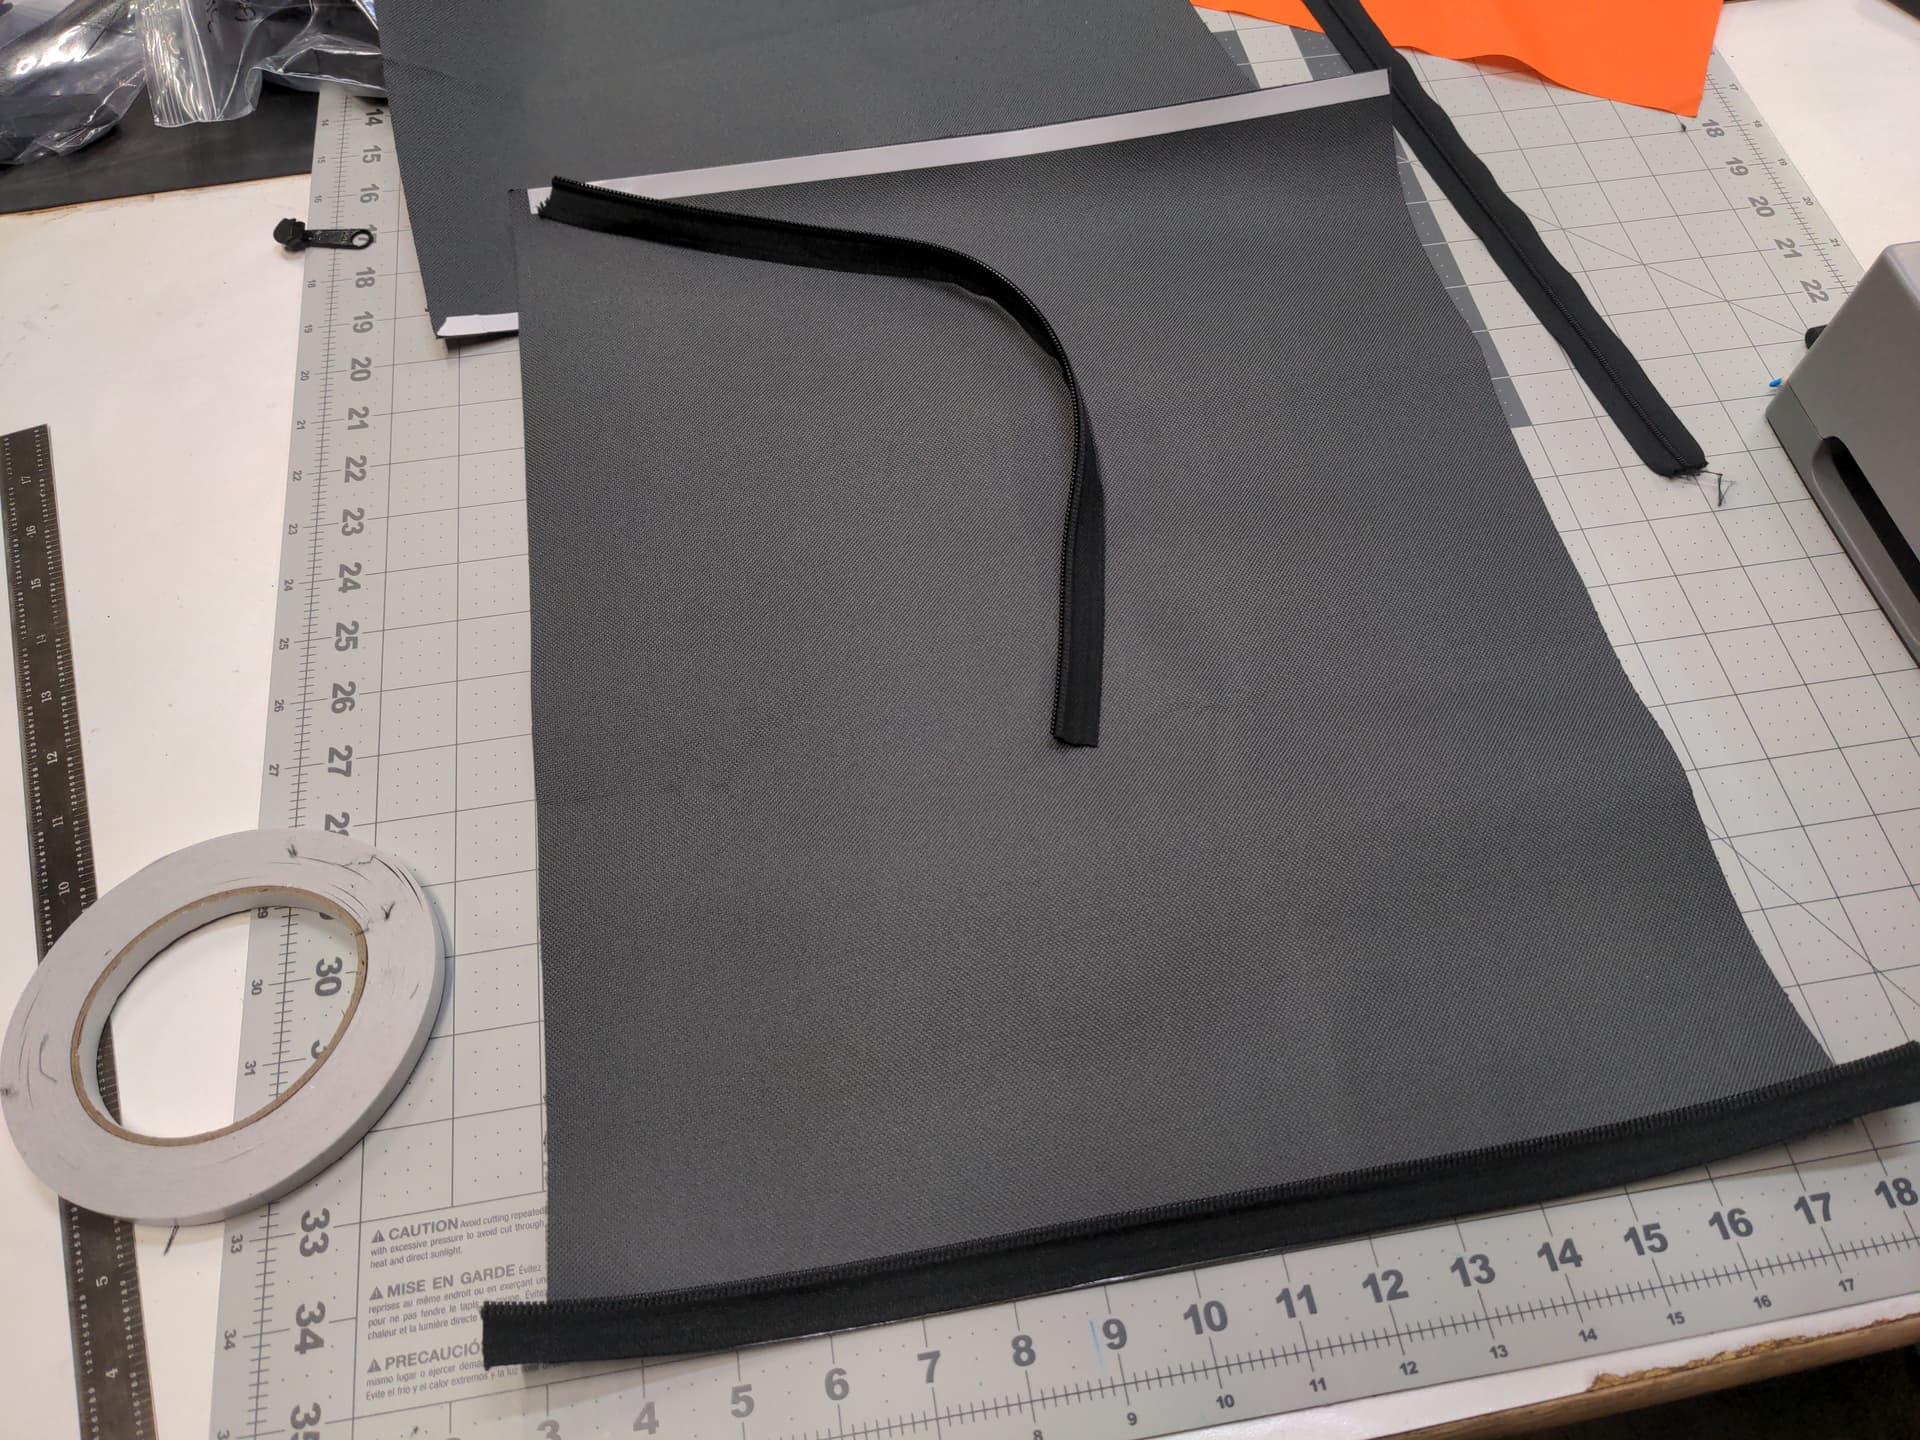
Some tests in the meantime. I started cutting some material for a larger project but I need to practice some seams first. So I took a piece of gray and black Cordura and decided to stitch it together. If it fails horribly, I’ll trim it off and try it again.

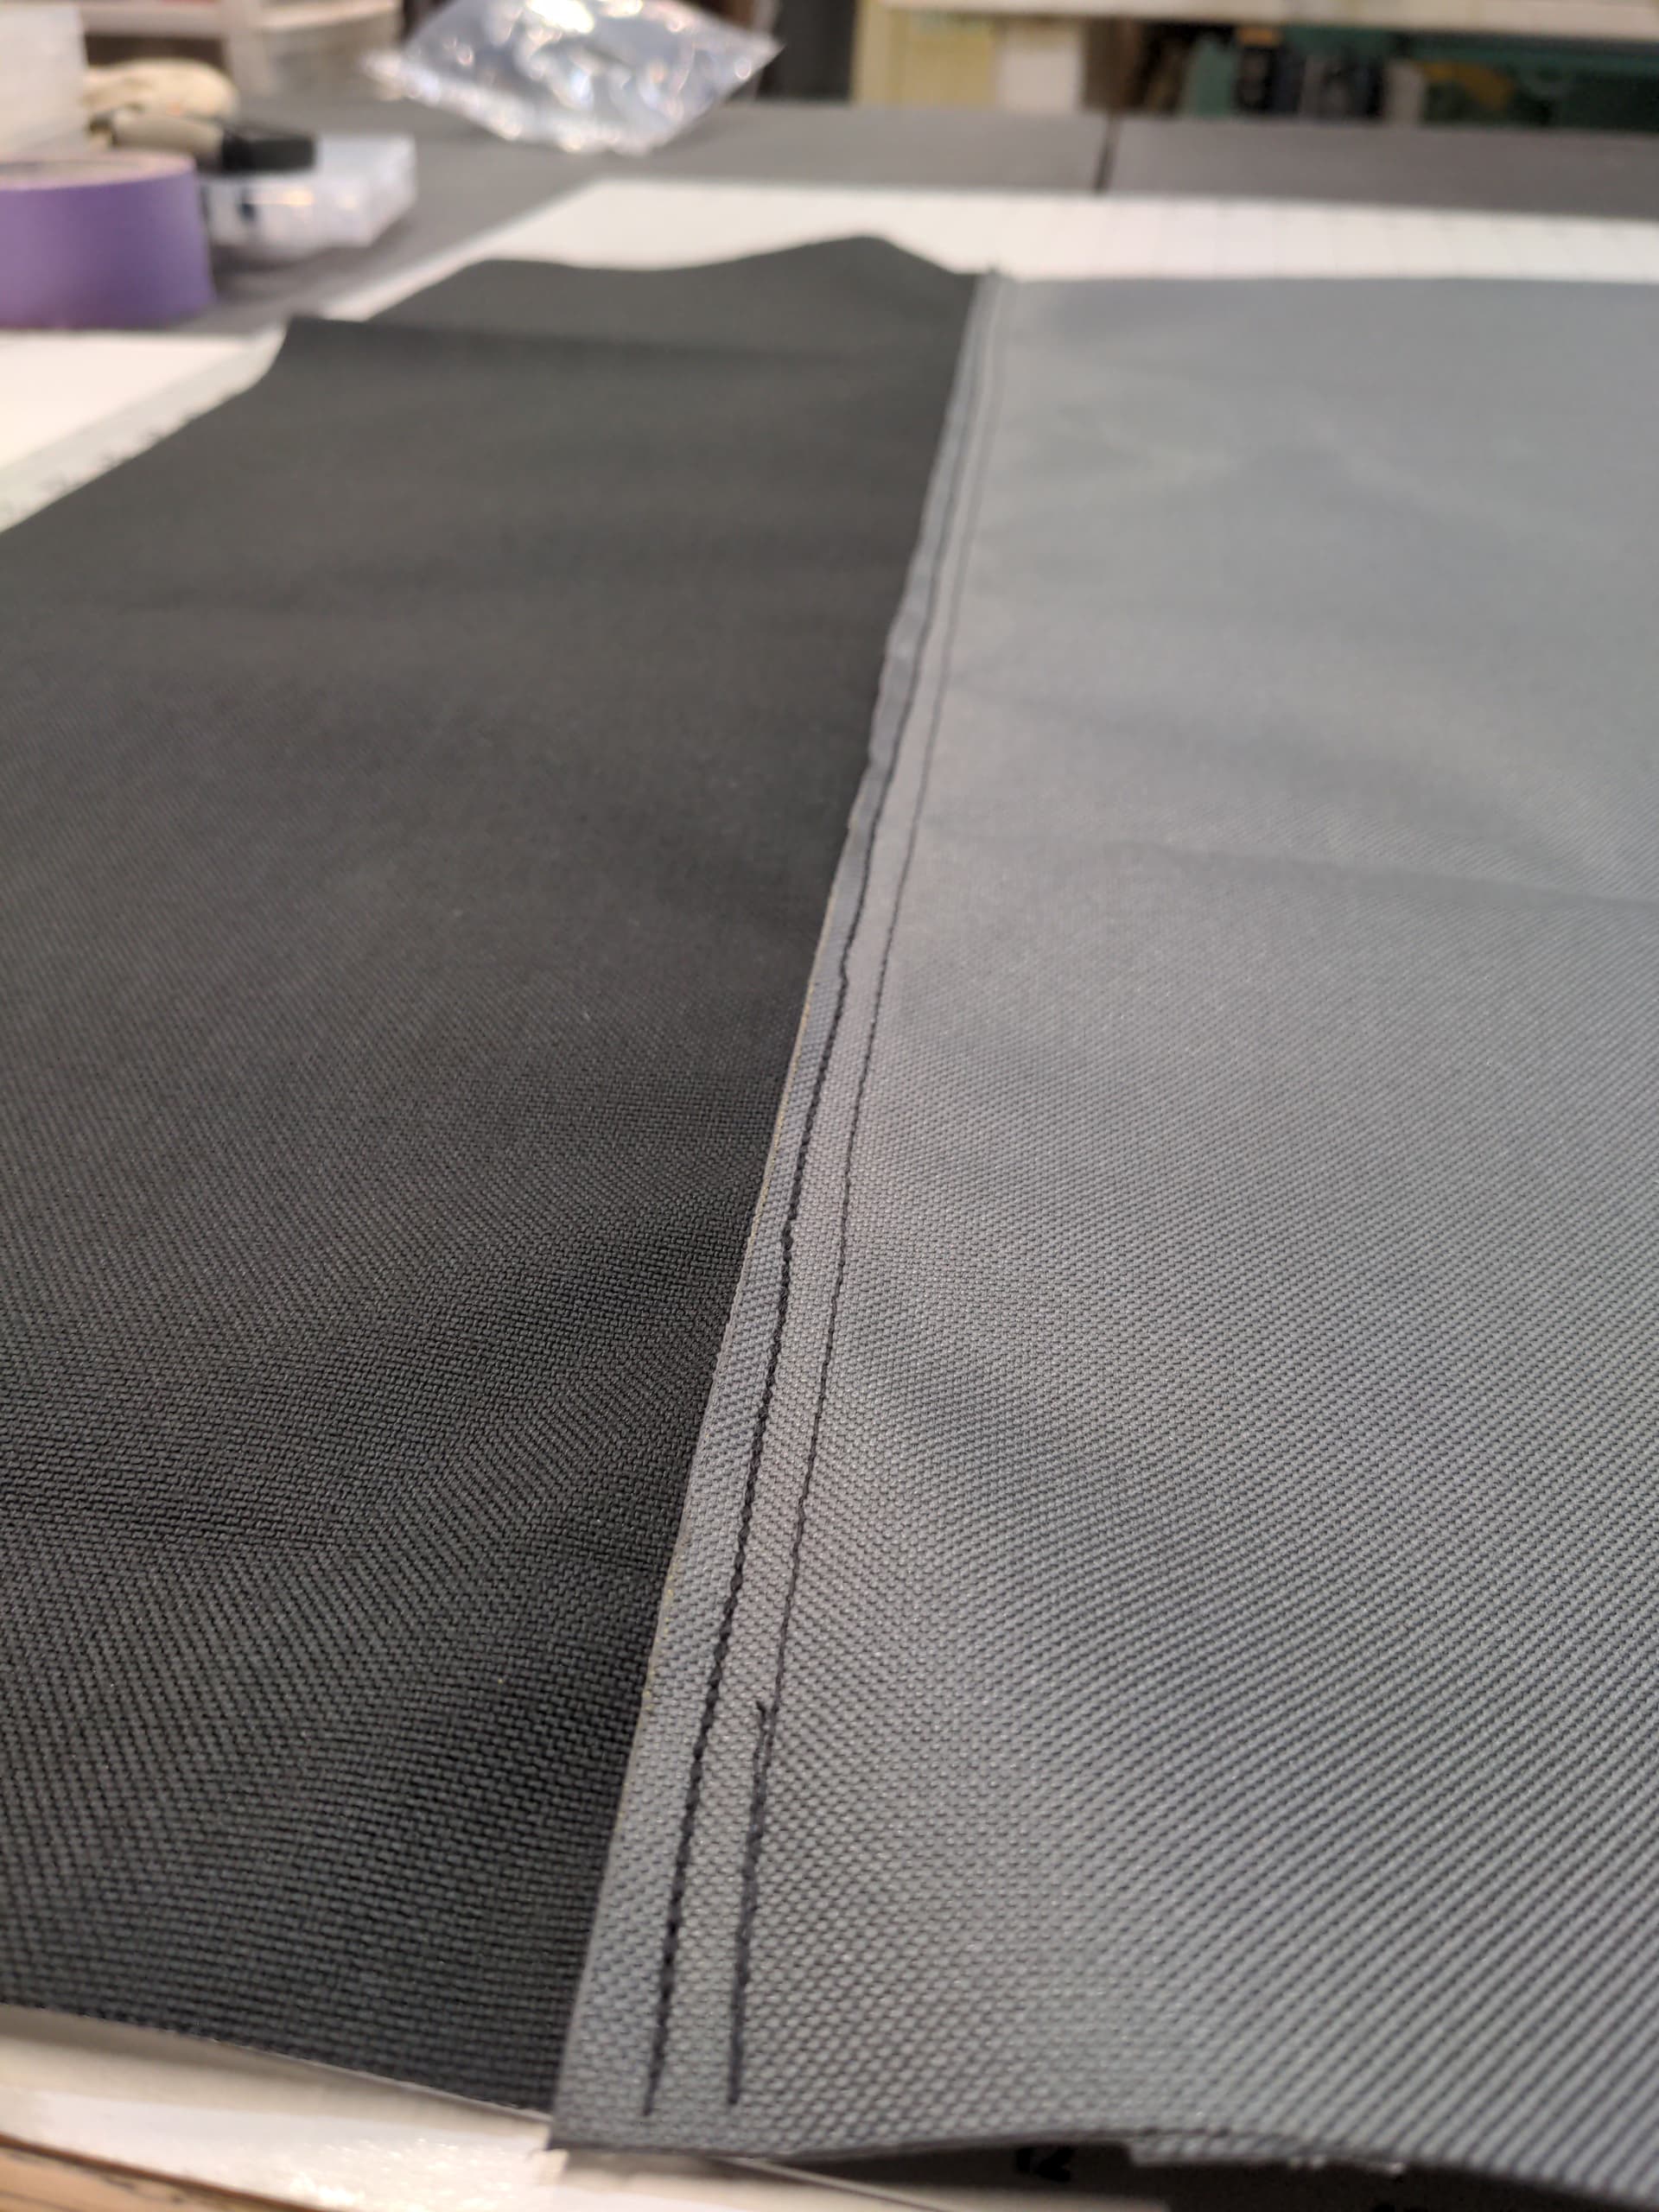
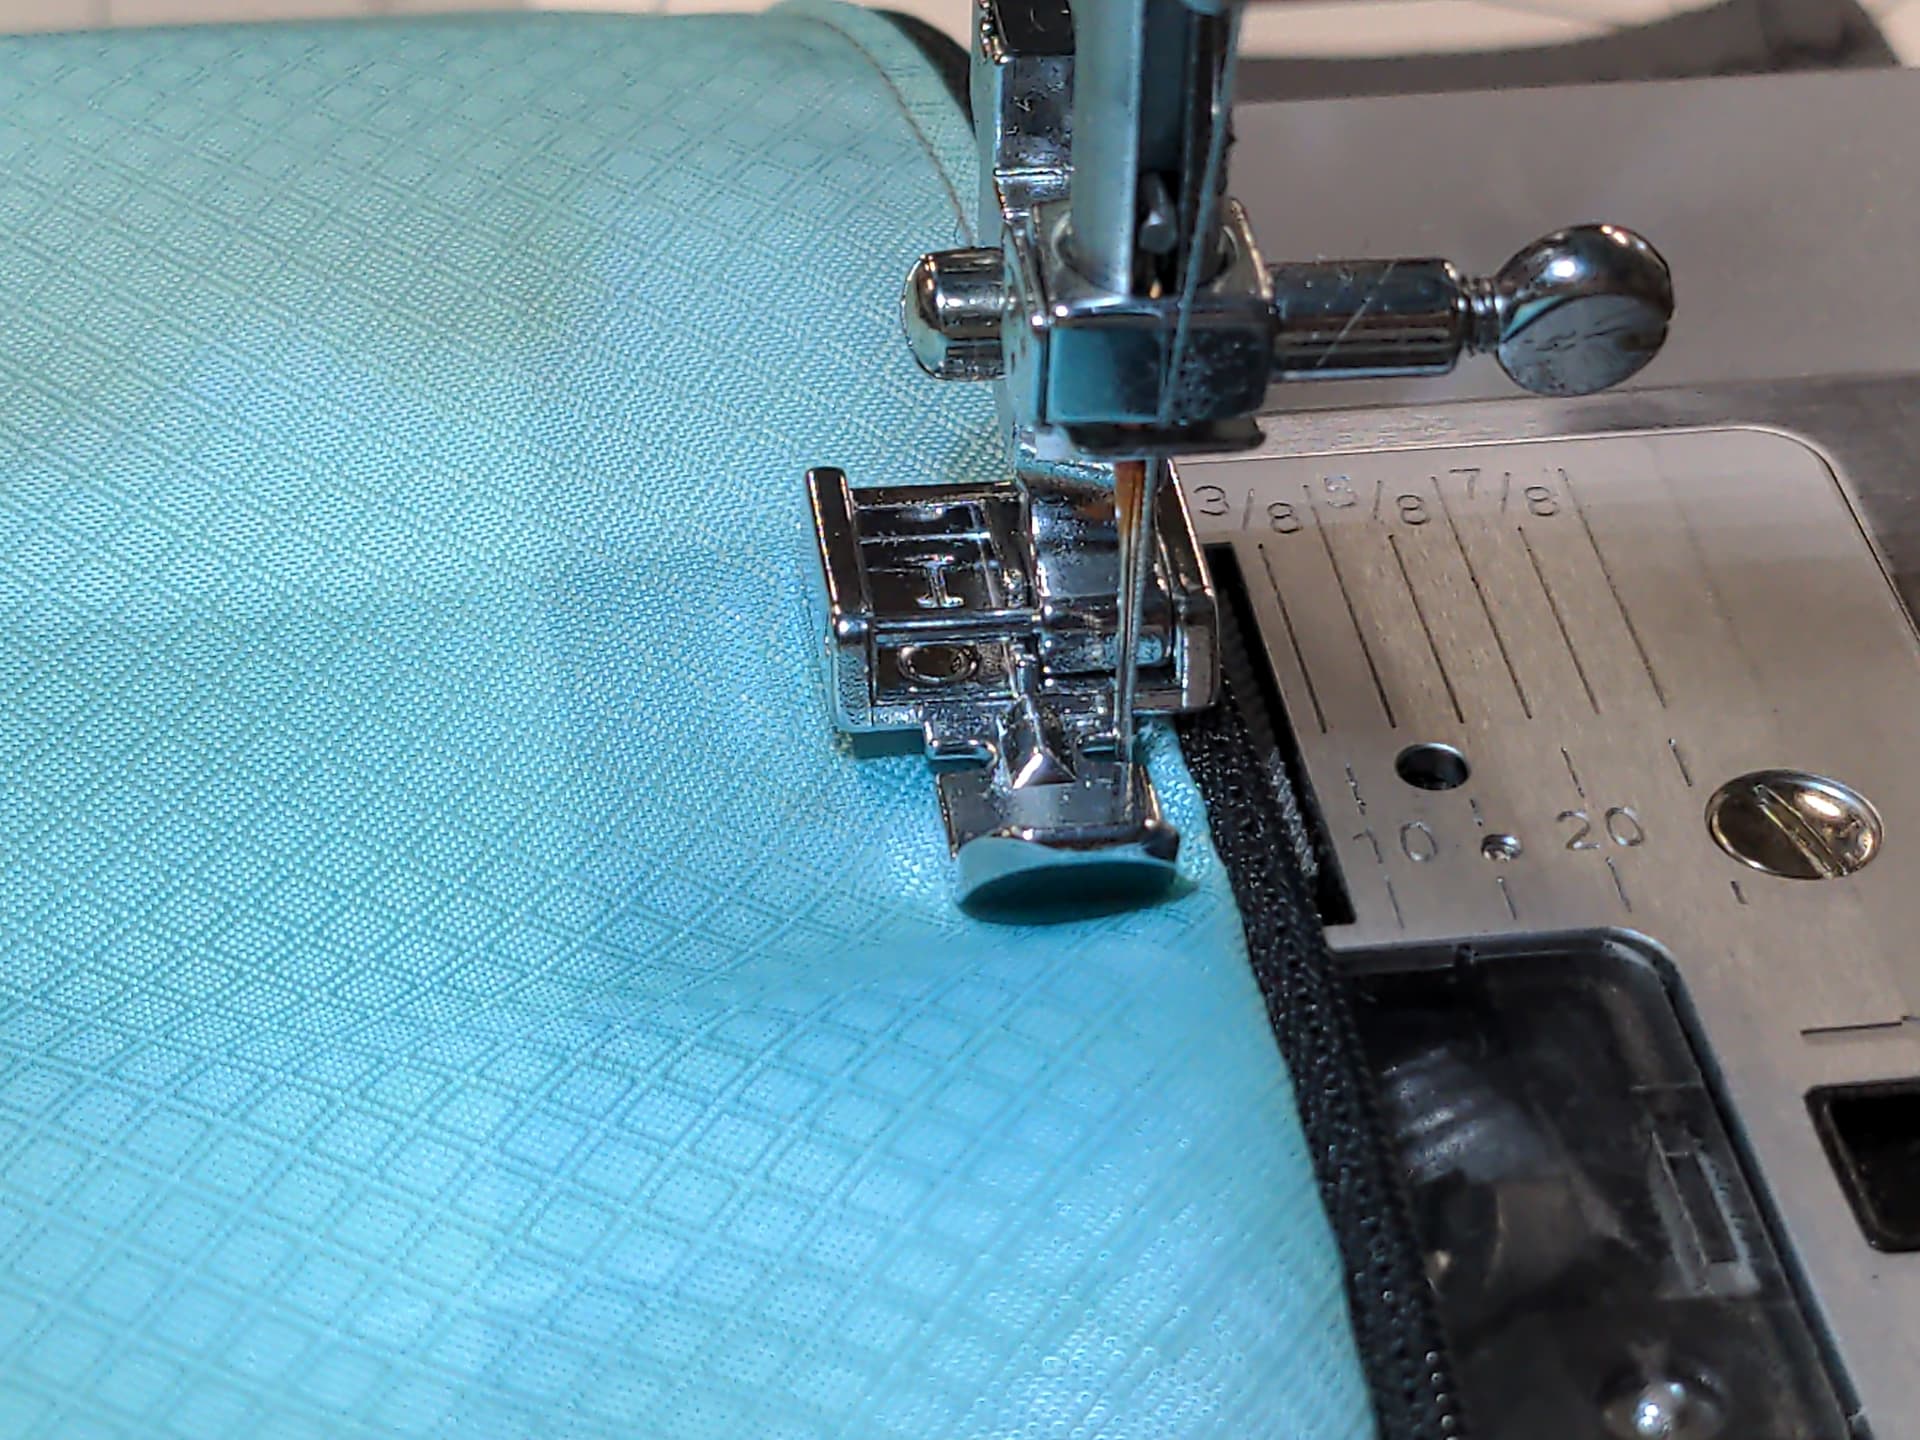
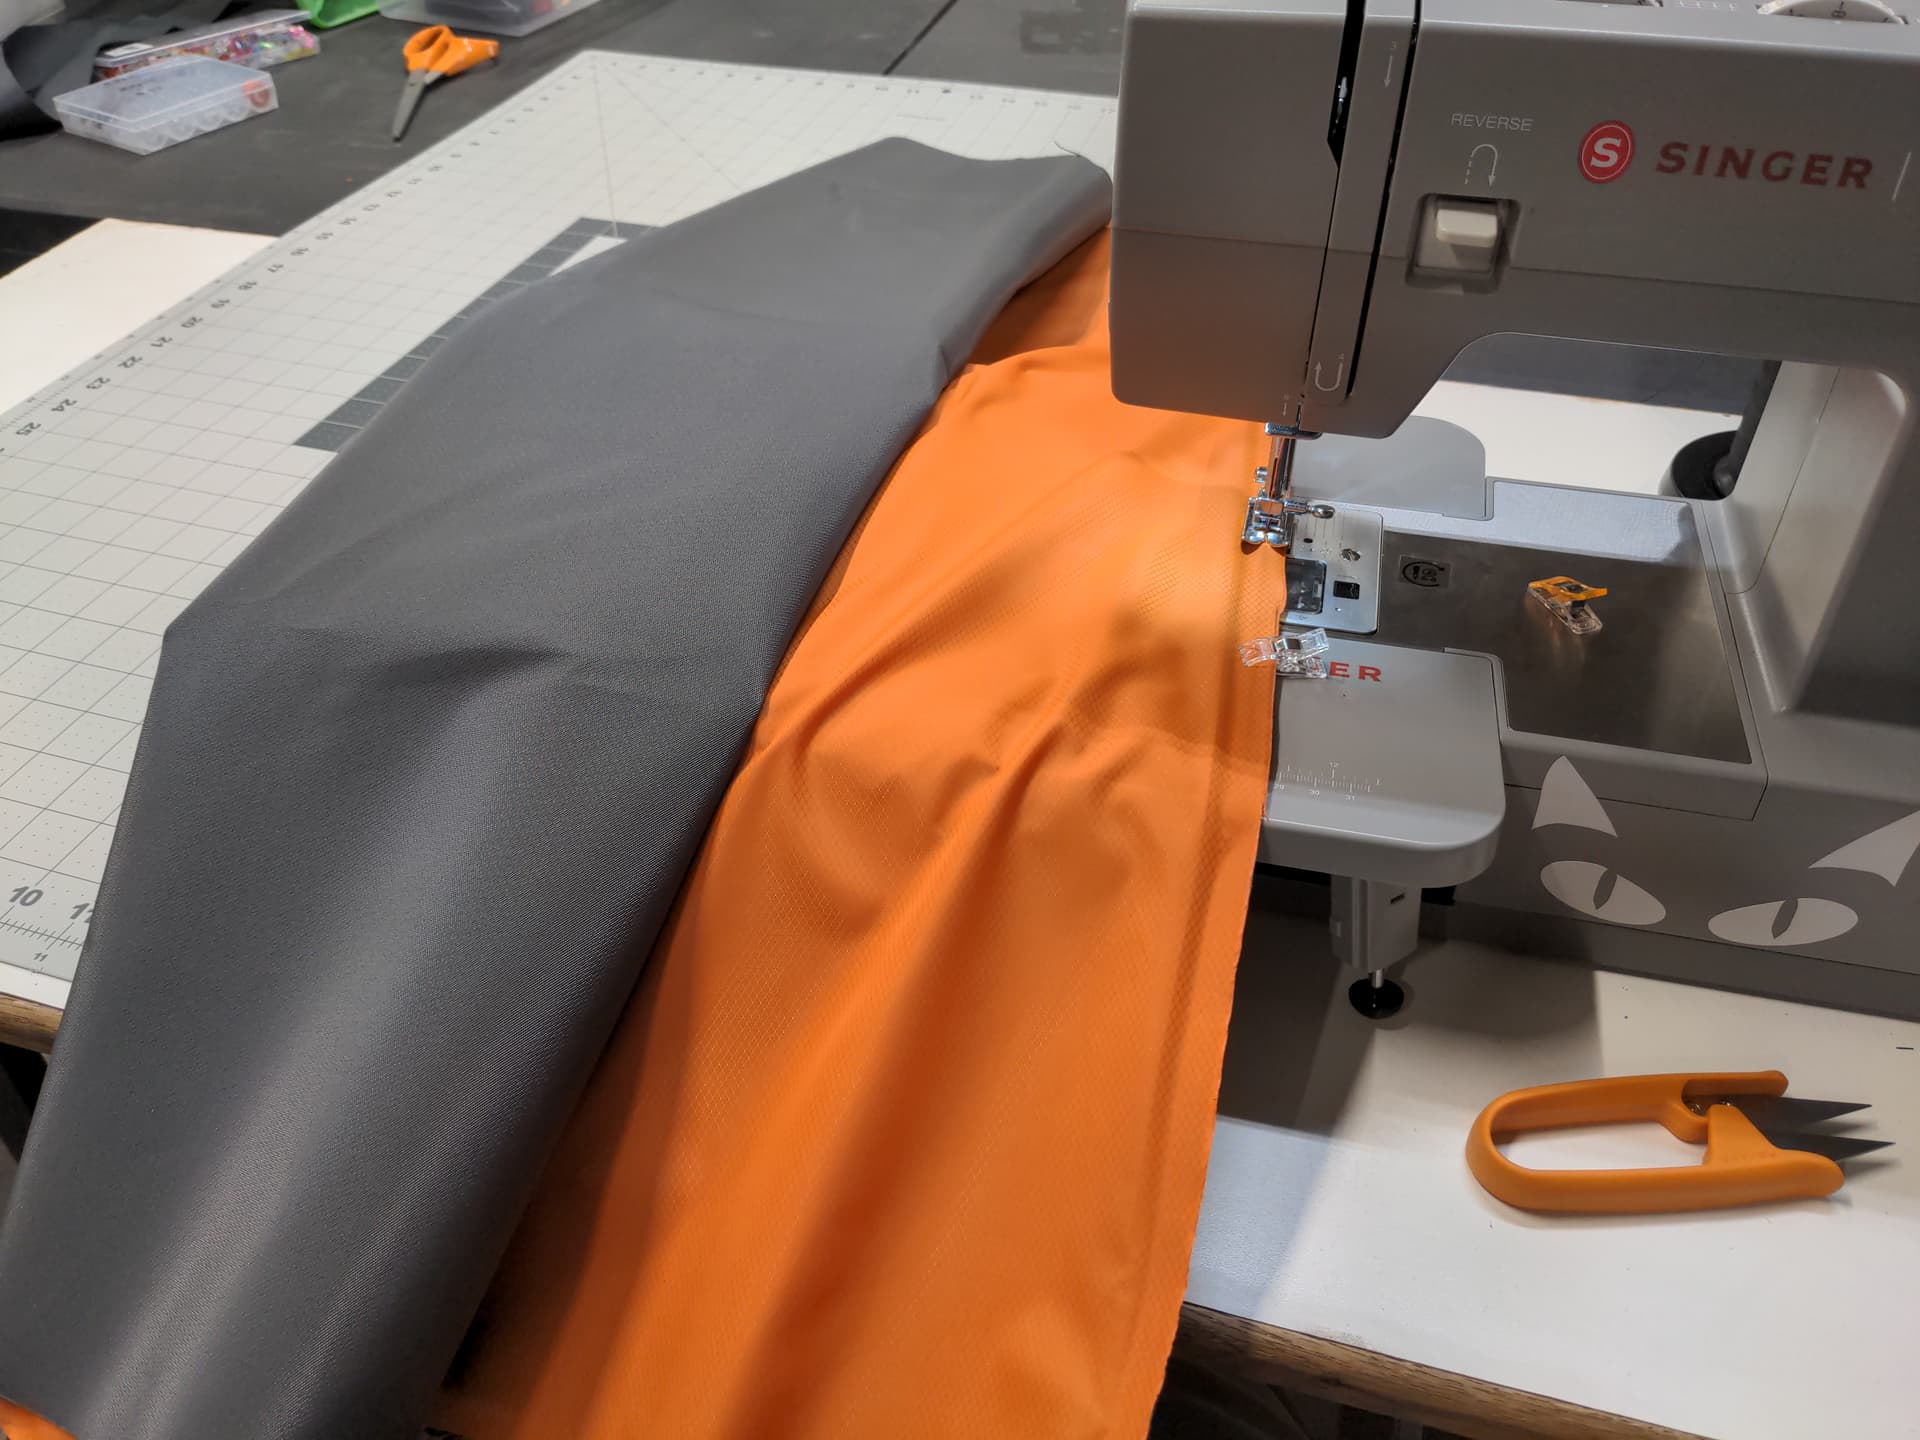
So I started by sewing the 2 parts together, wrong sides out. This was good practice, some of my first longer seams here are clearly not very straight. I’m learning how much force [and where] to apply to steer the fabric smoothly through the feed dogs without overriding them or fighting against them.

Don’t fight the dogs. I will never end well for you. There’s a metaphor in there somewhere…

So I basically made a seam with the edges standing up, then my goal was to fold it over and stitch that down. So its kind of like half of a flat-felled seam if you did it wrong and didn’t know what a flat-felled seam was :upside_down_face:

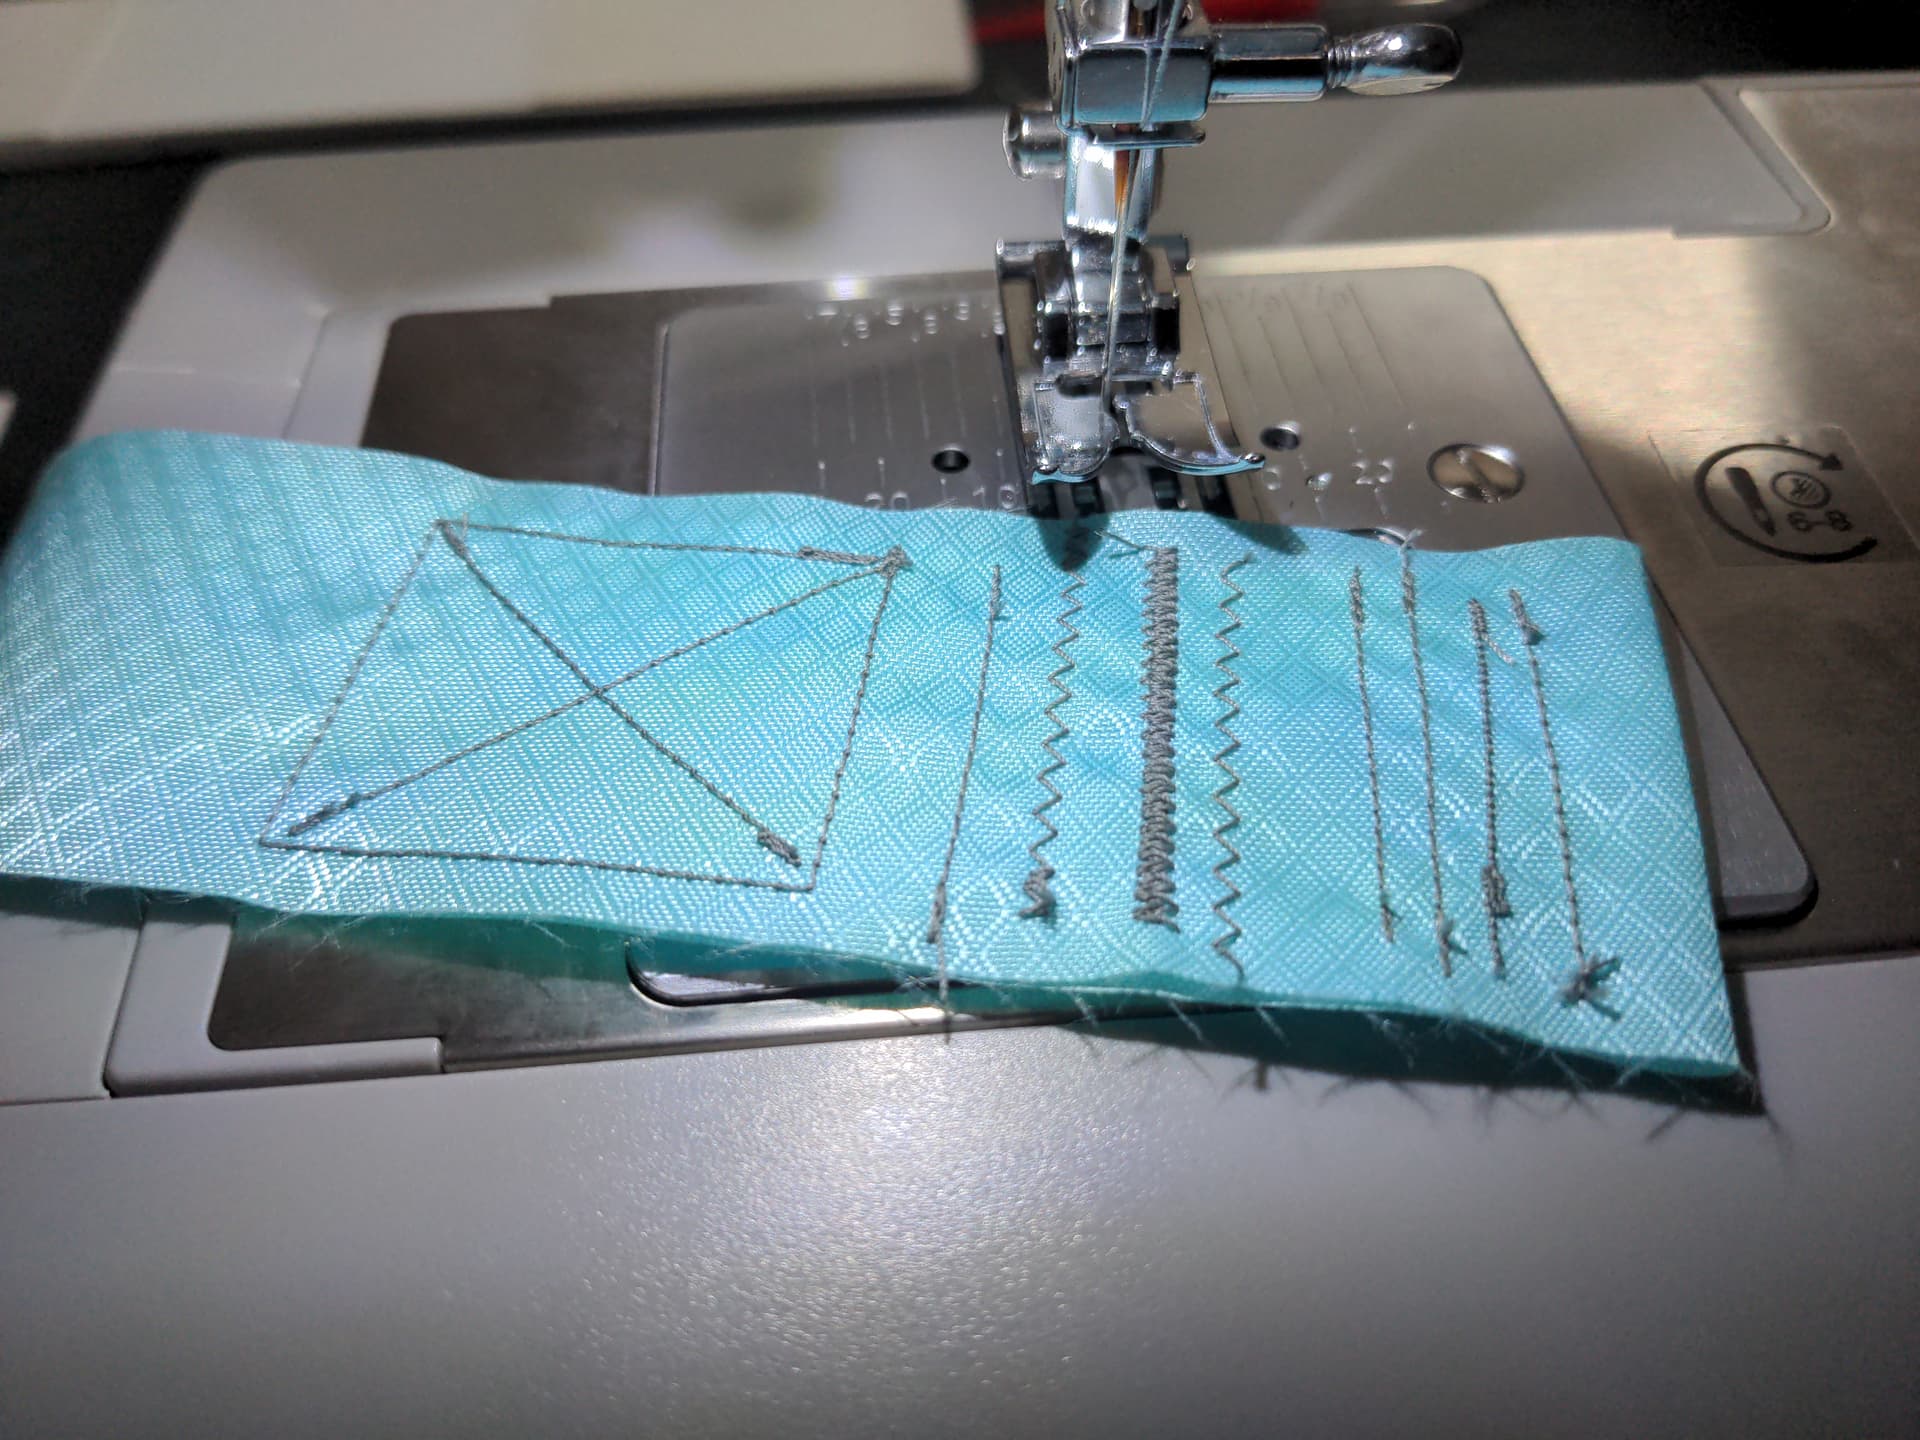
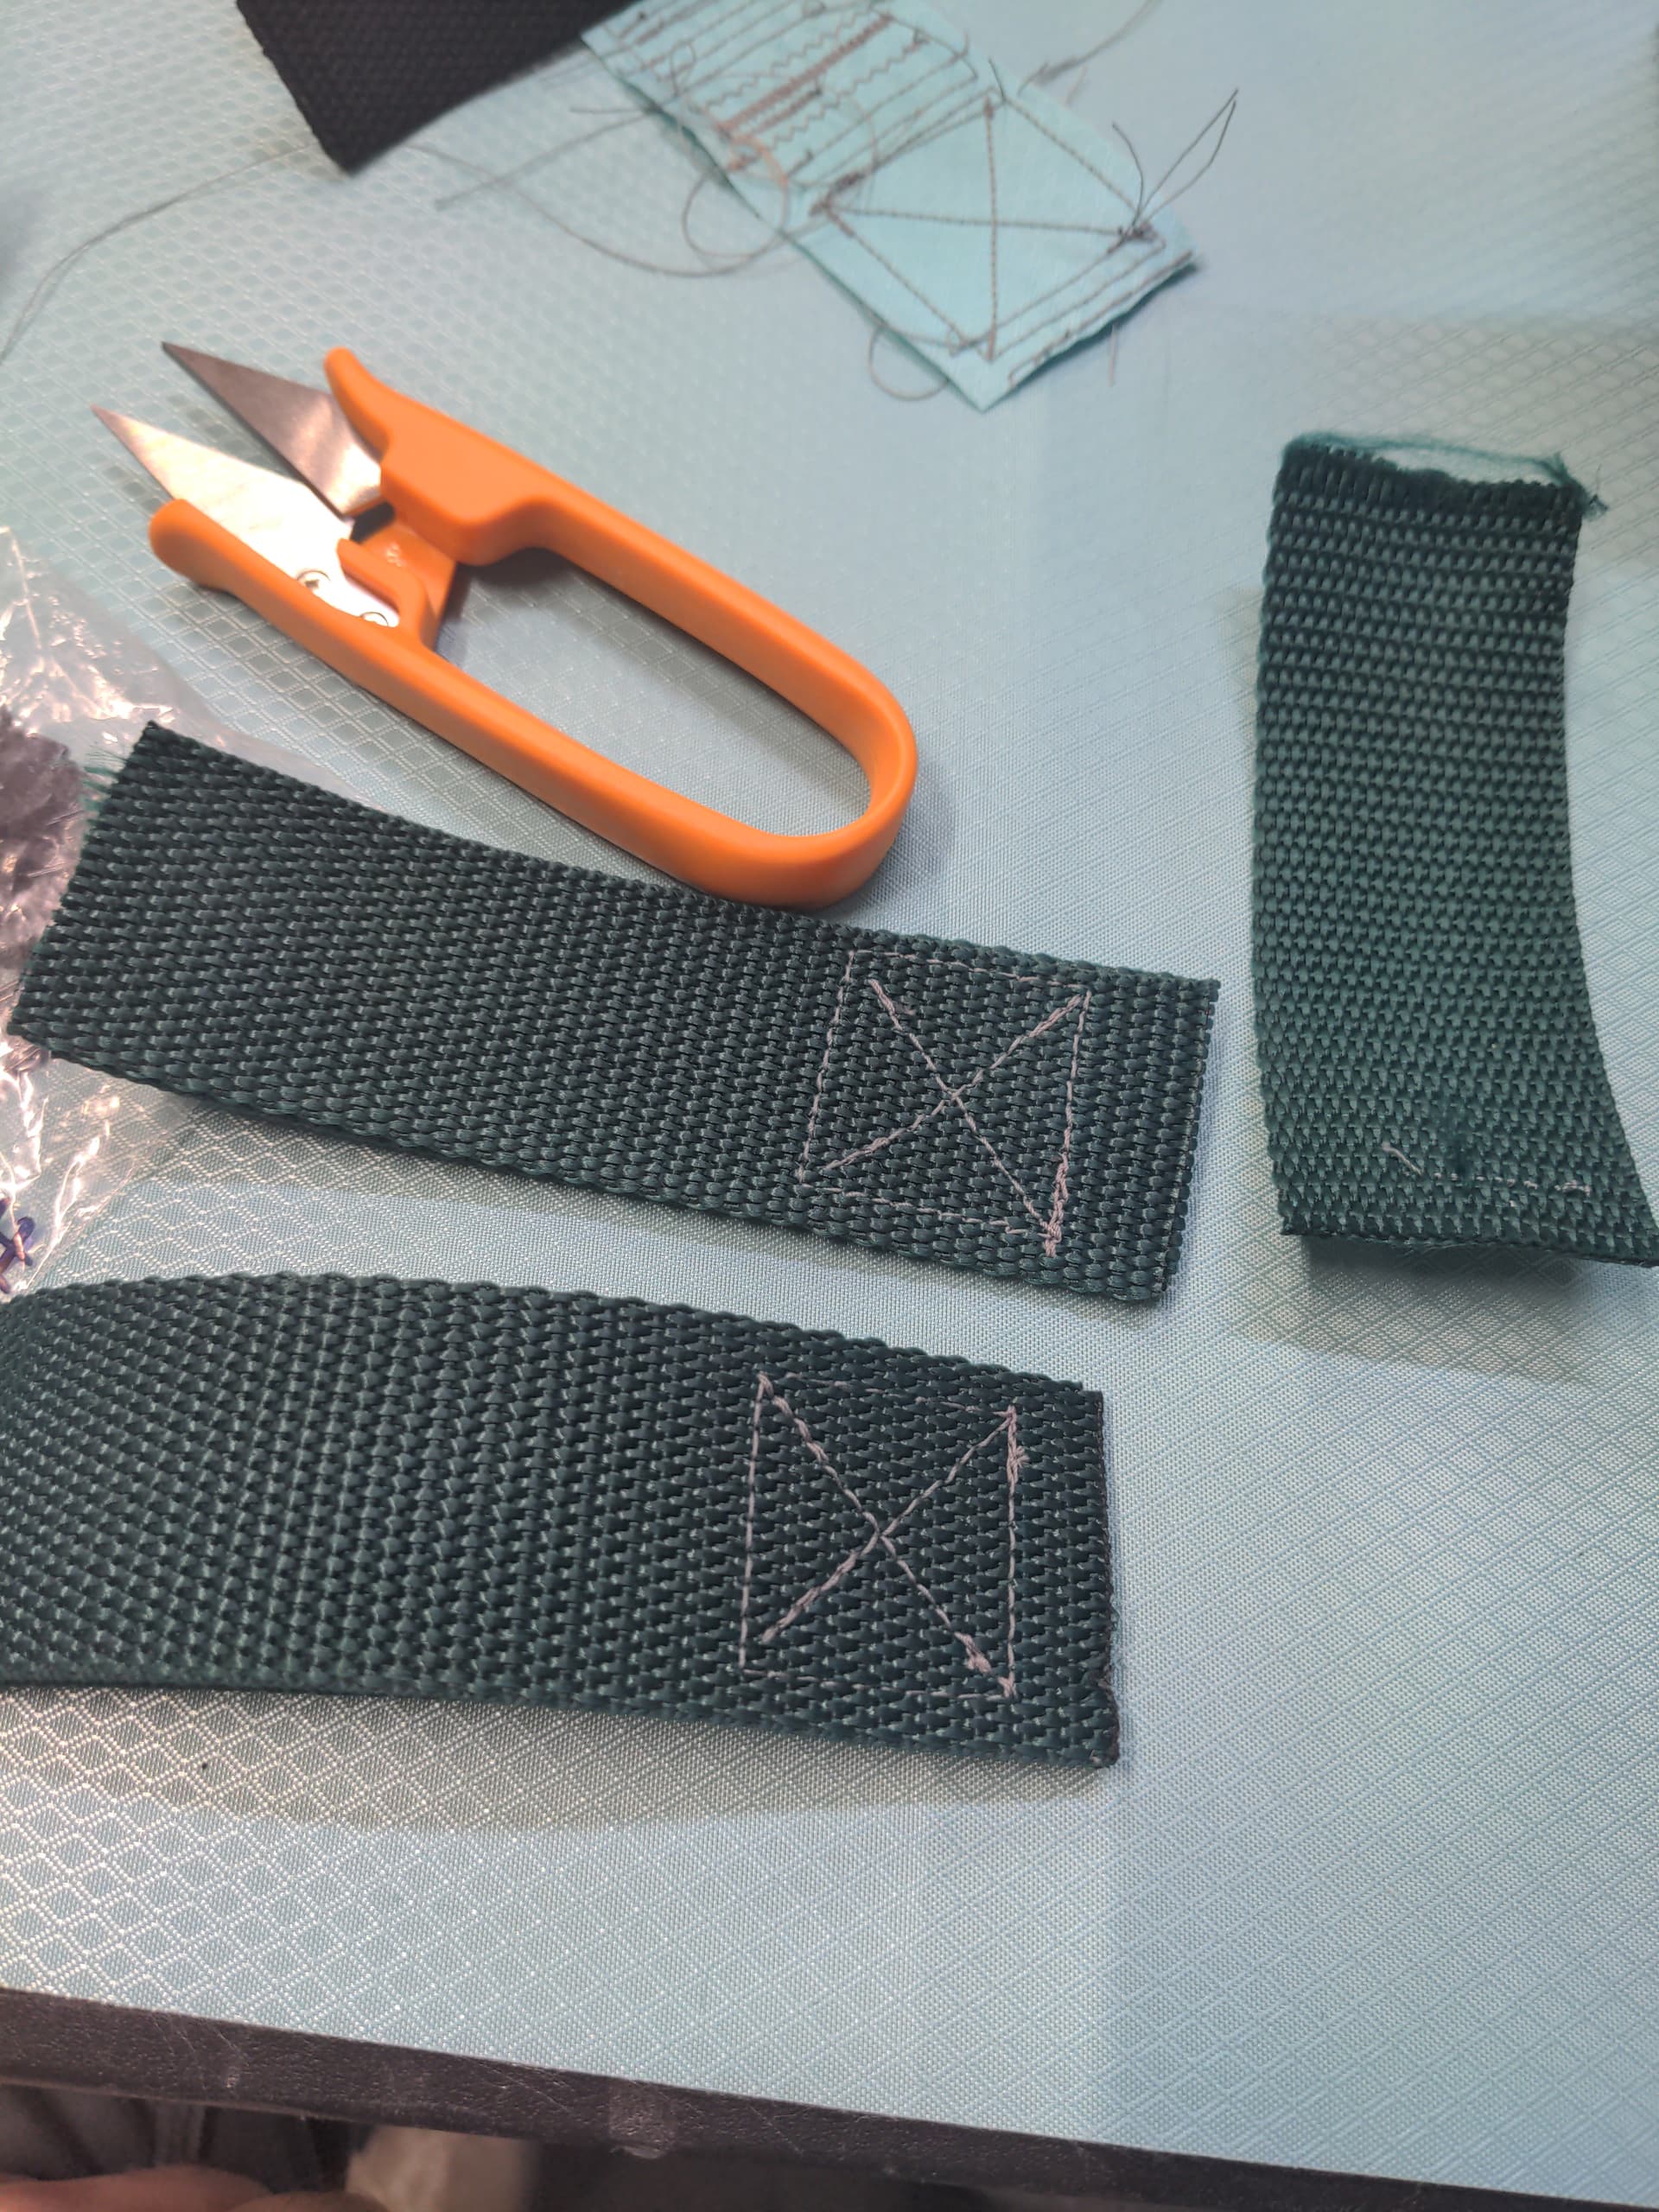
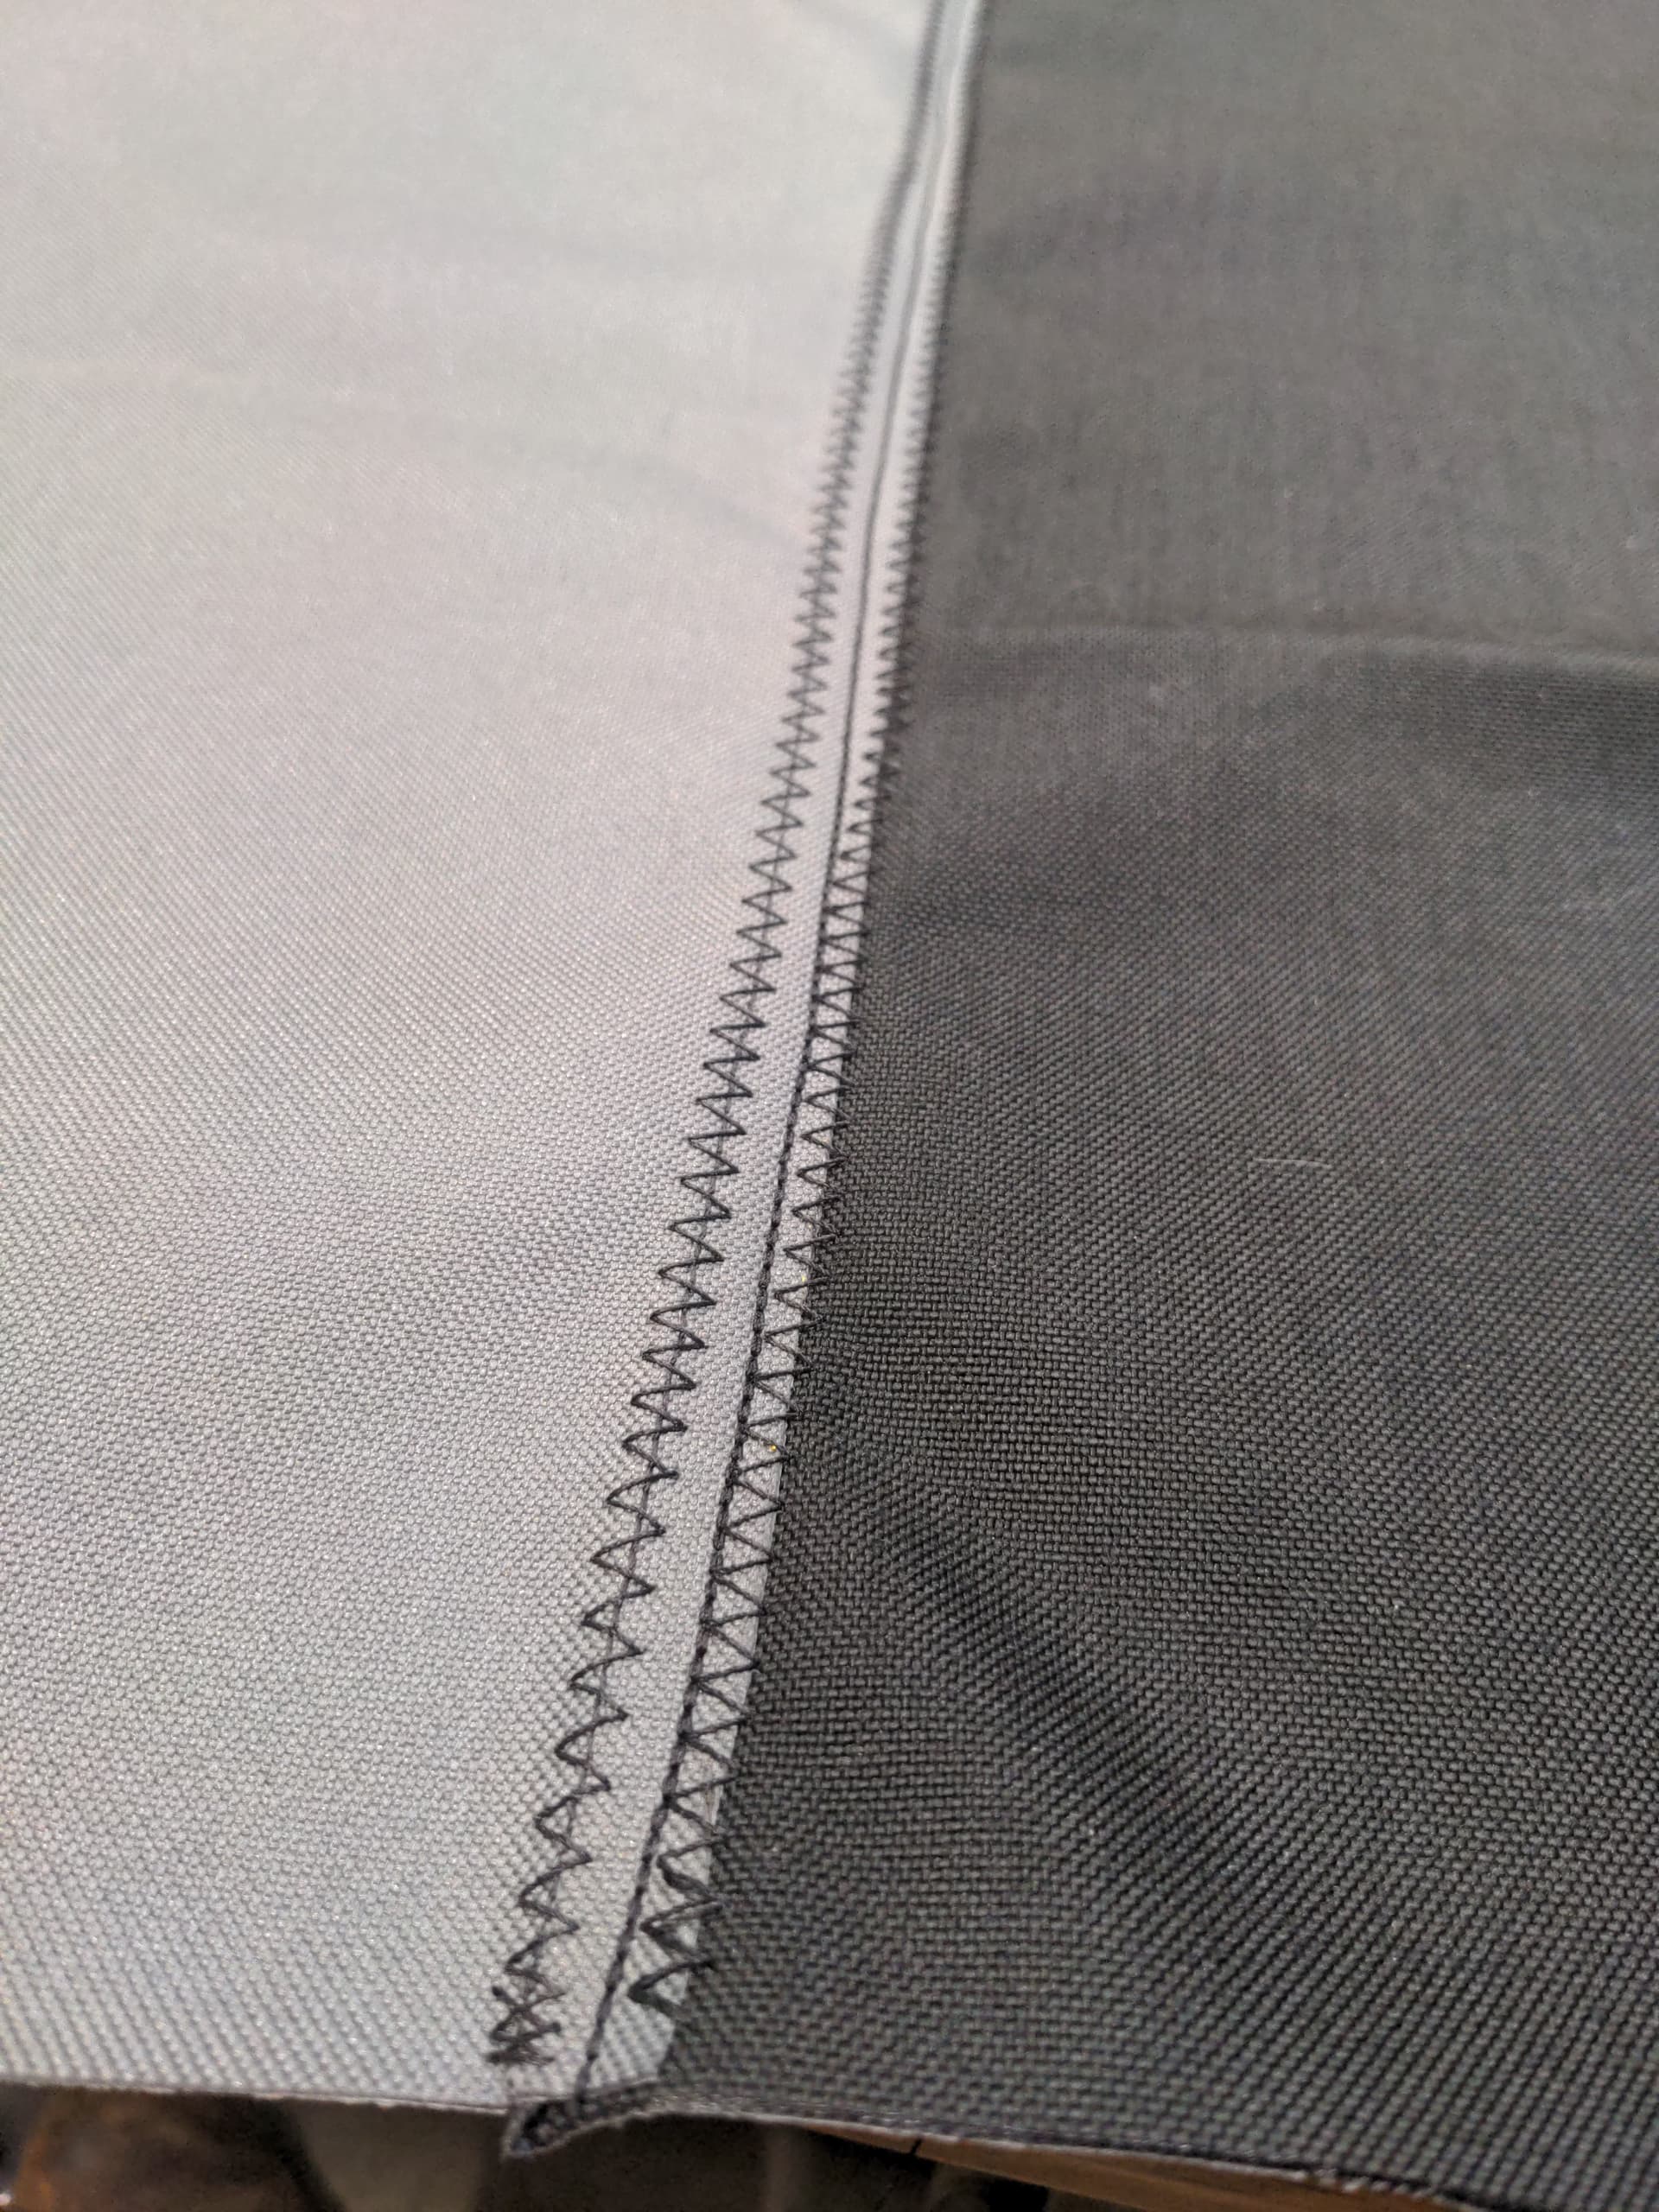
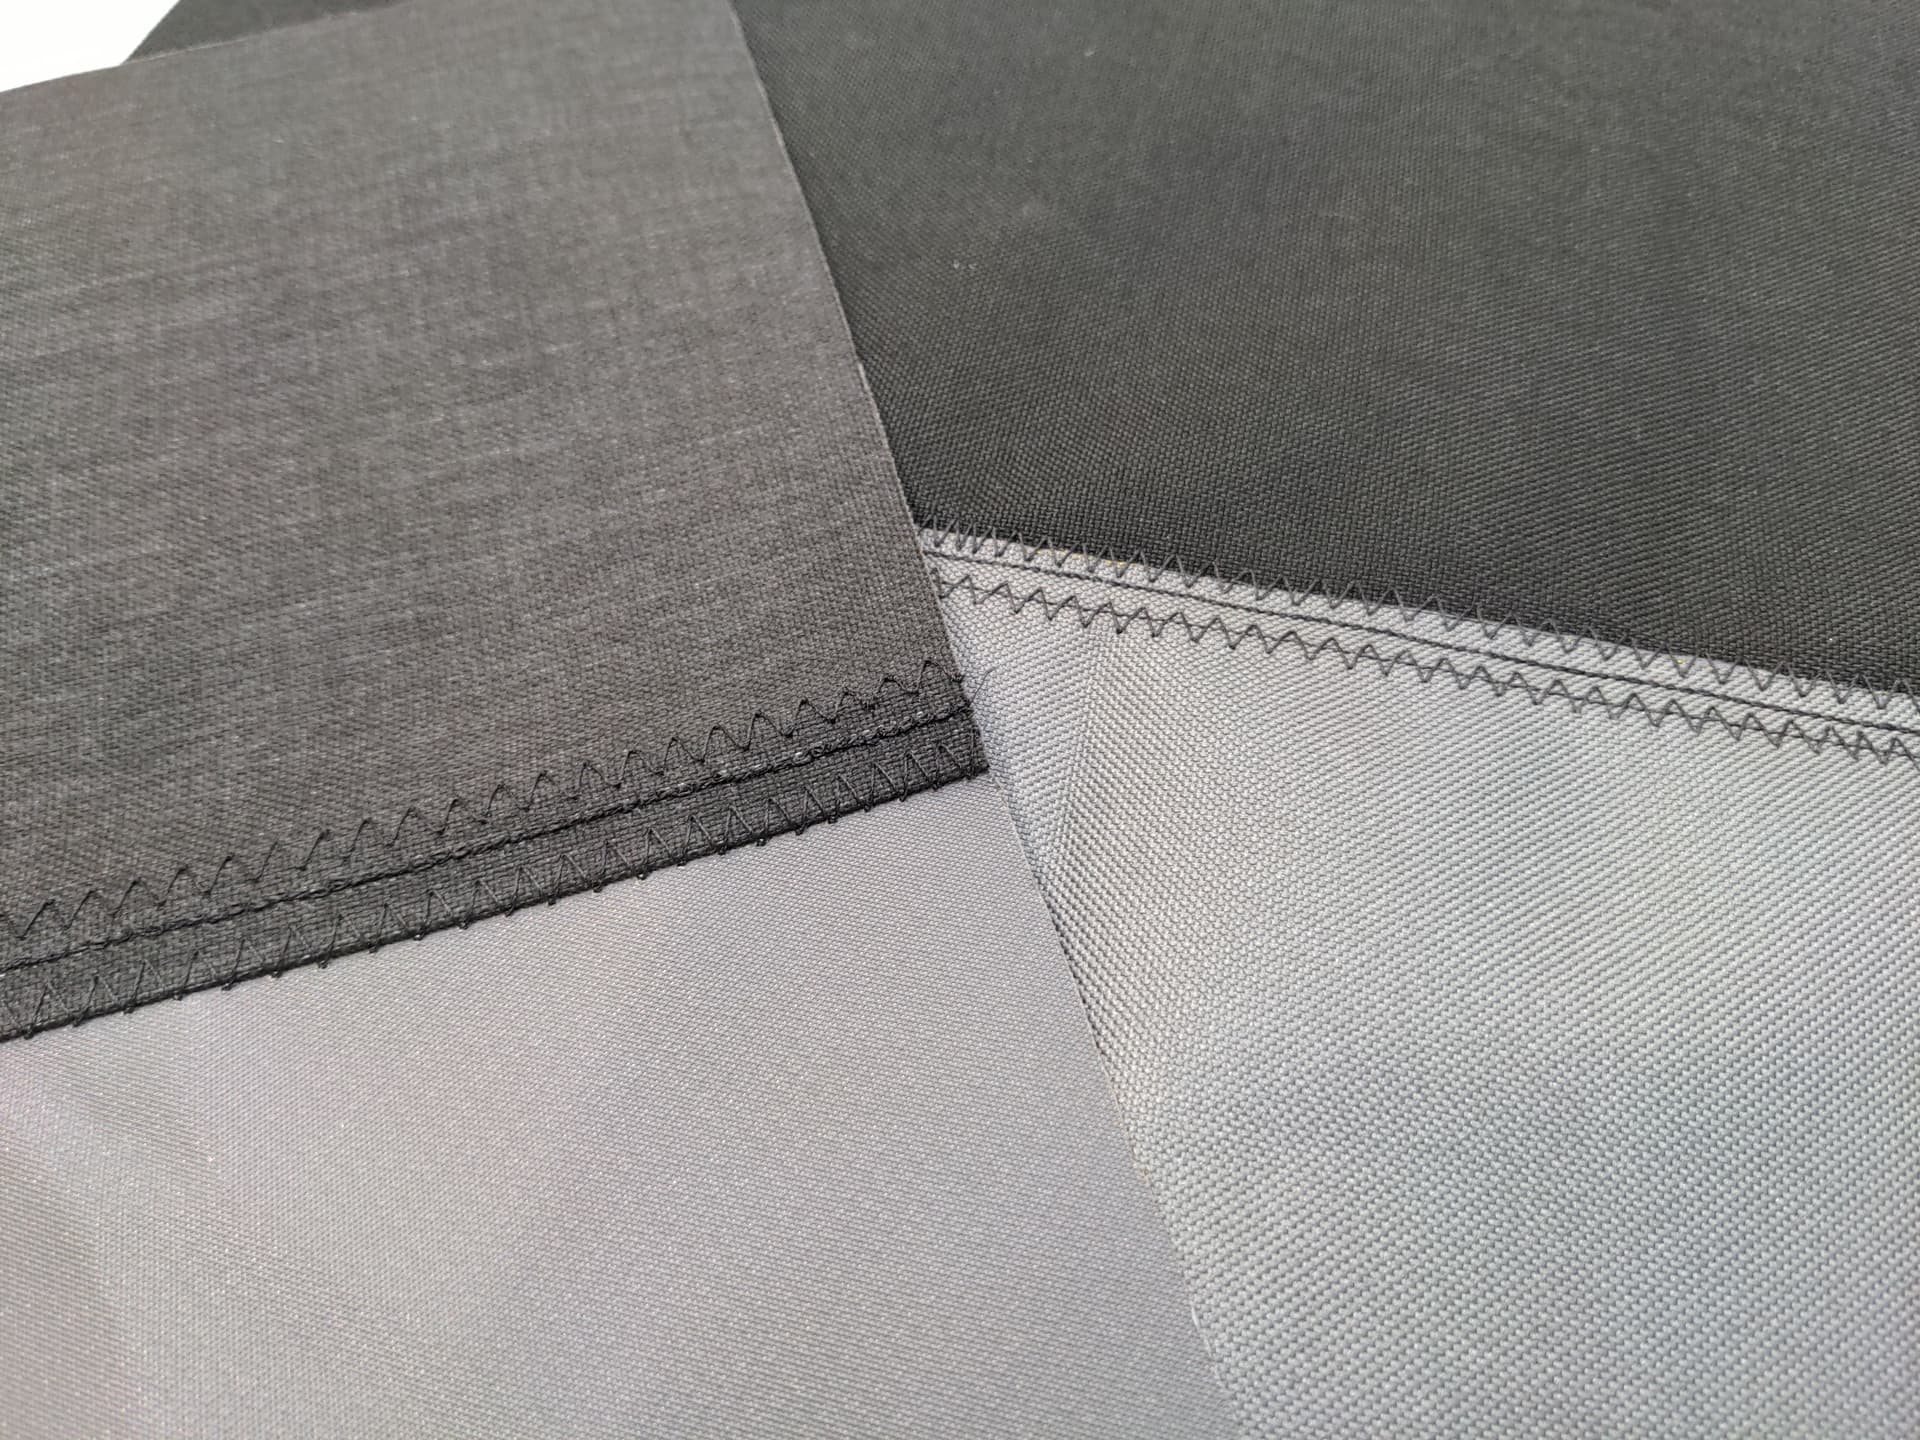
That didn’t seem super strong, and had that exposed edge on the outside. So just to get some more stitches in I tried overcasting the edge with a zigzag to see what would happen.

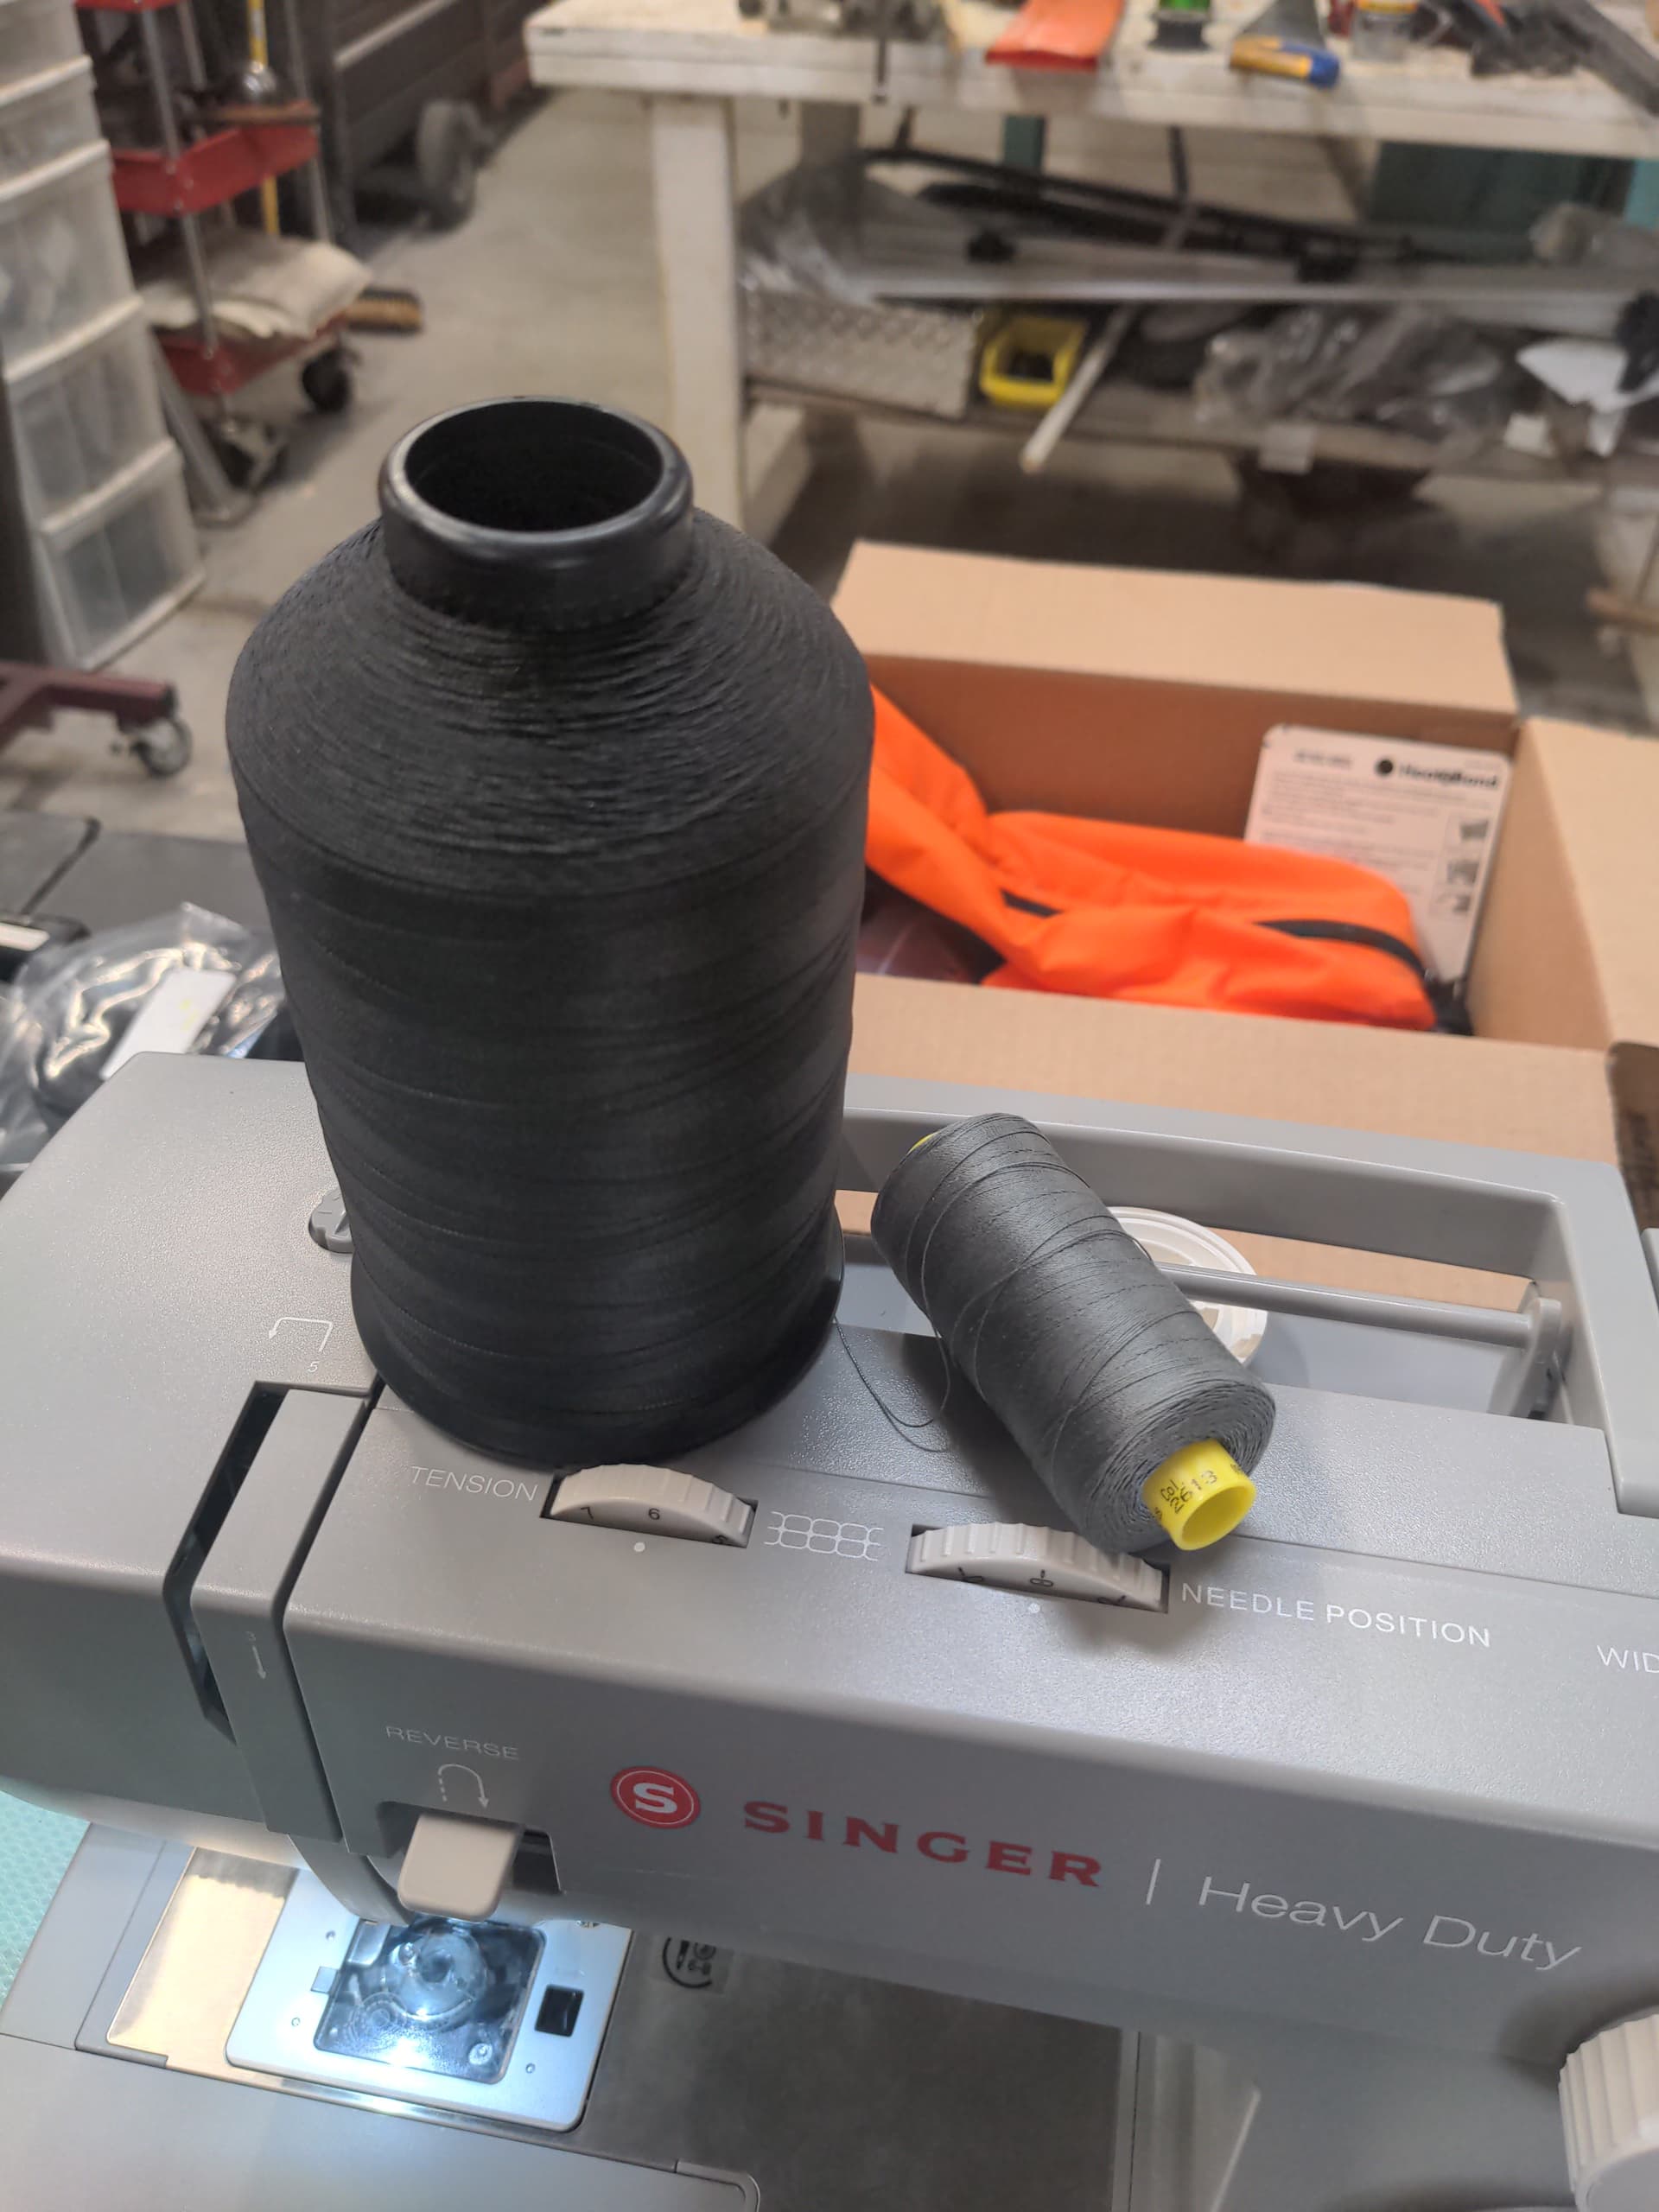
It was OK I guess. It kinda feels like a wide zig-zag stitch doesn’t tension like a straight stitch. I had what I thought was a good tension set, but even cranking it up it still felt a little loose on the second zig-zag. This is after a project last week where I was able to turn up a narrow zig-zag stitch up a little too much while sewing through 3 layers of polypro webbing. As zig-zag width goes up, stitch tension goes down in proportion?

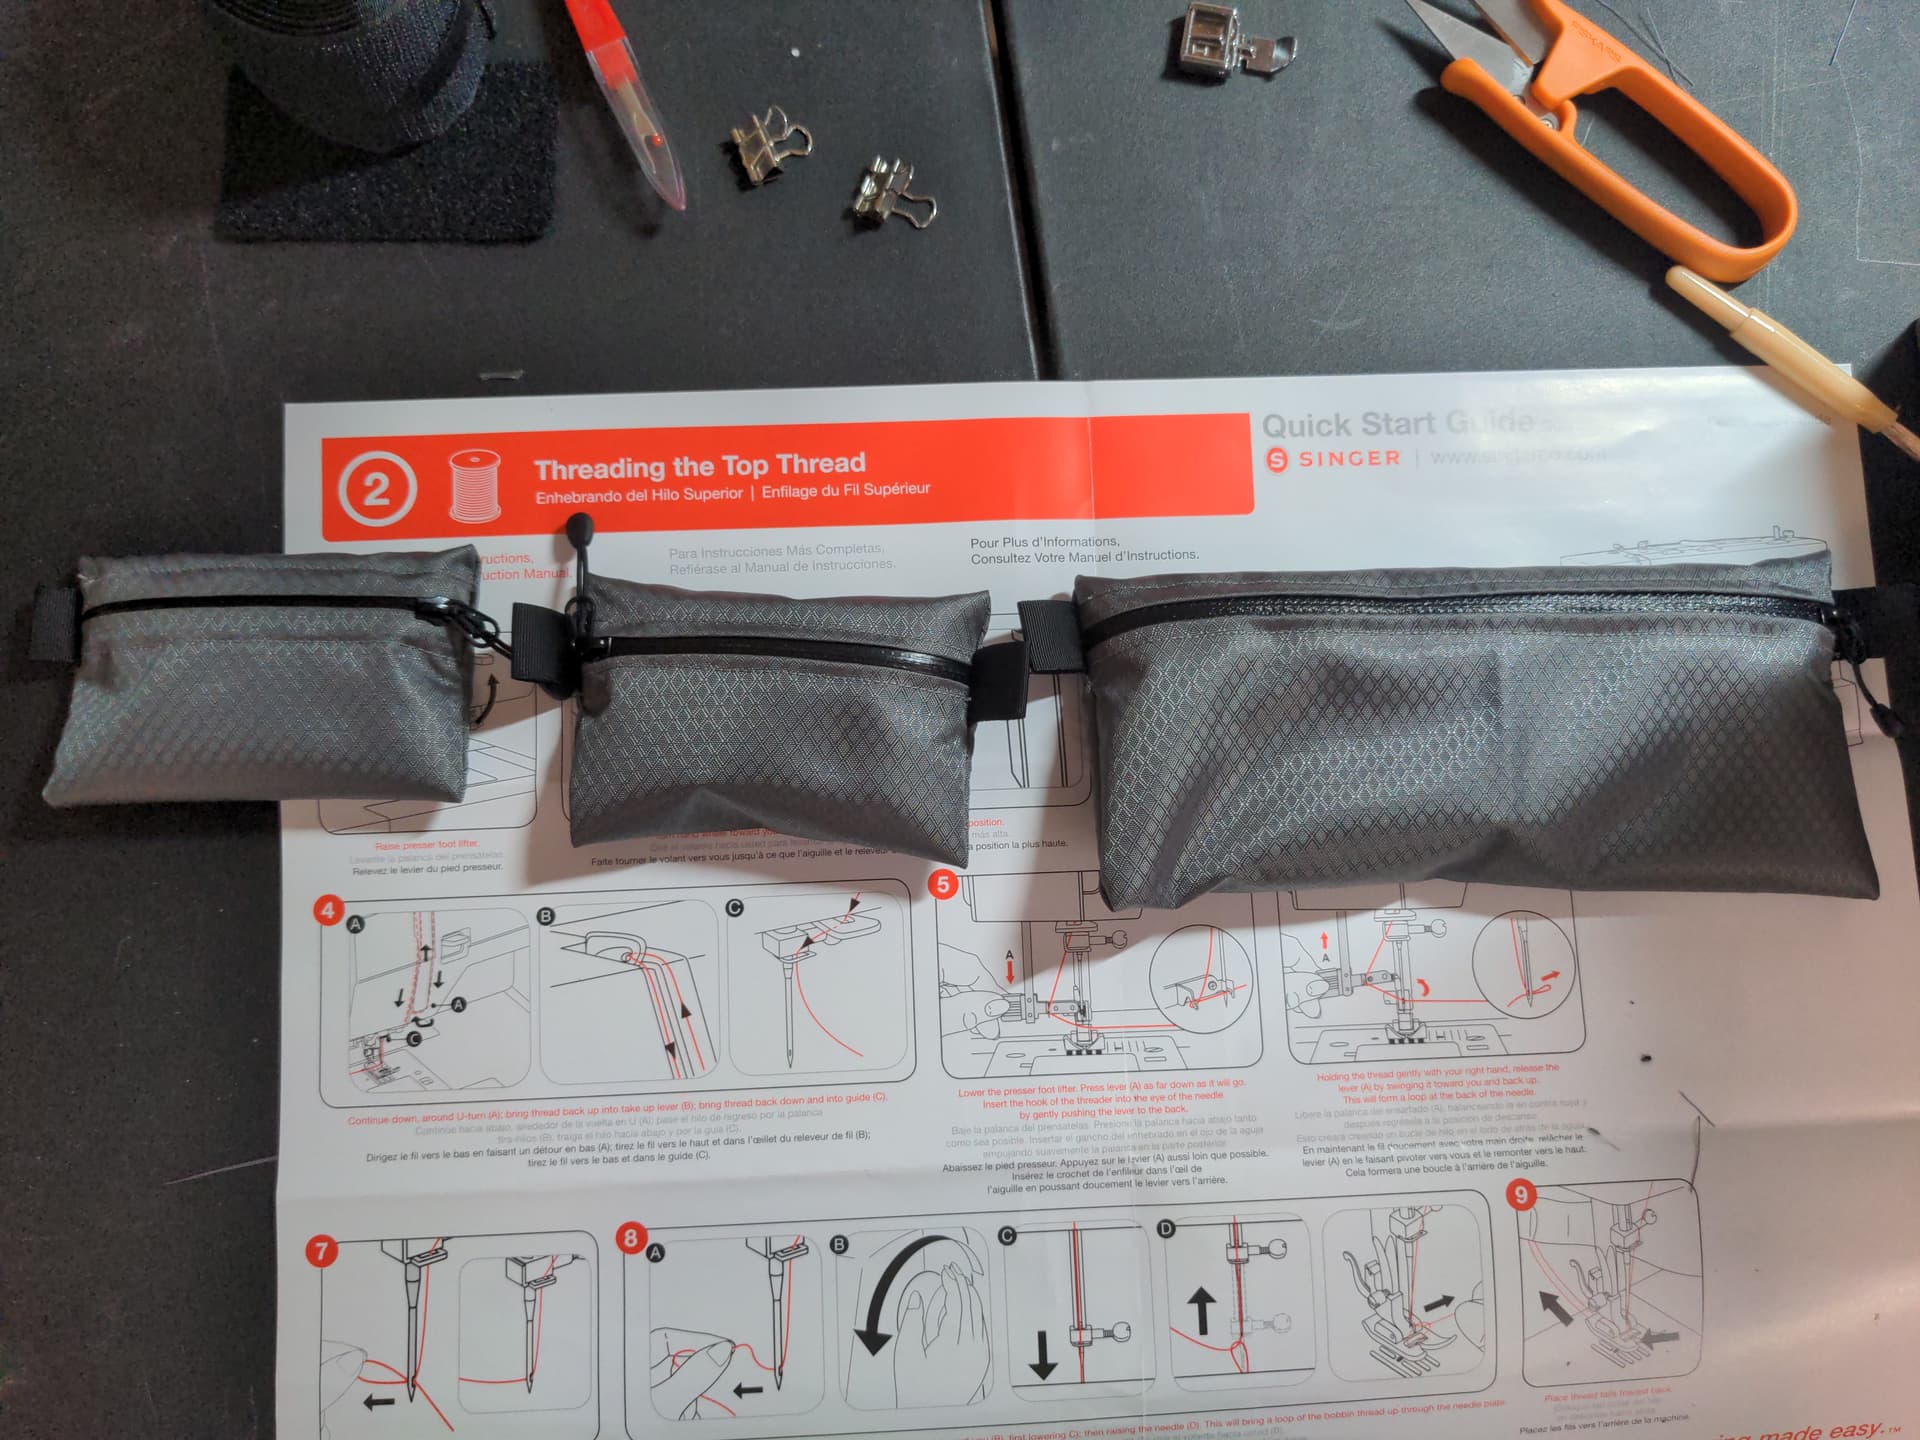
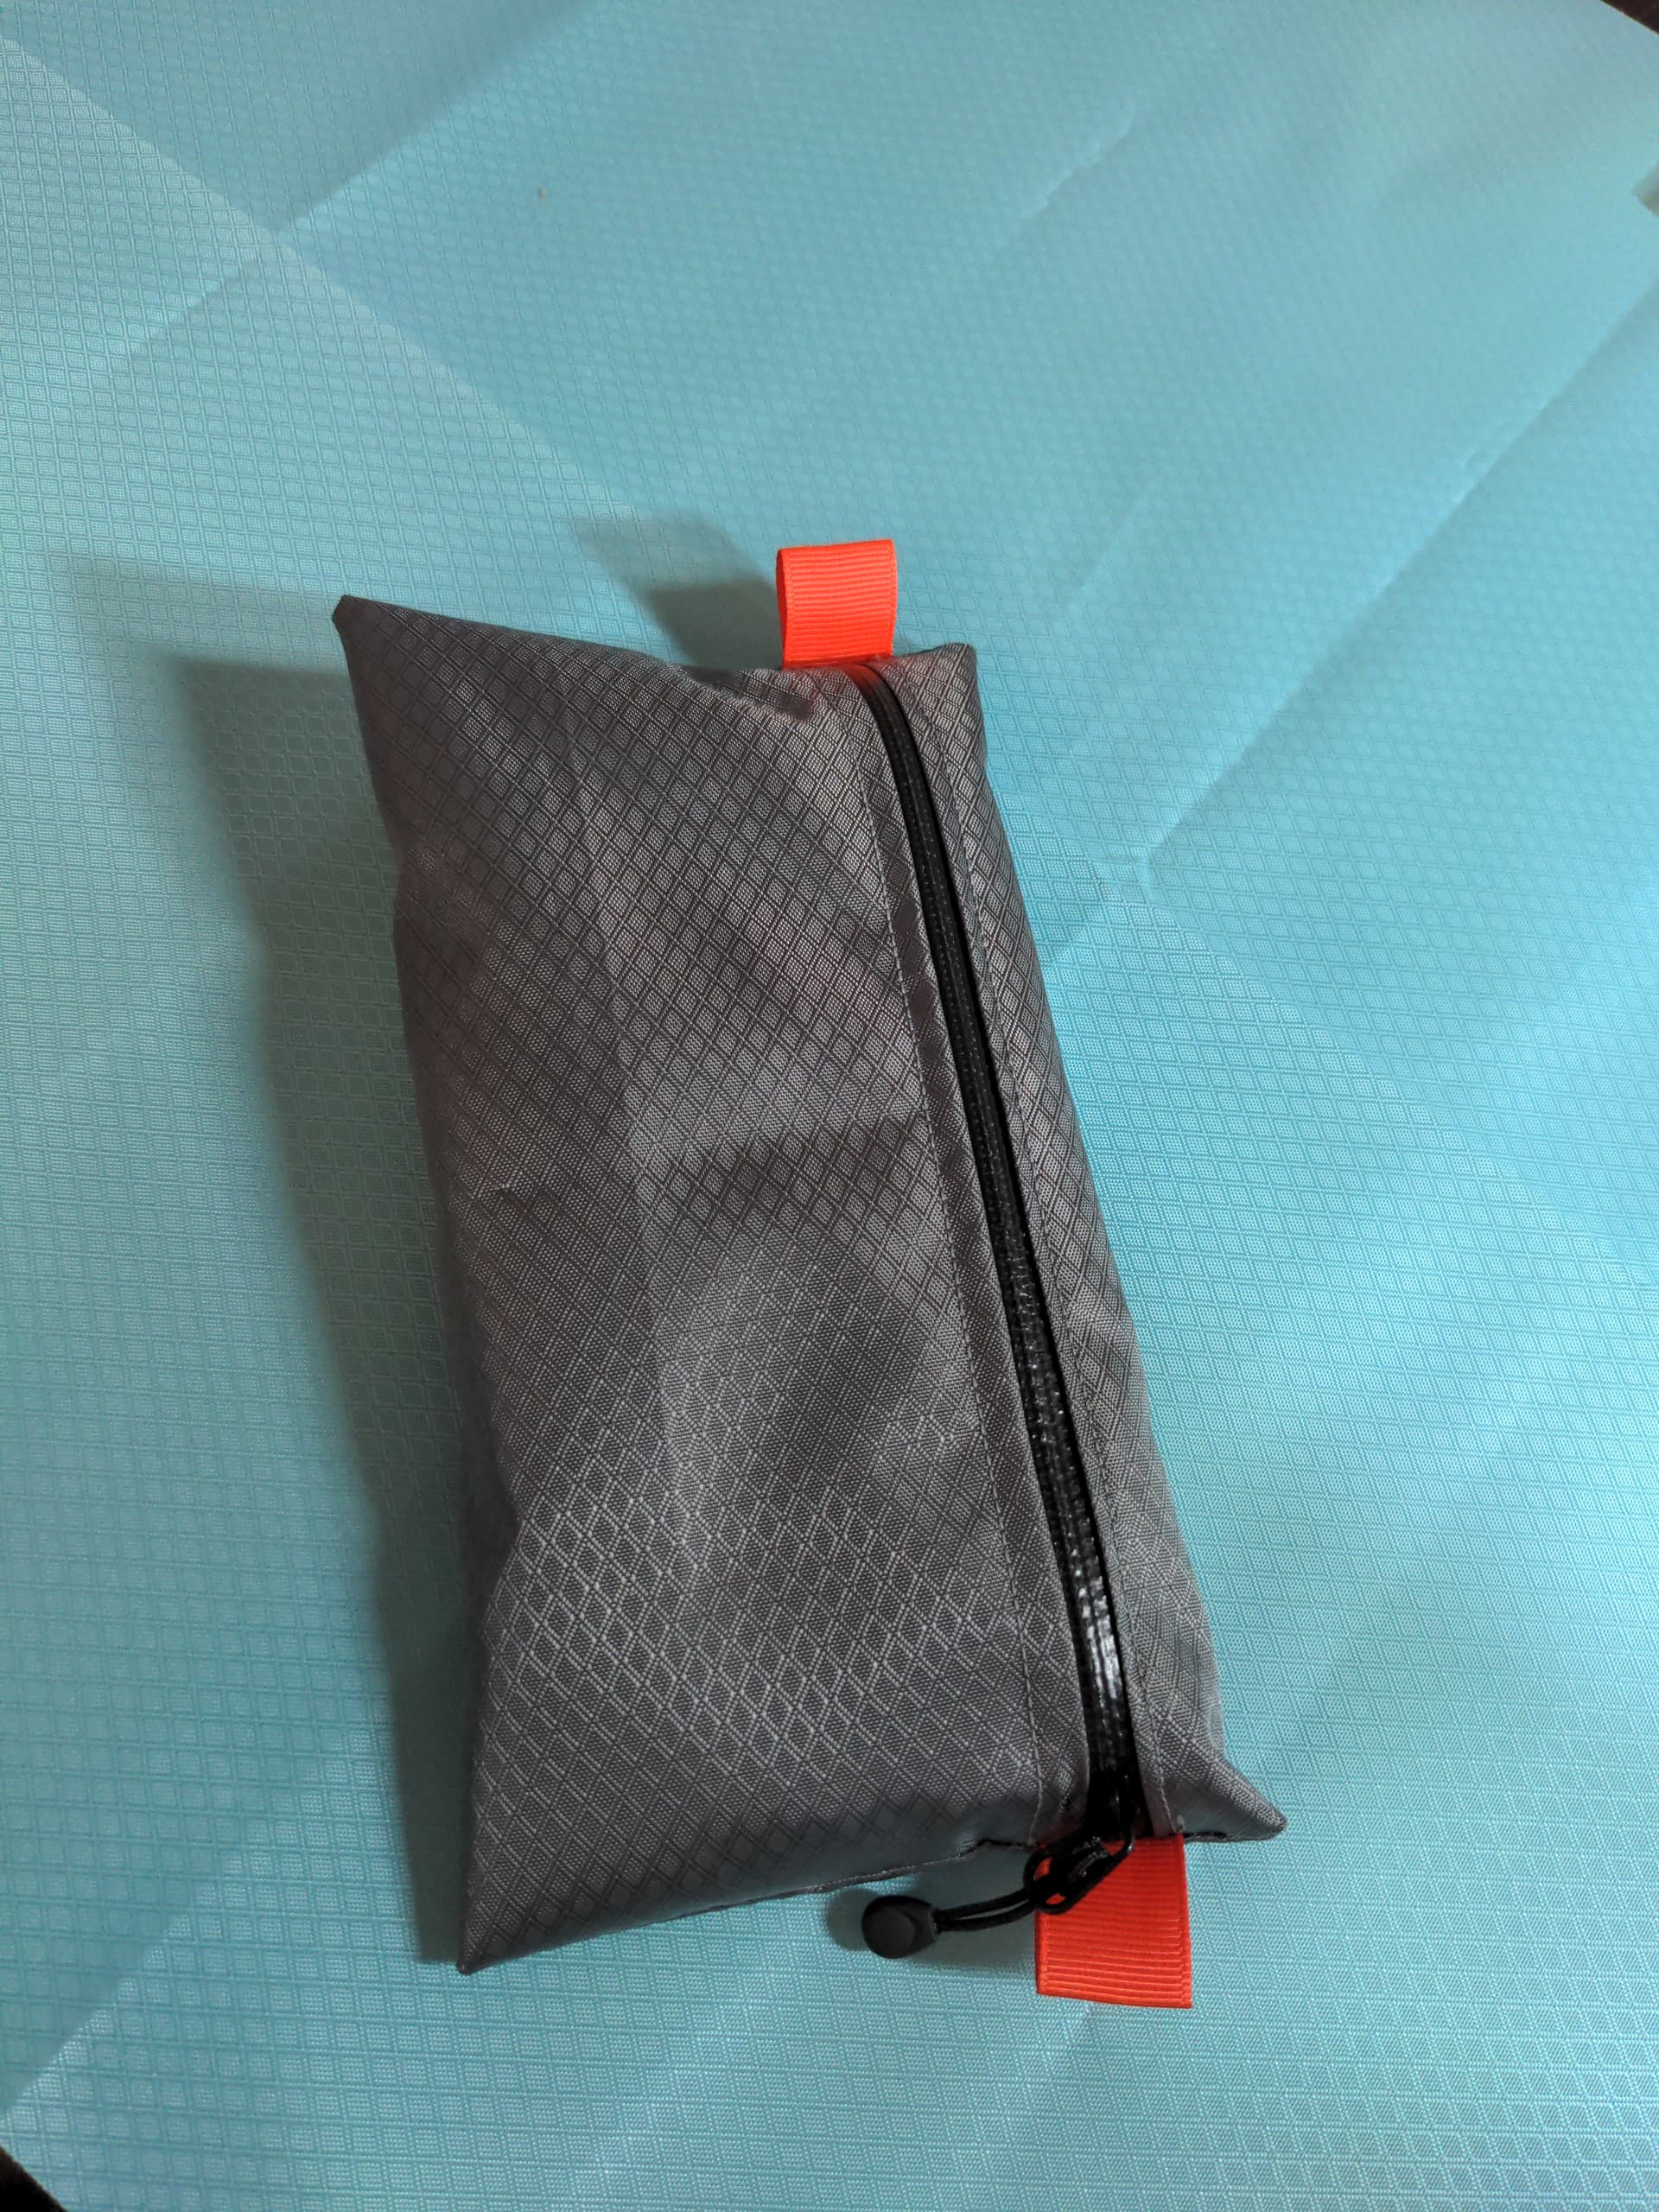
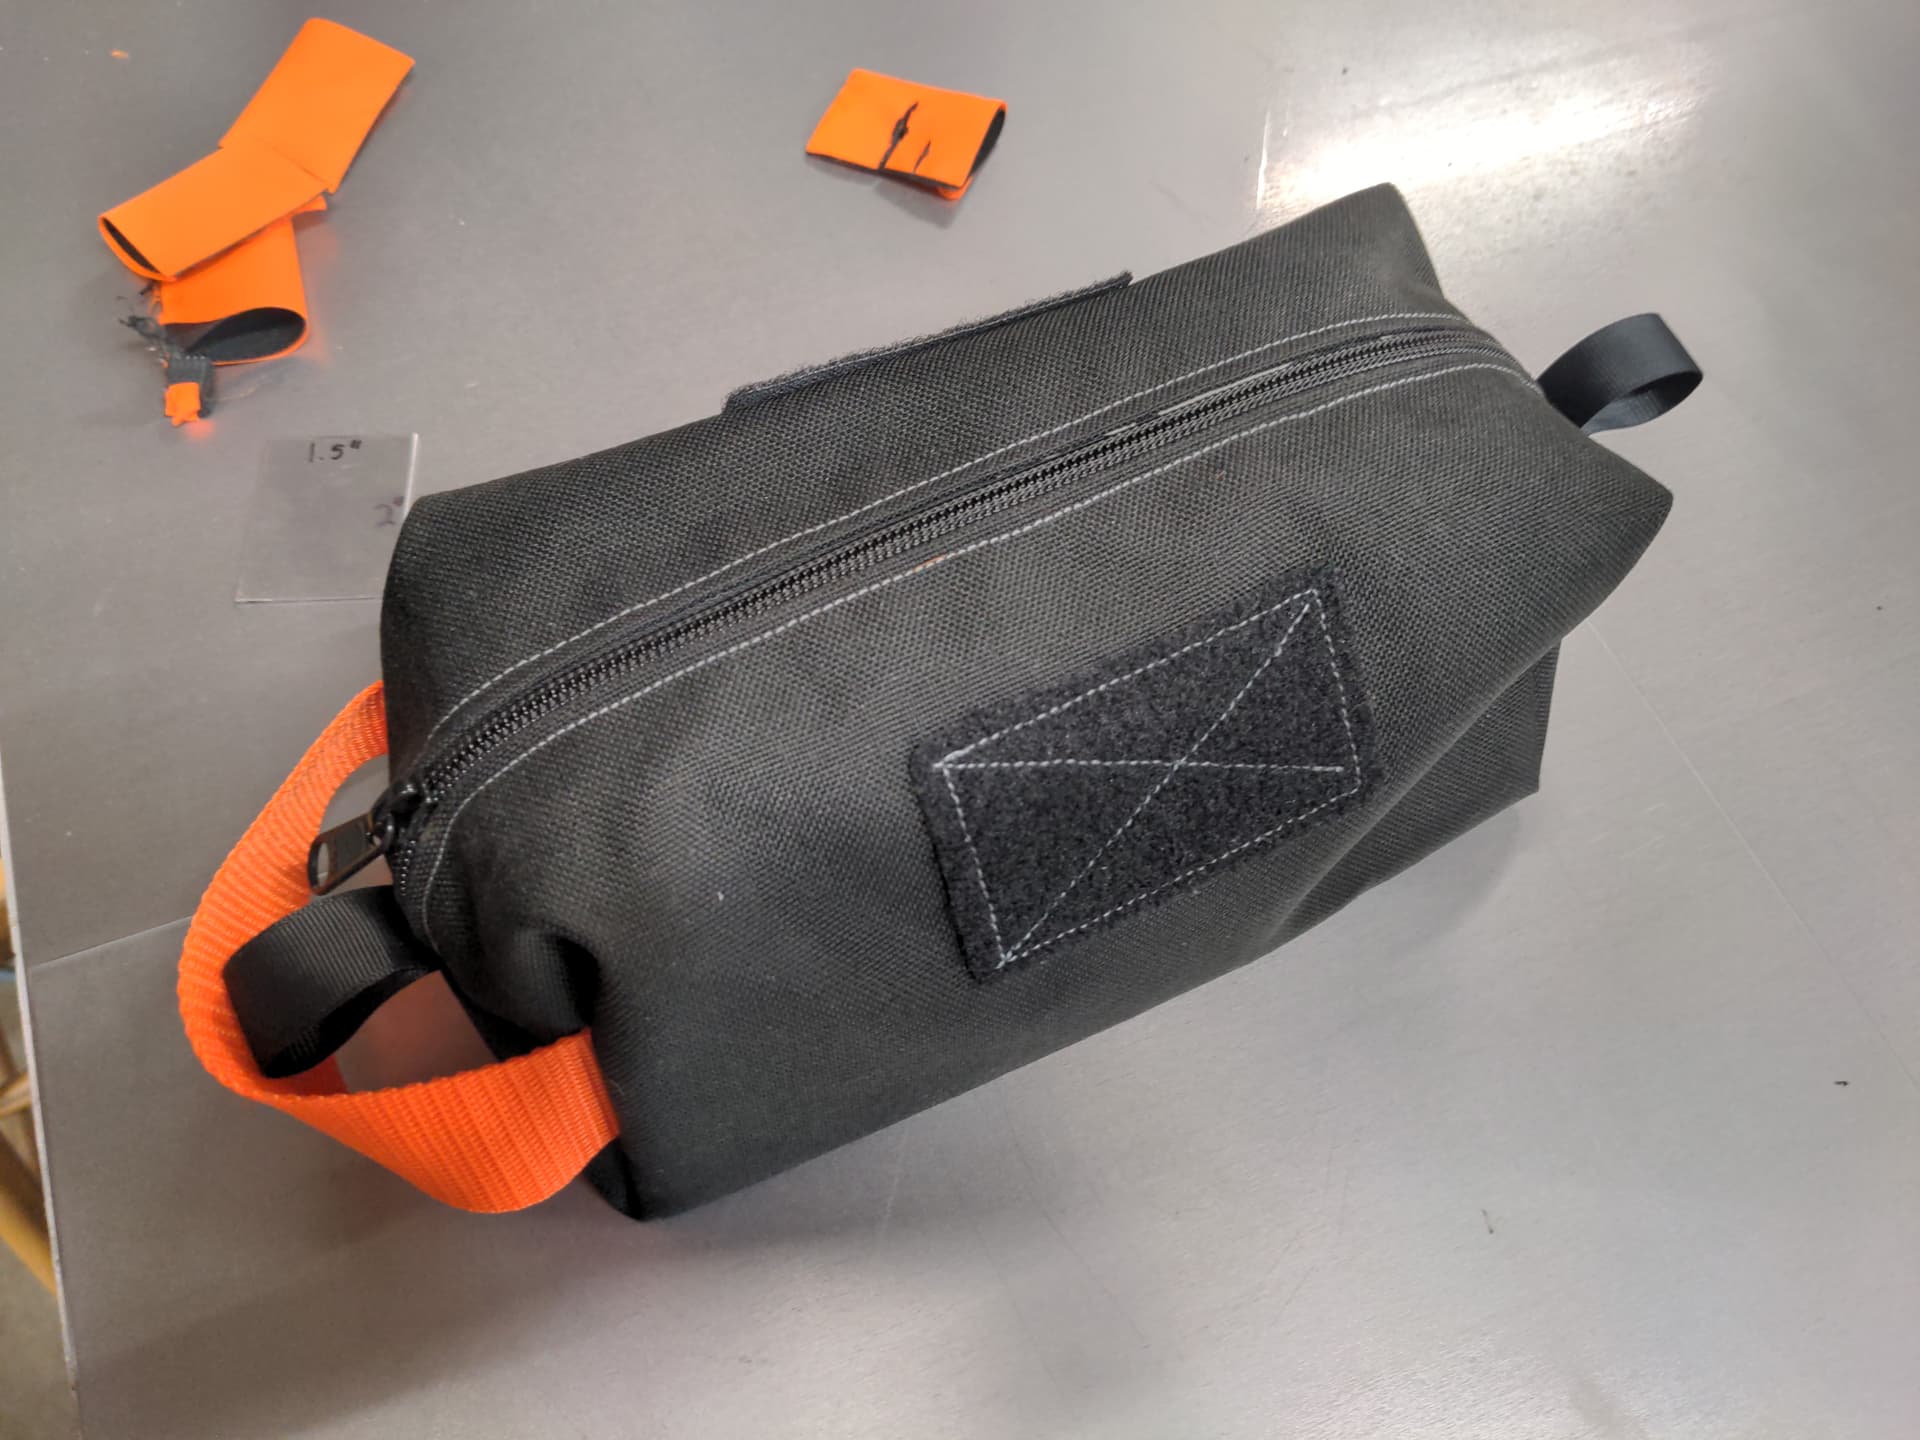
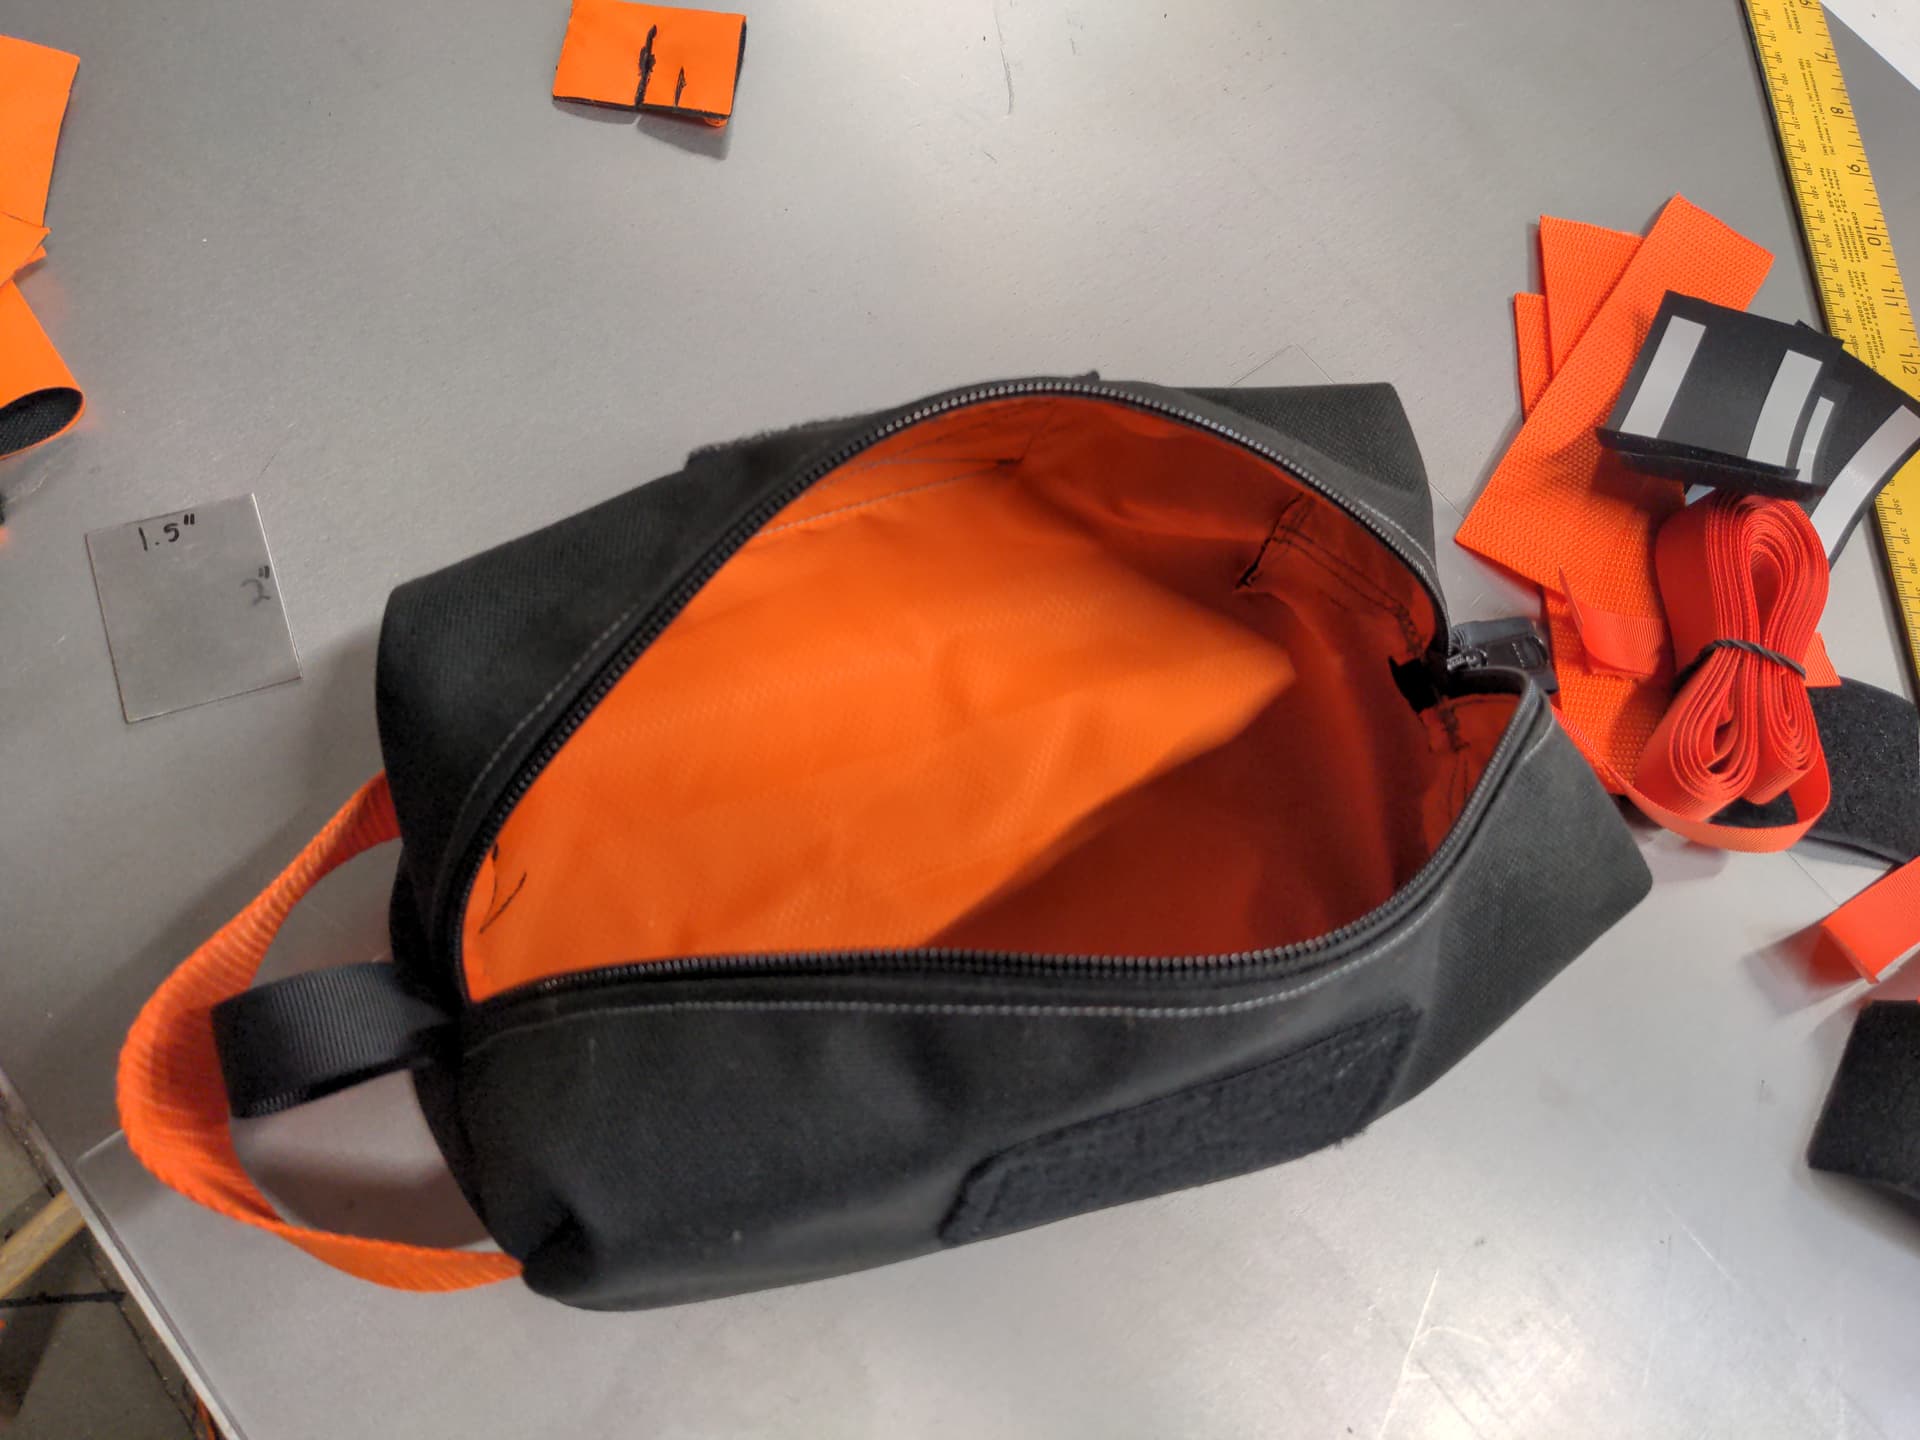
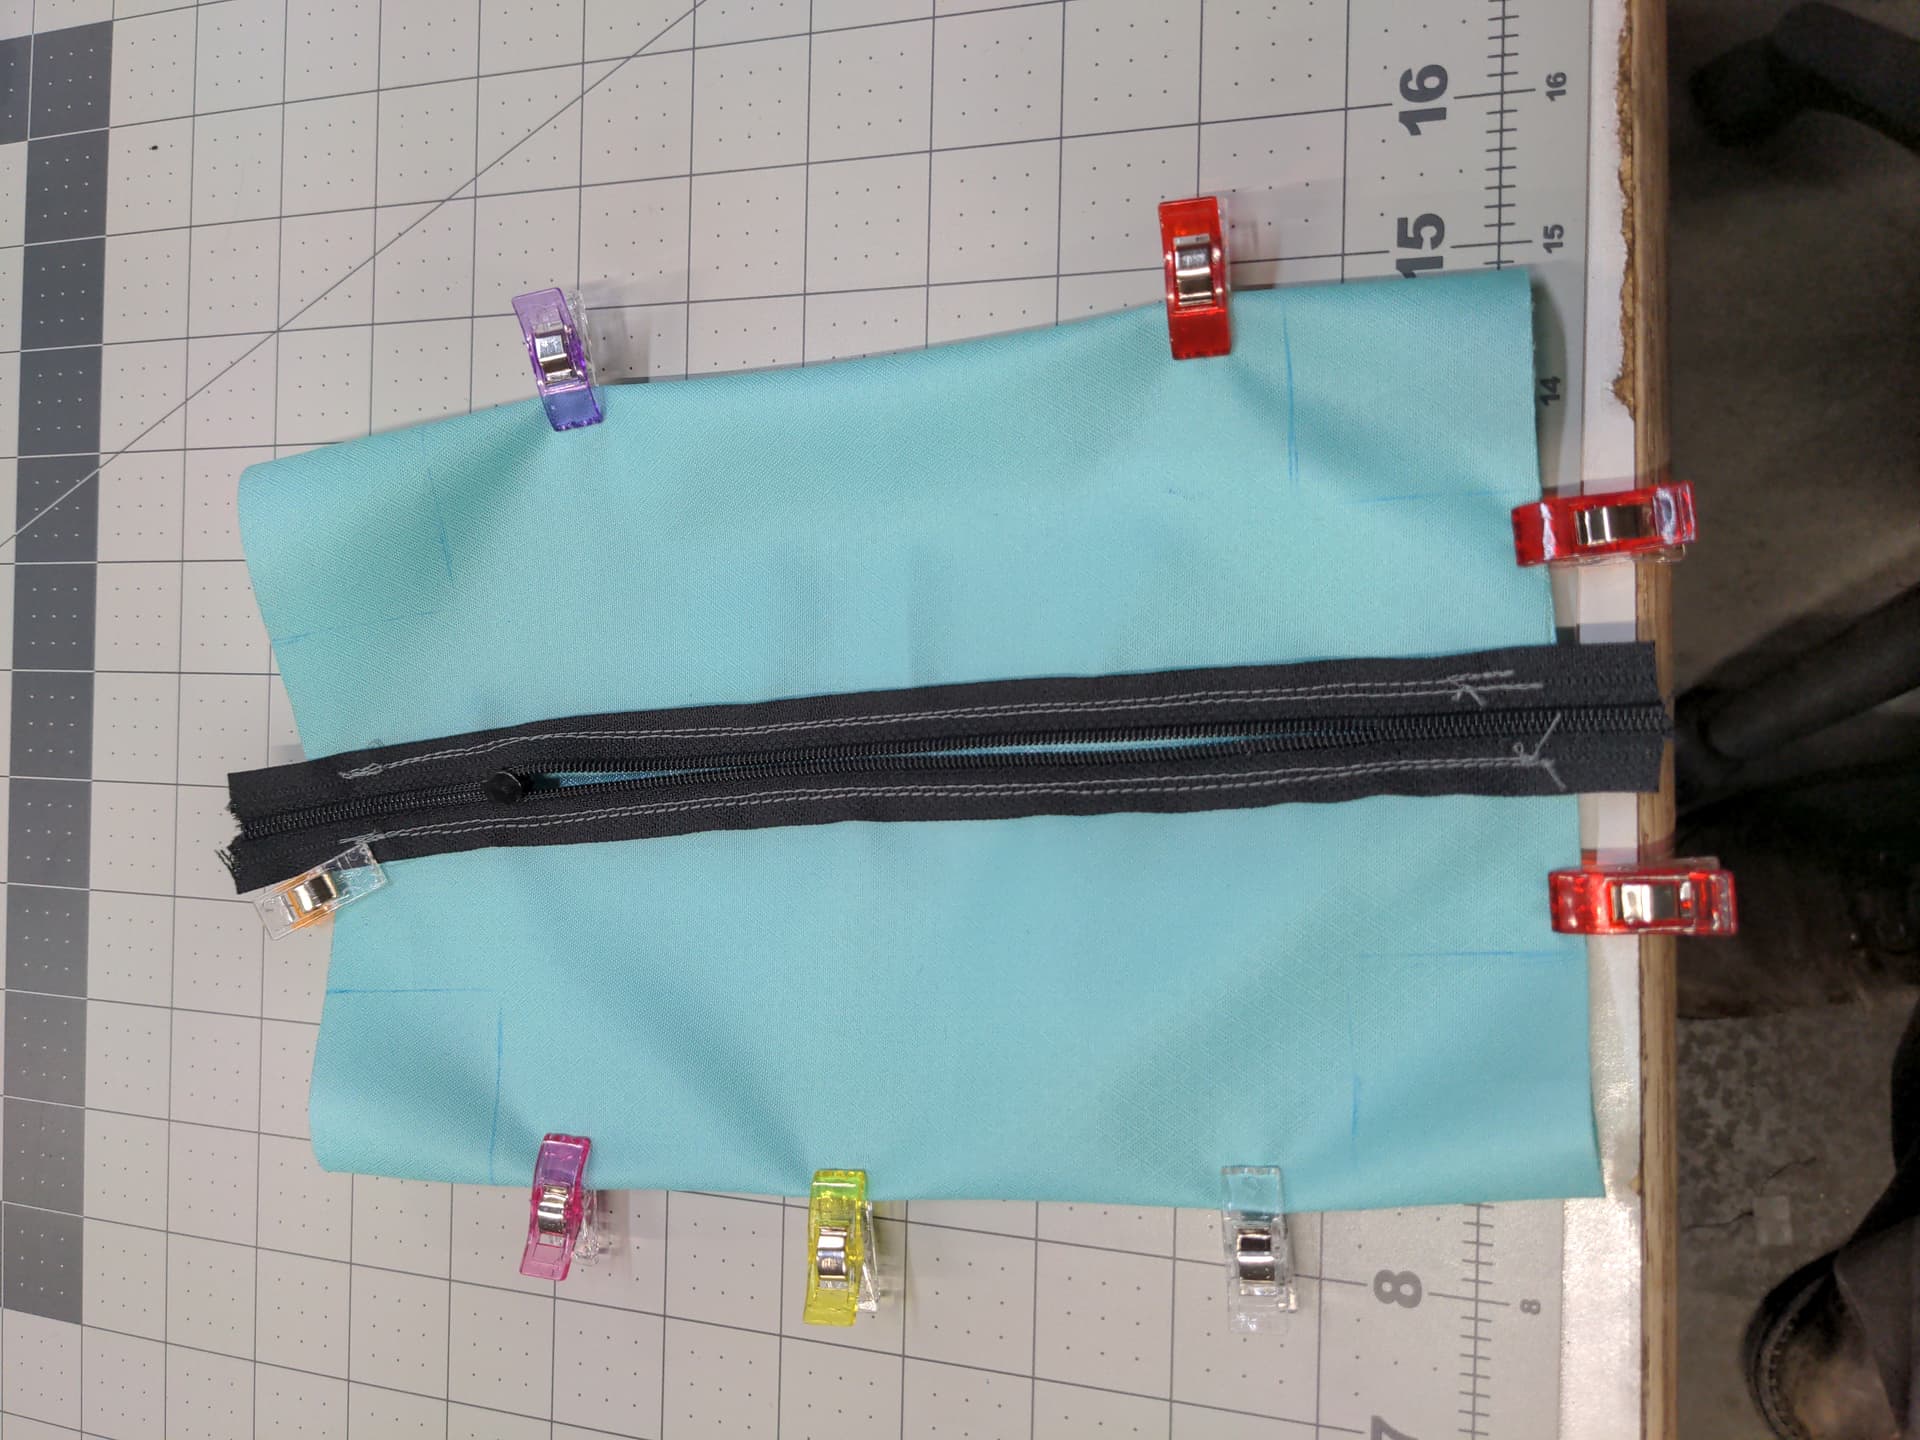
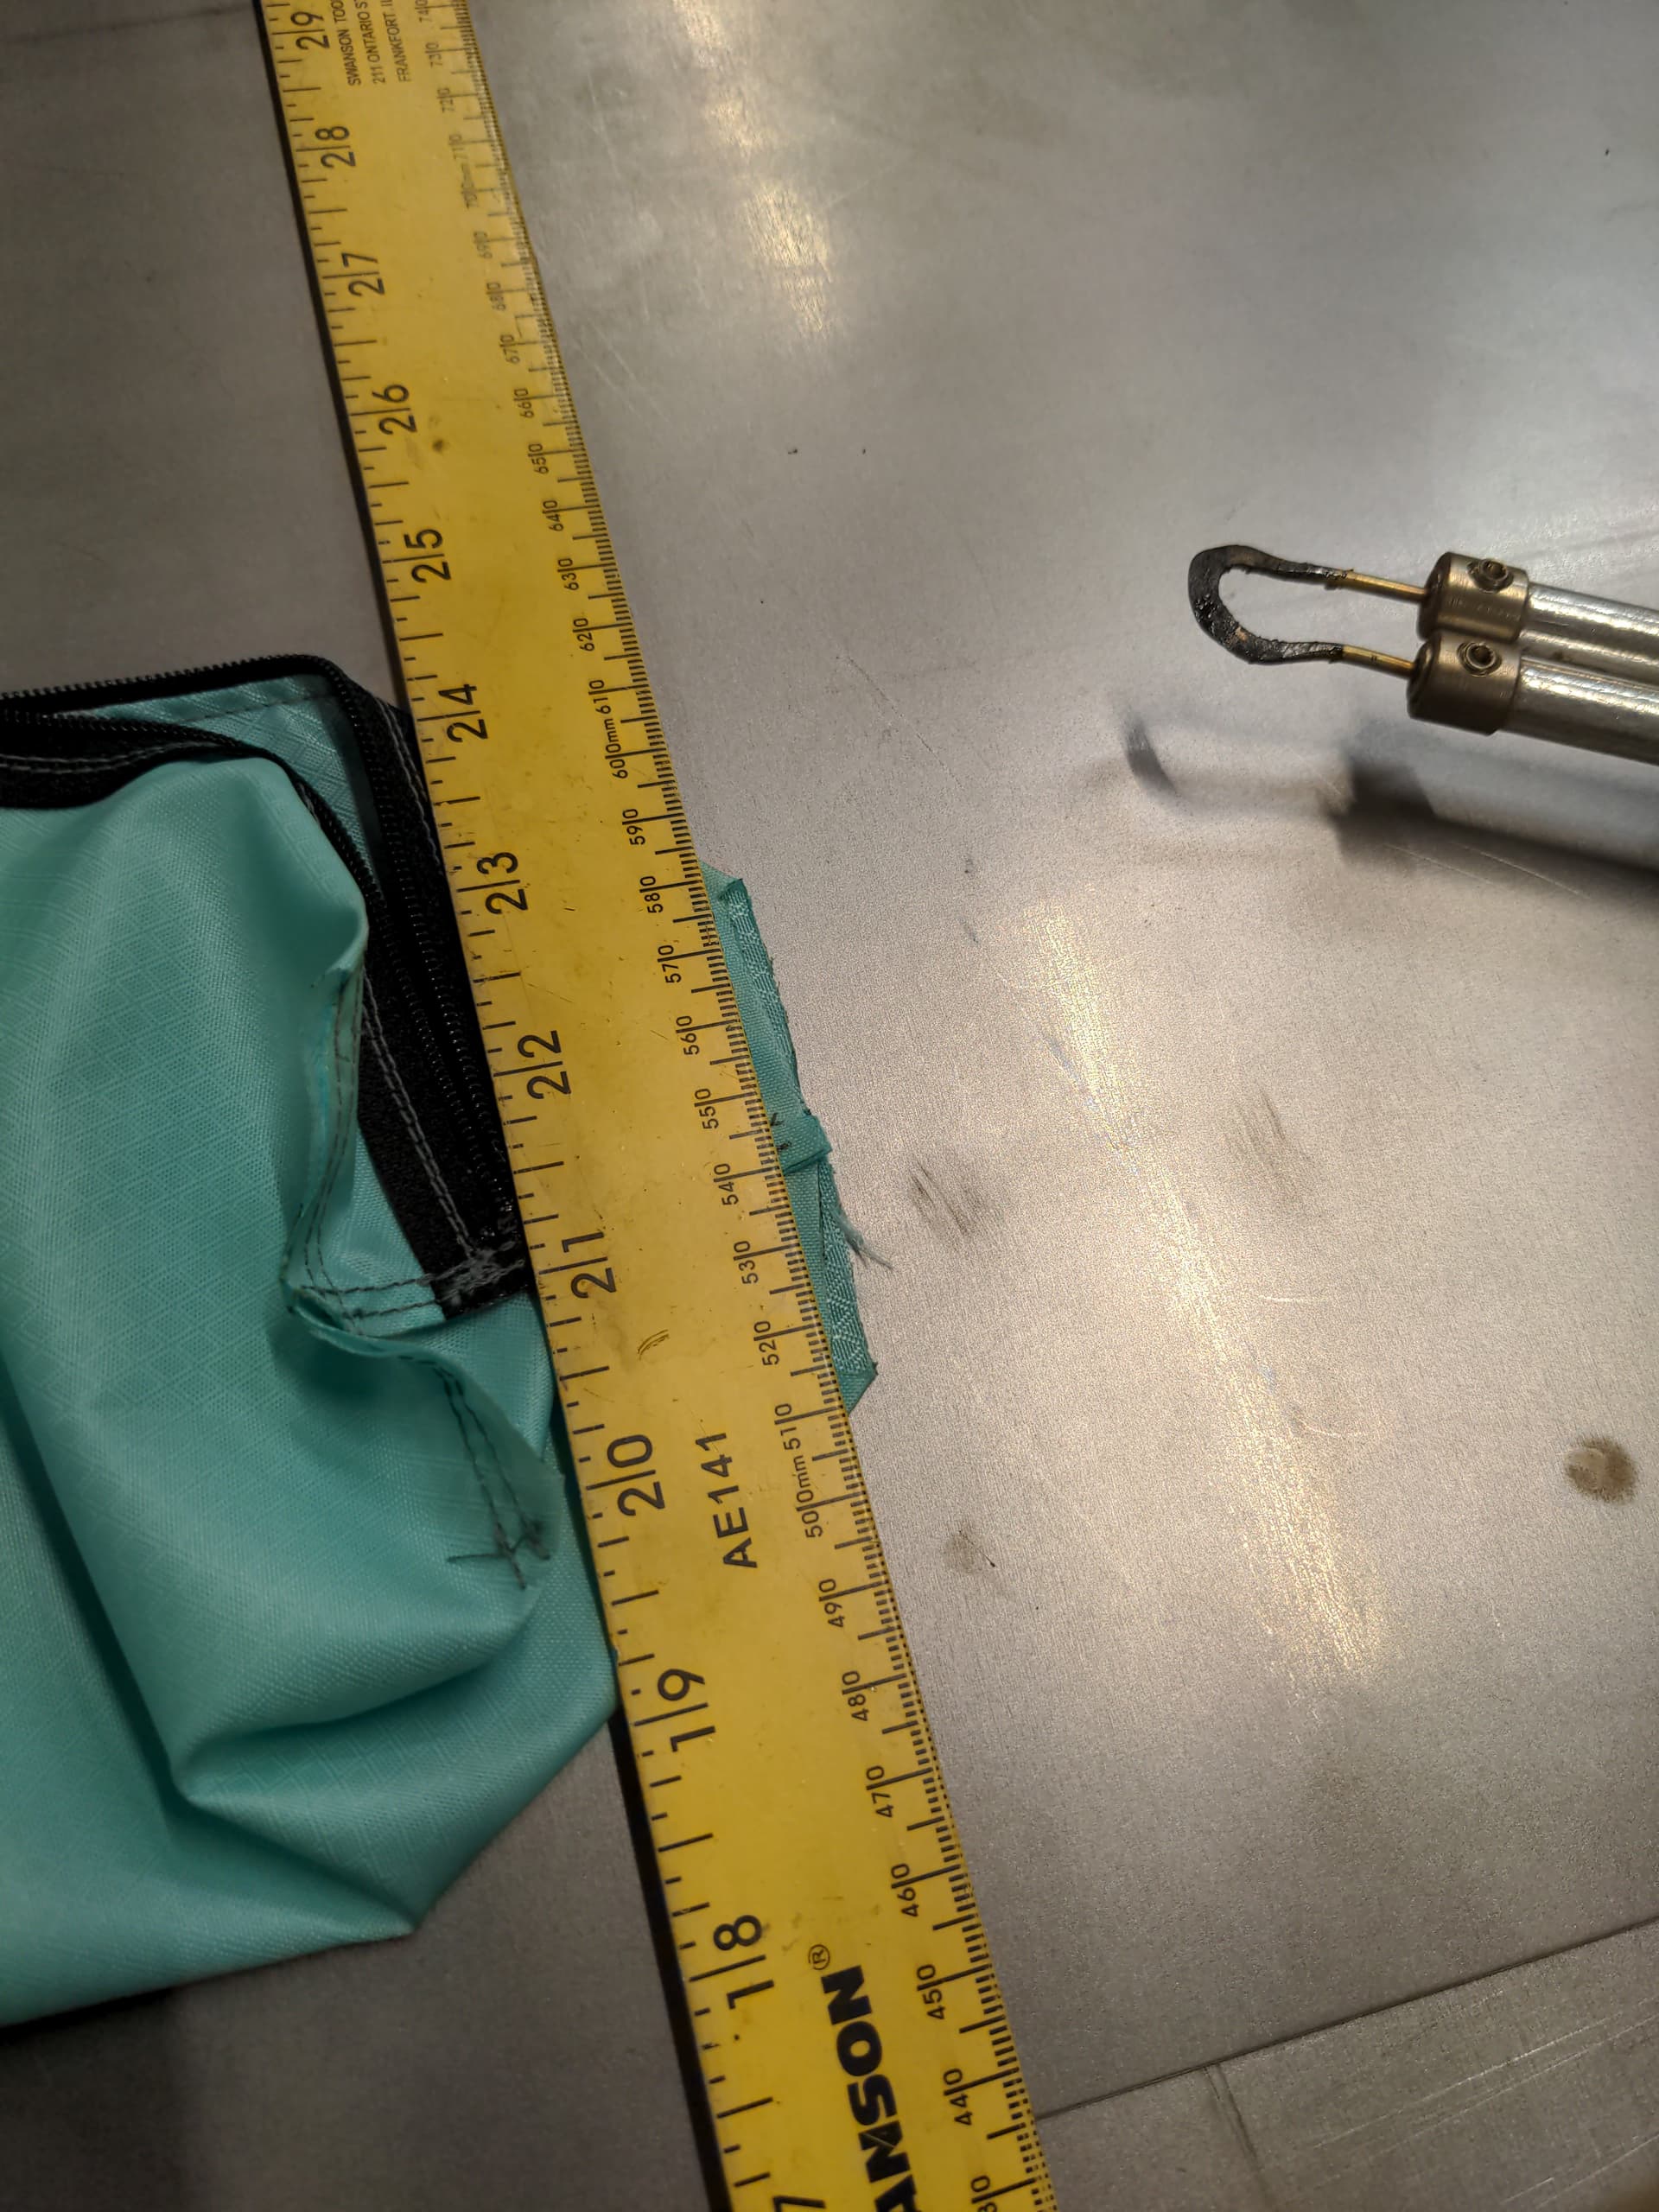
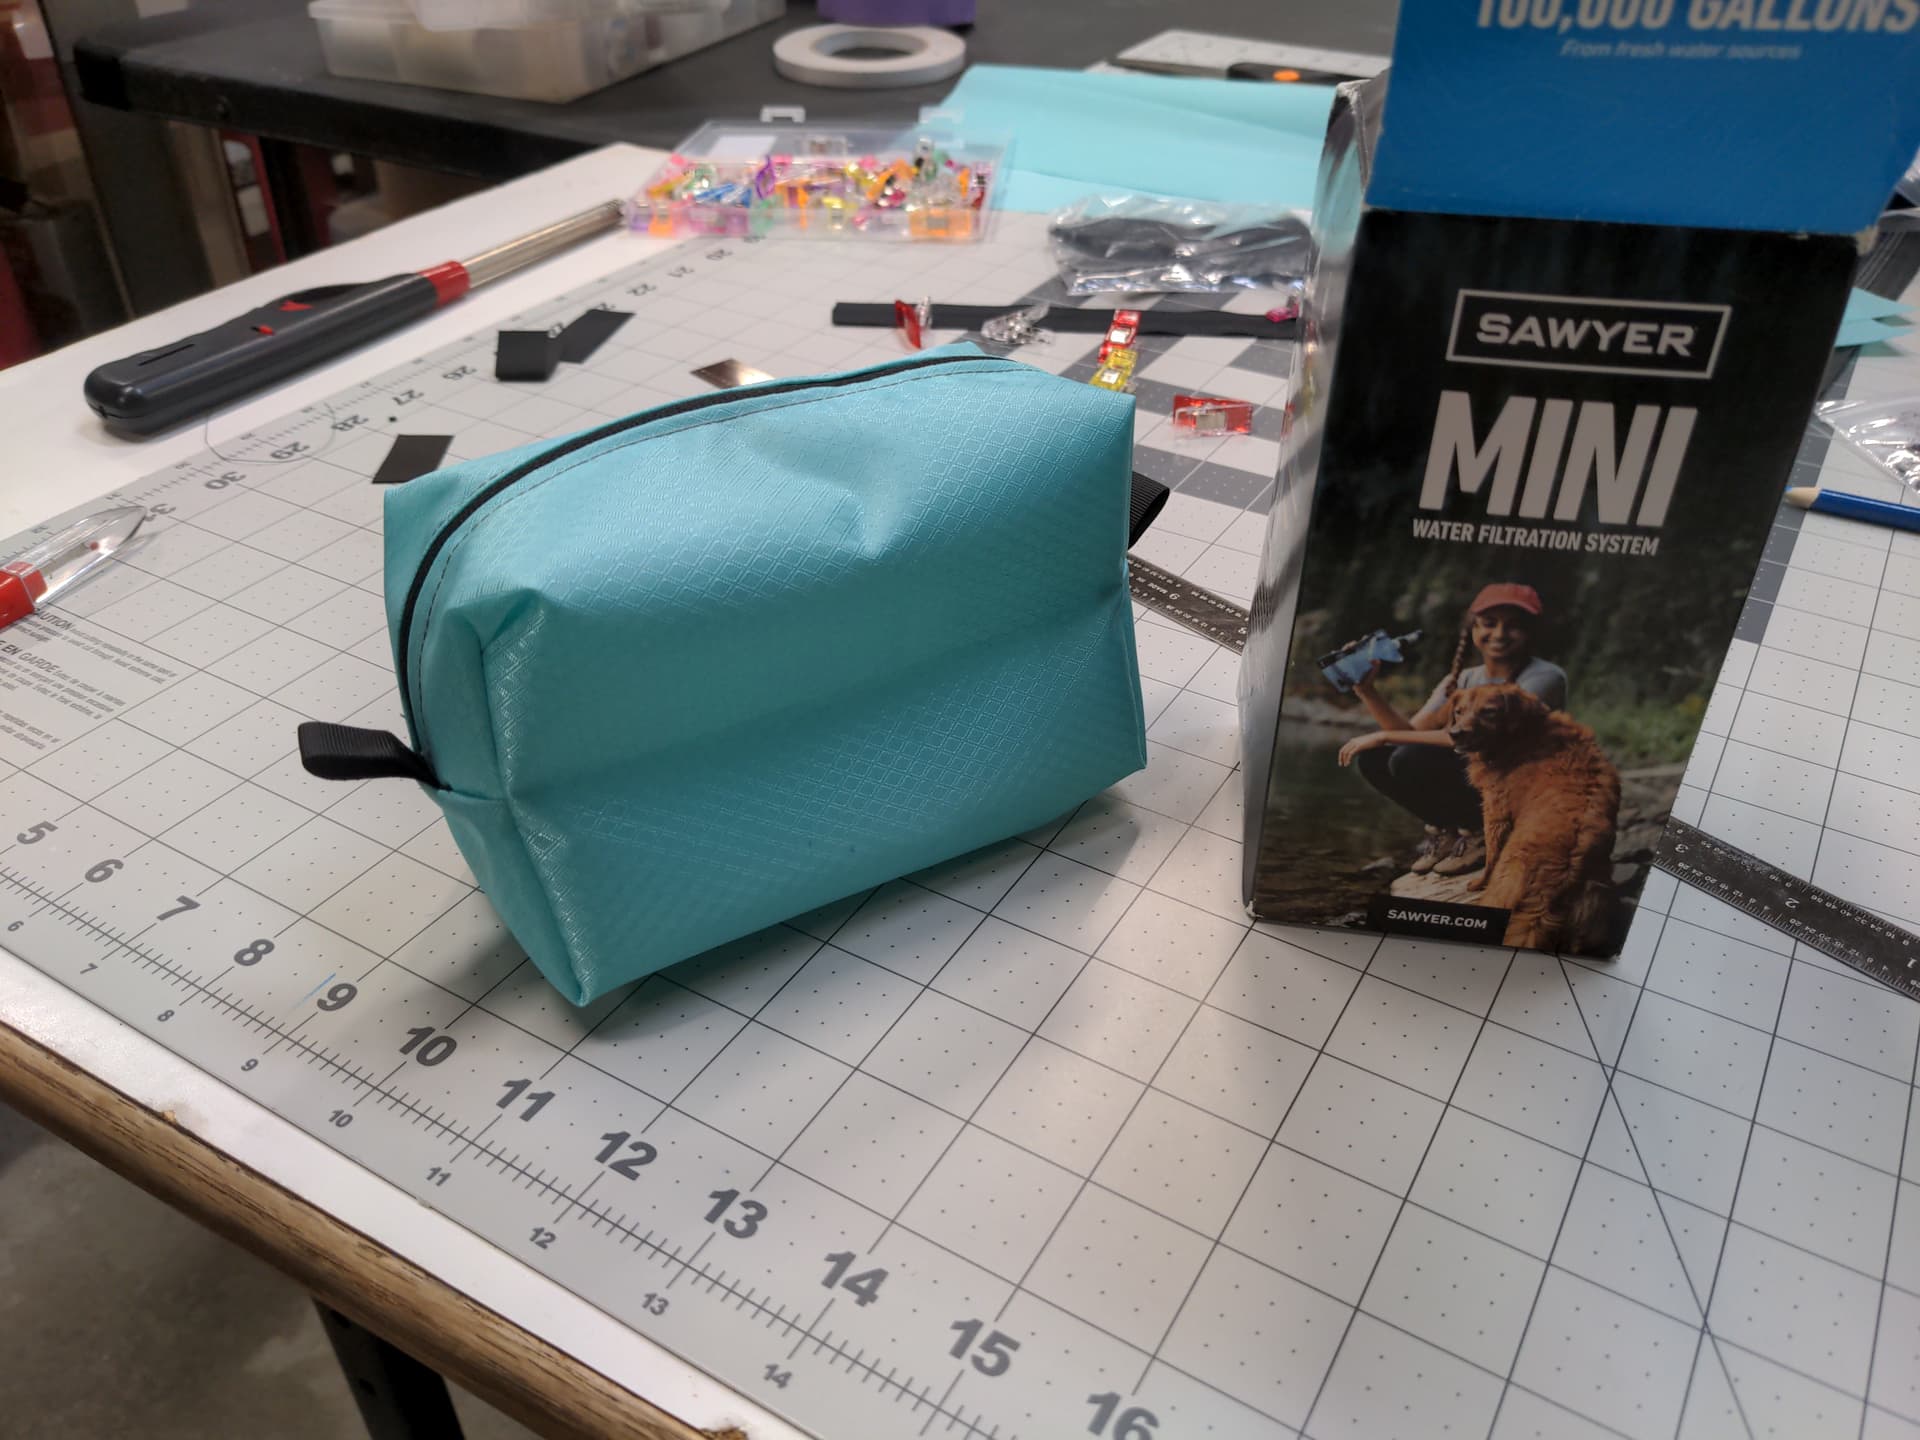
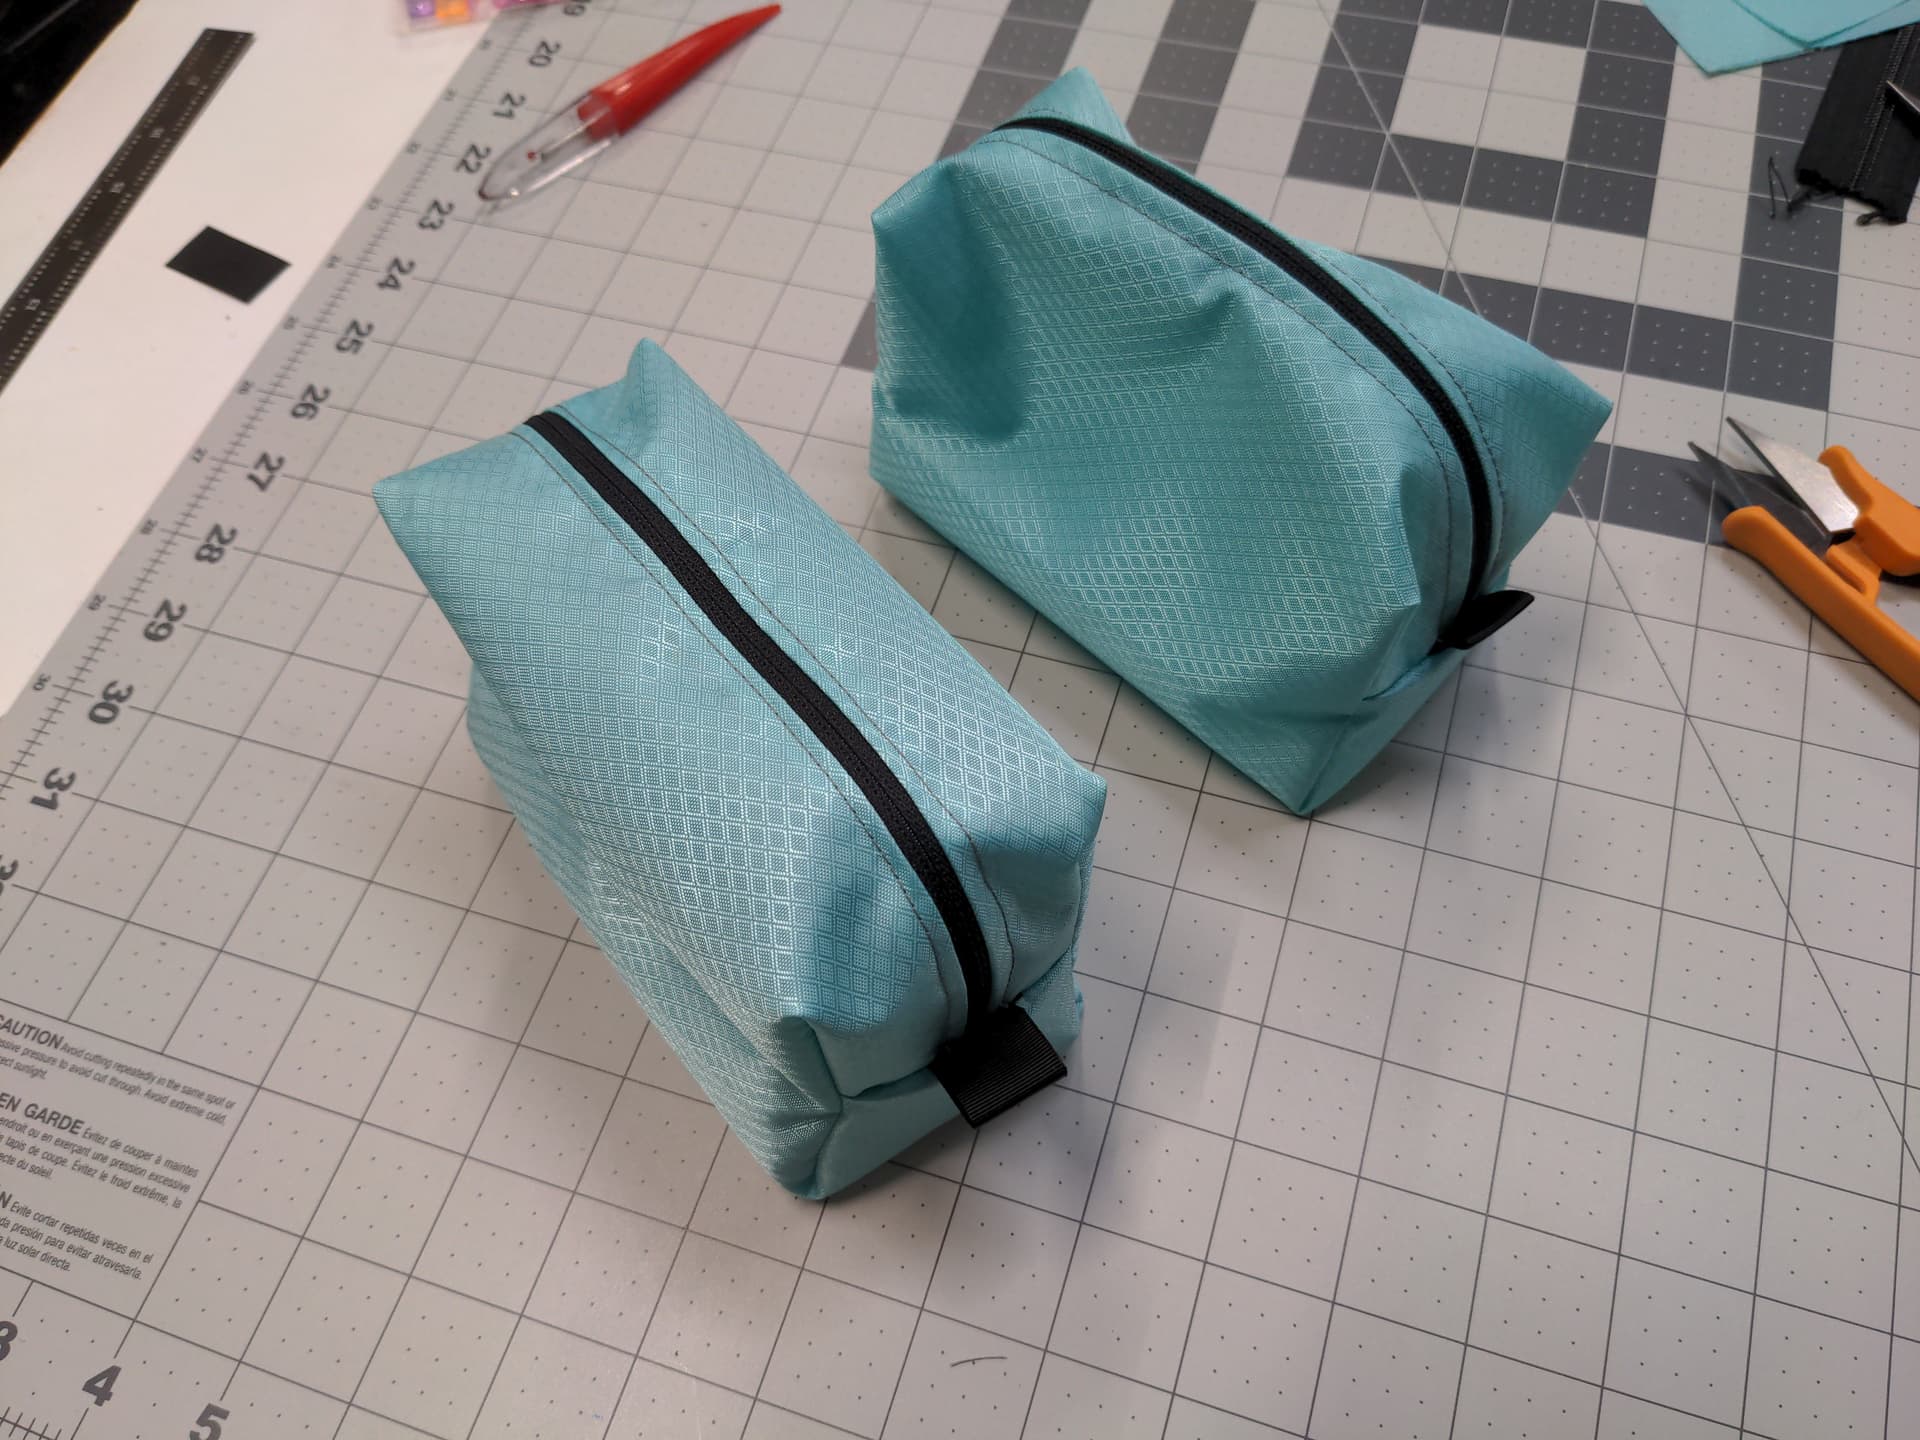
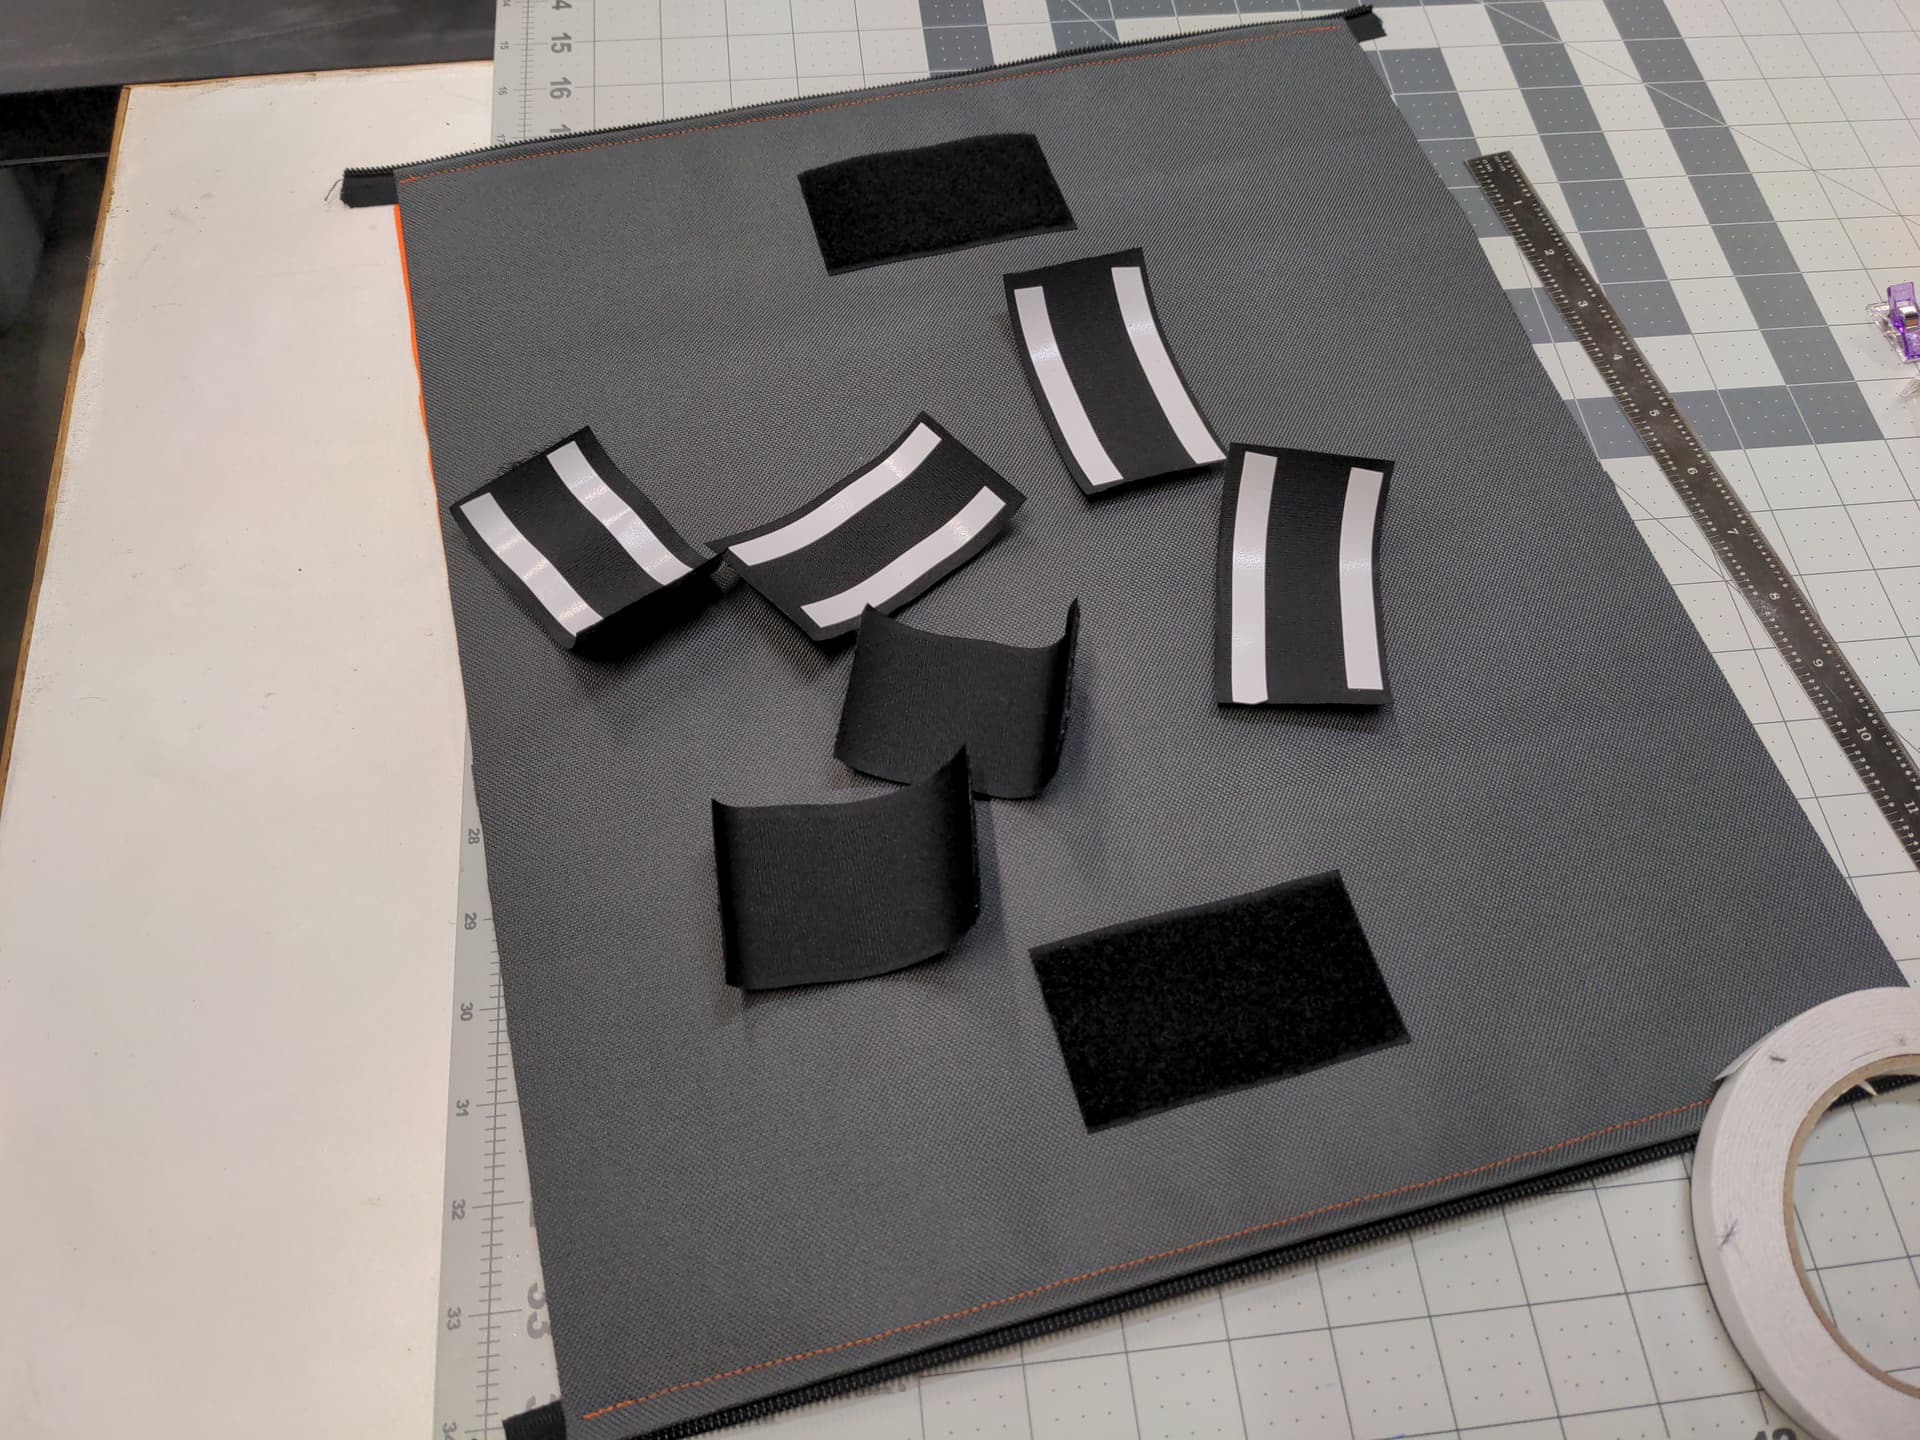
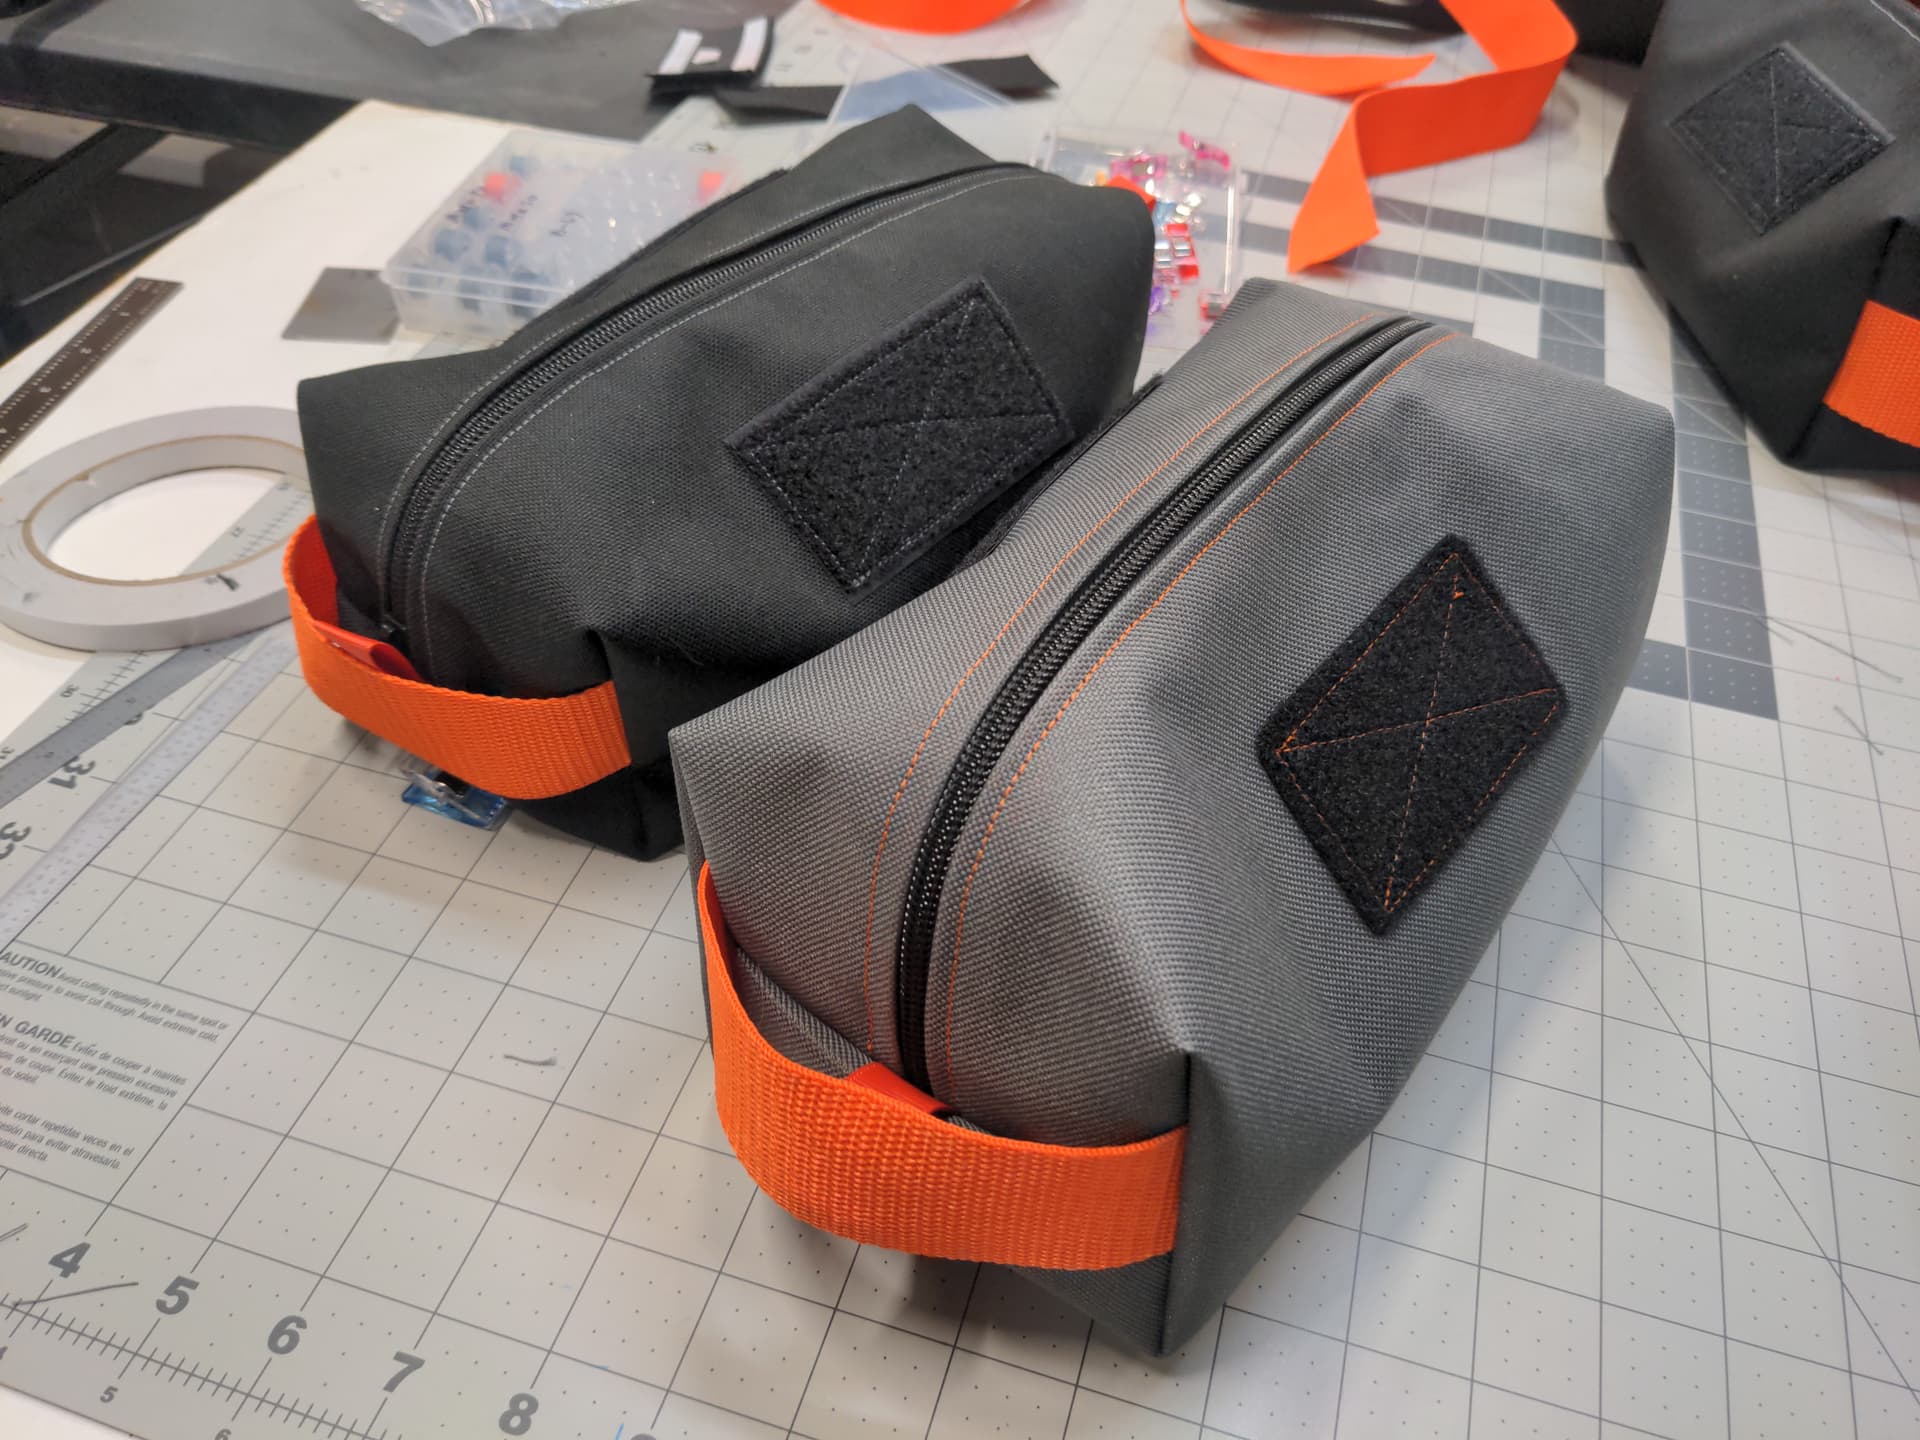
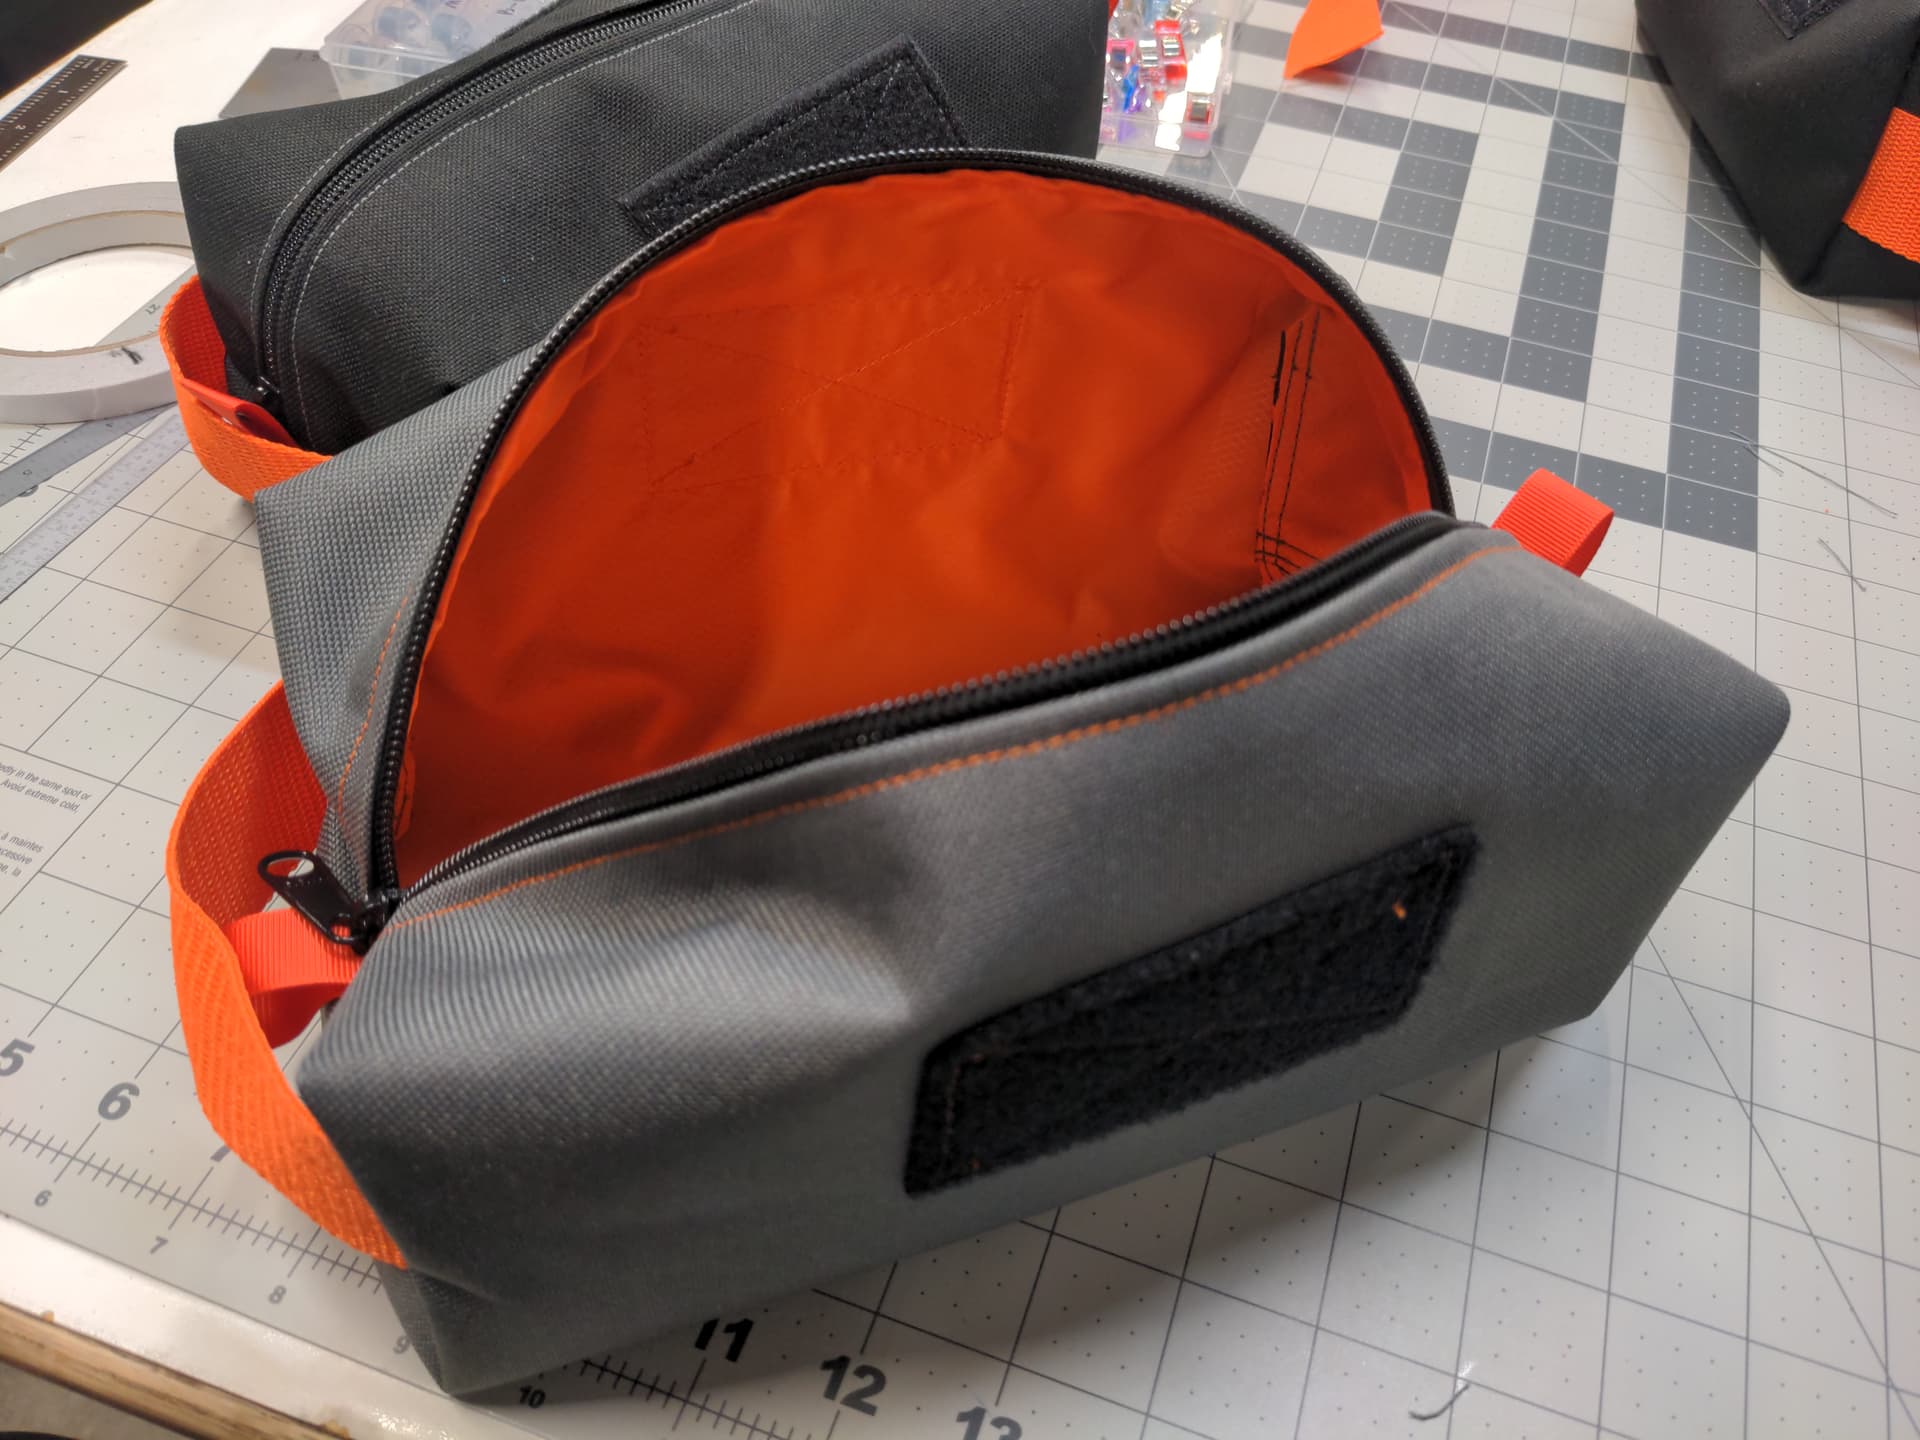
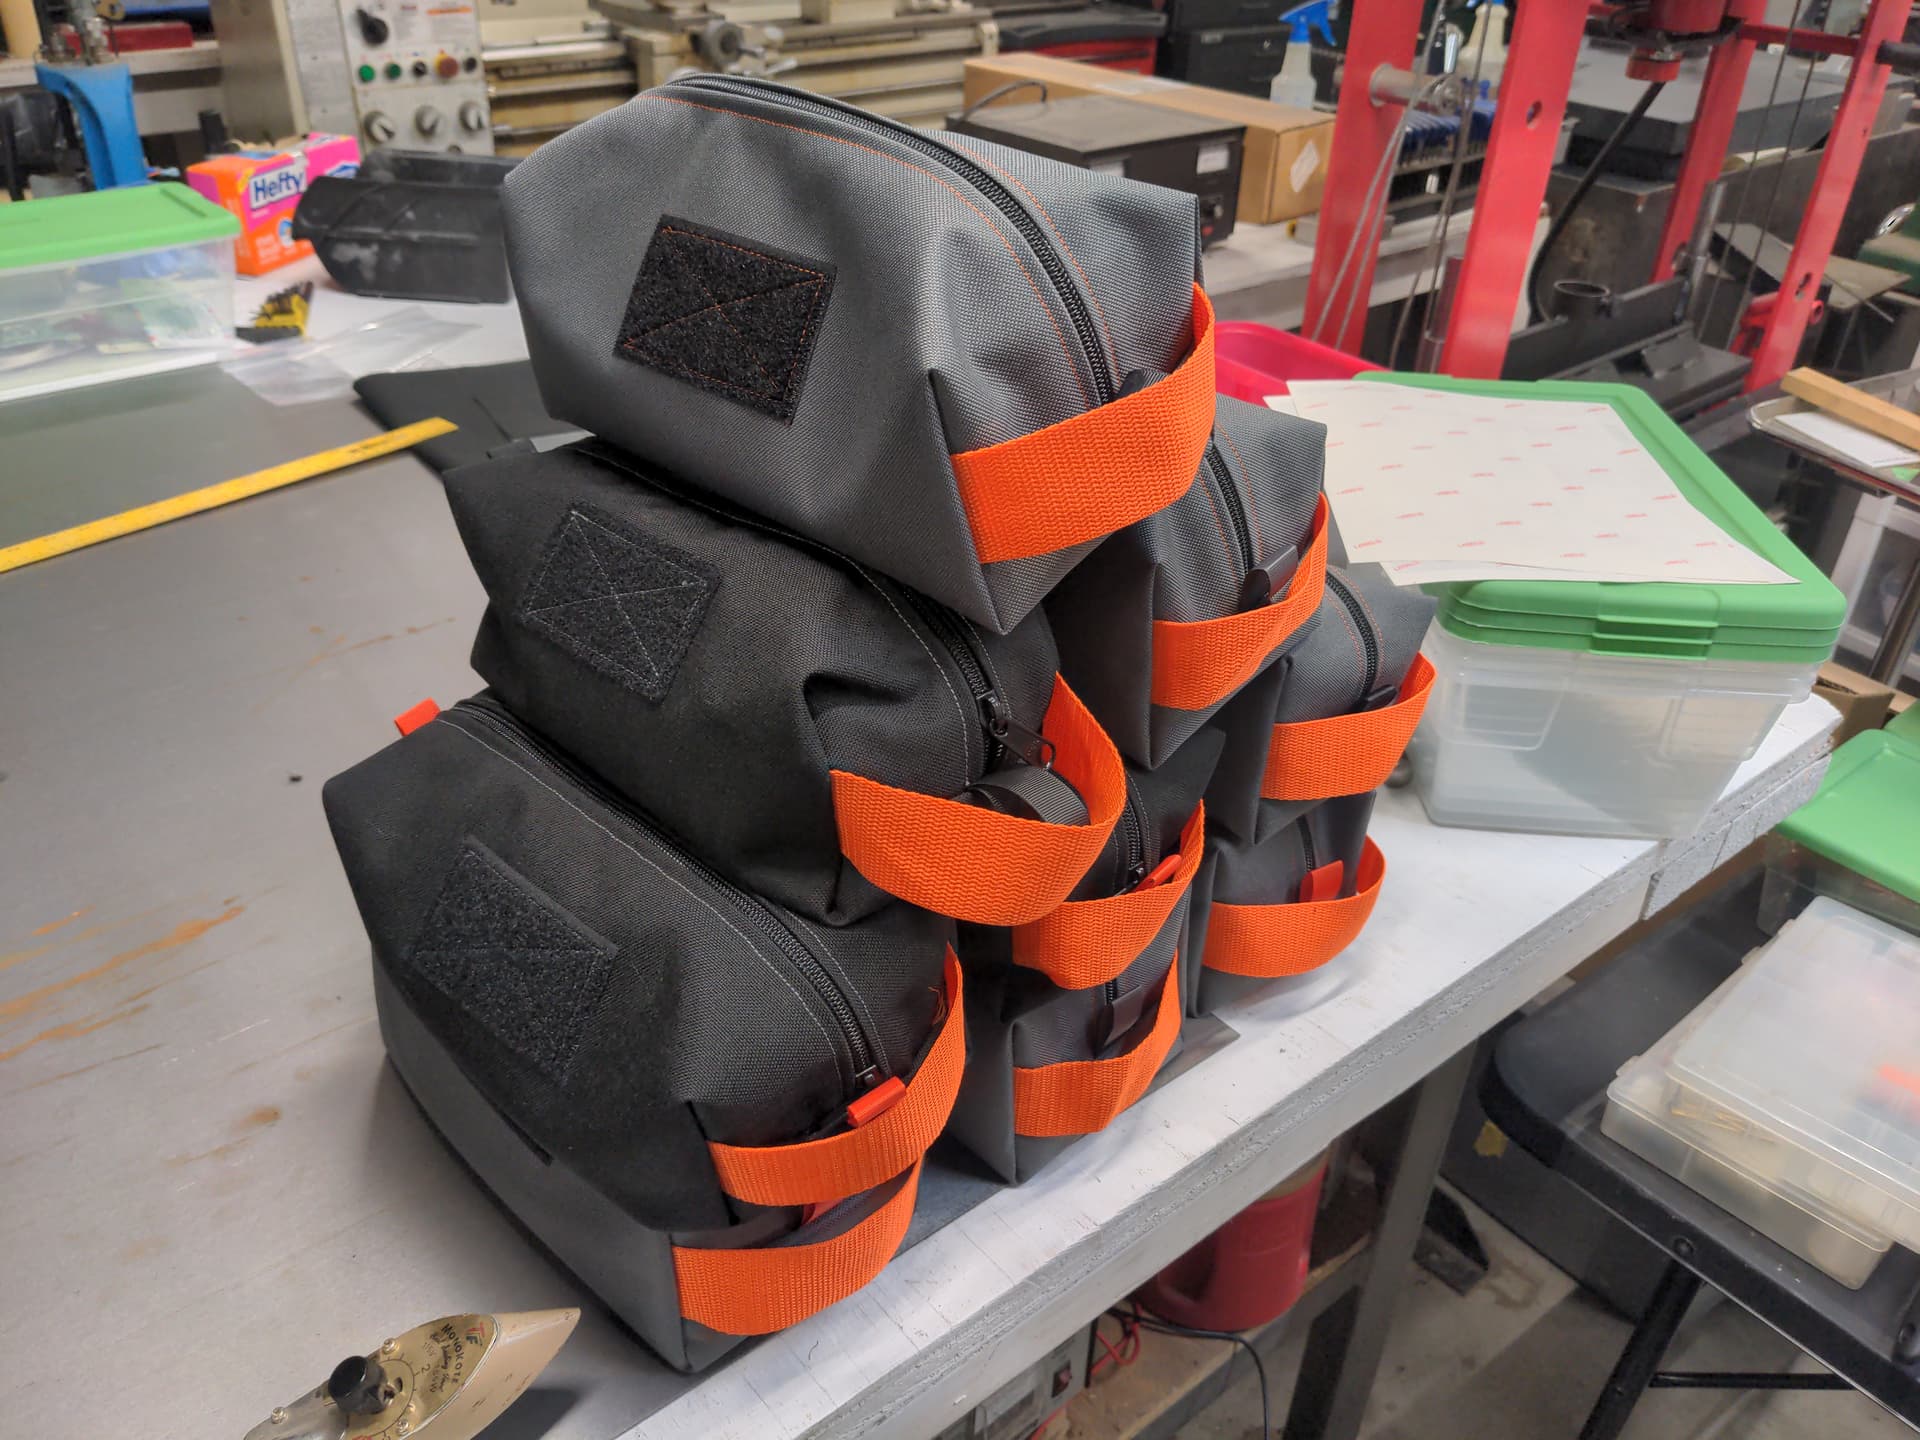
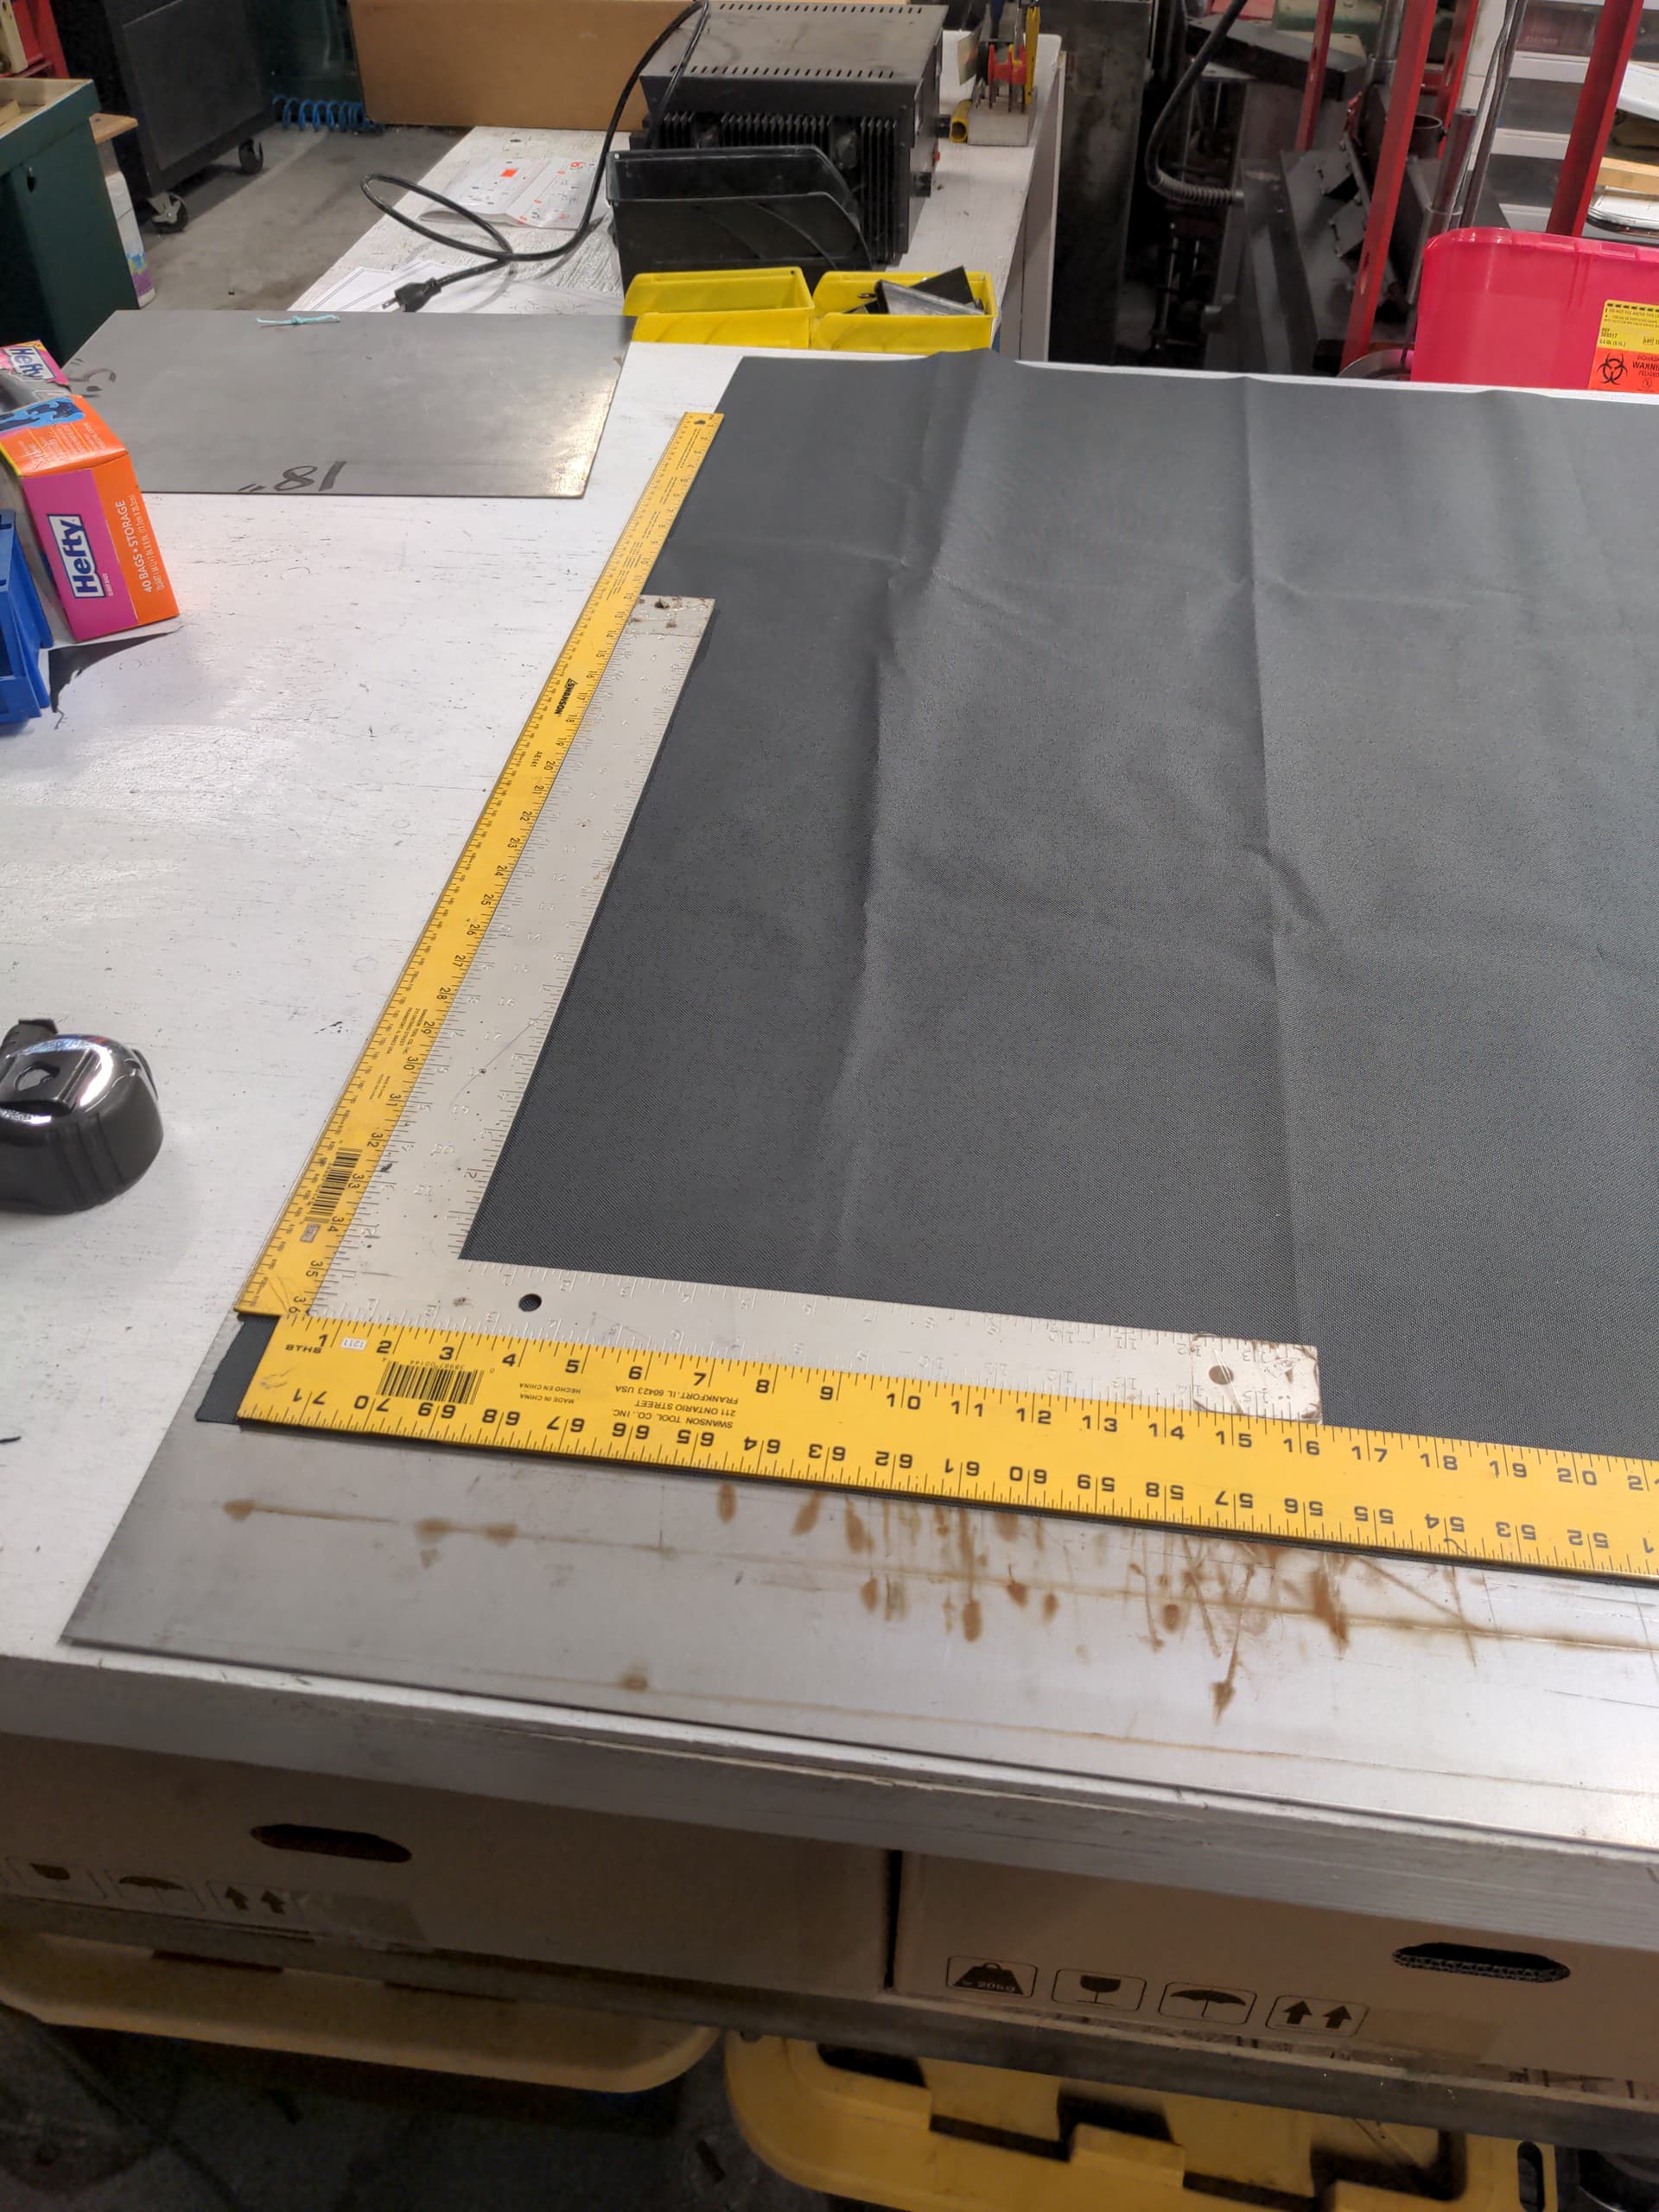
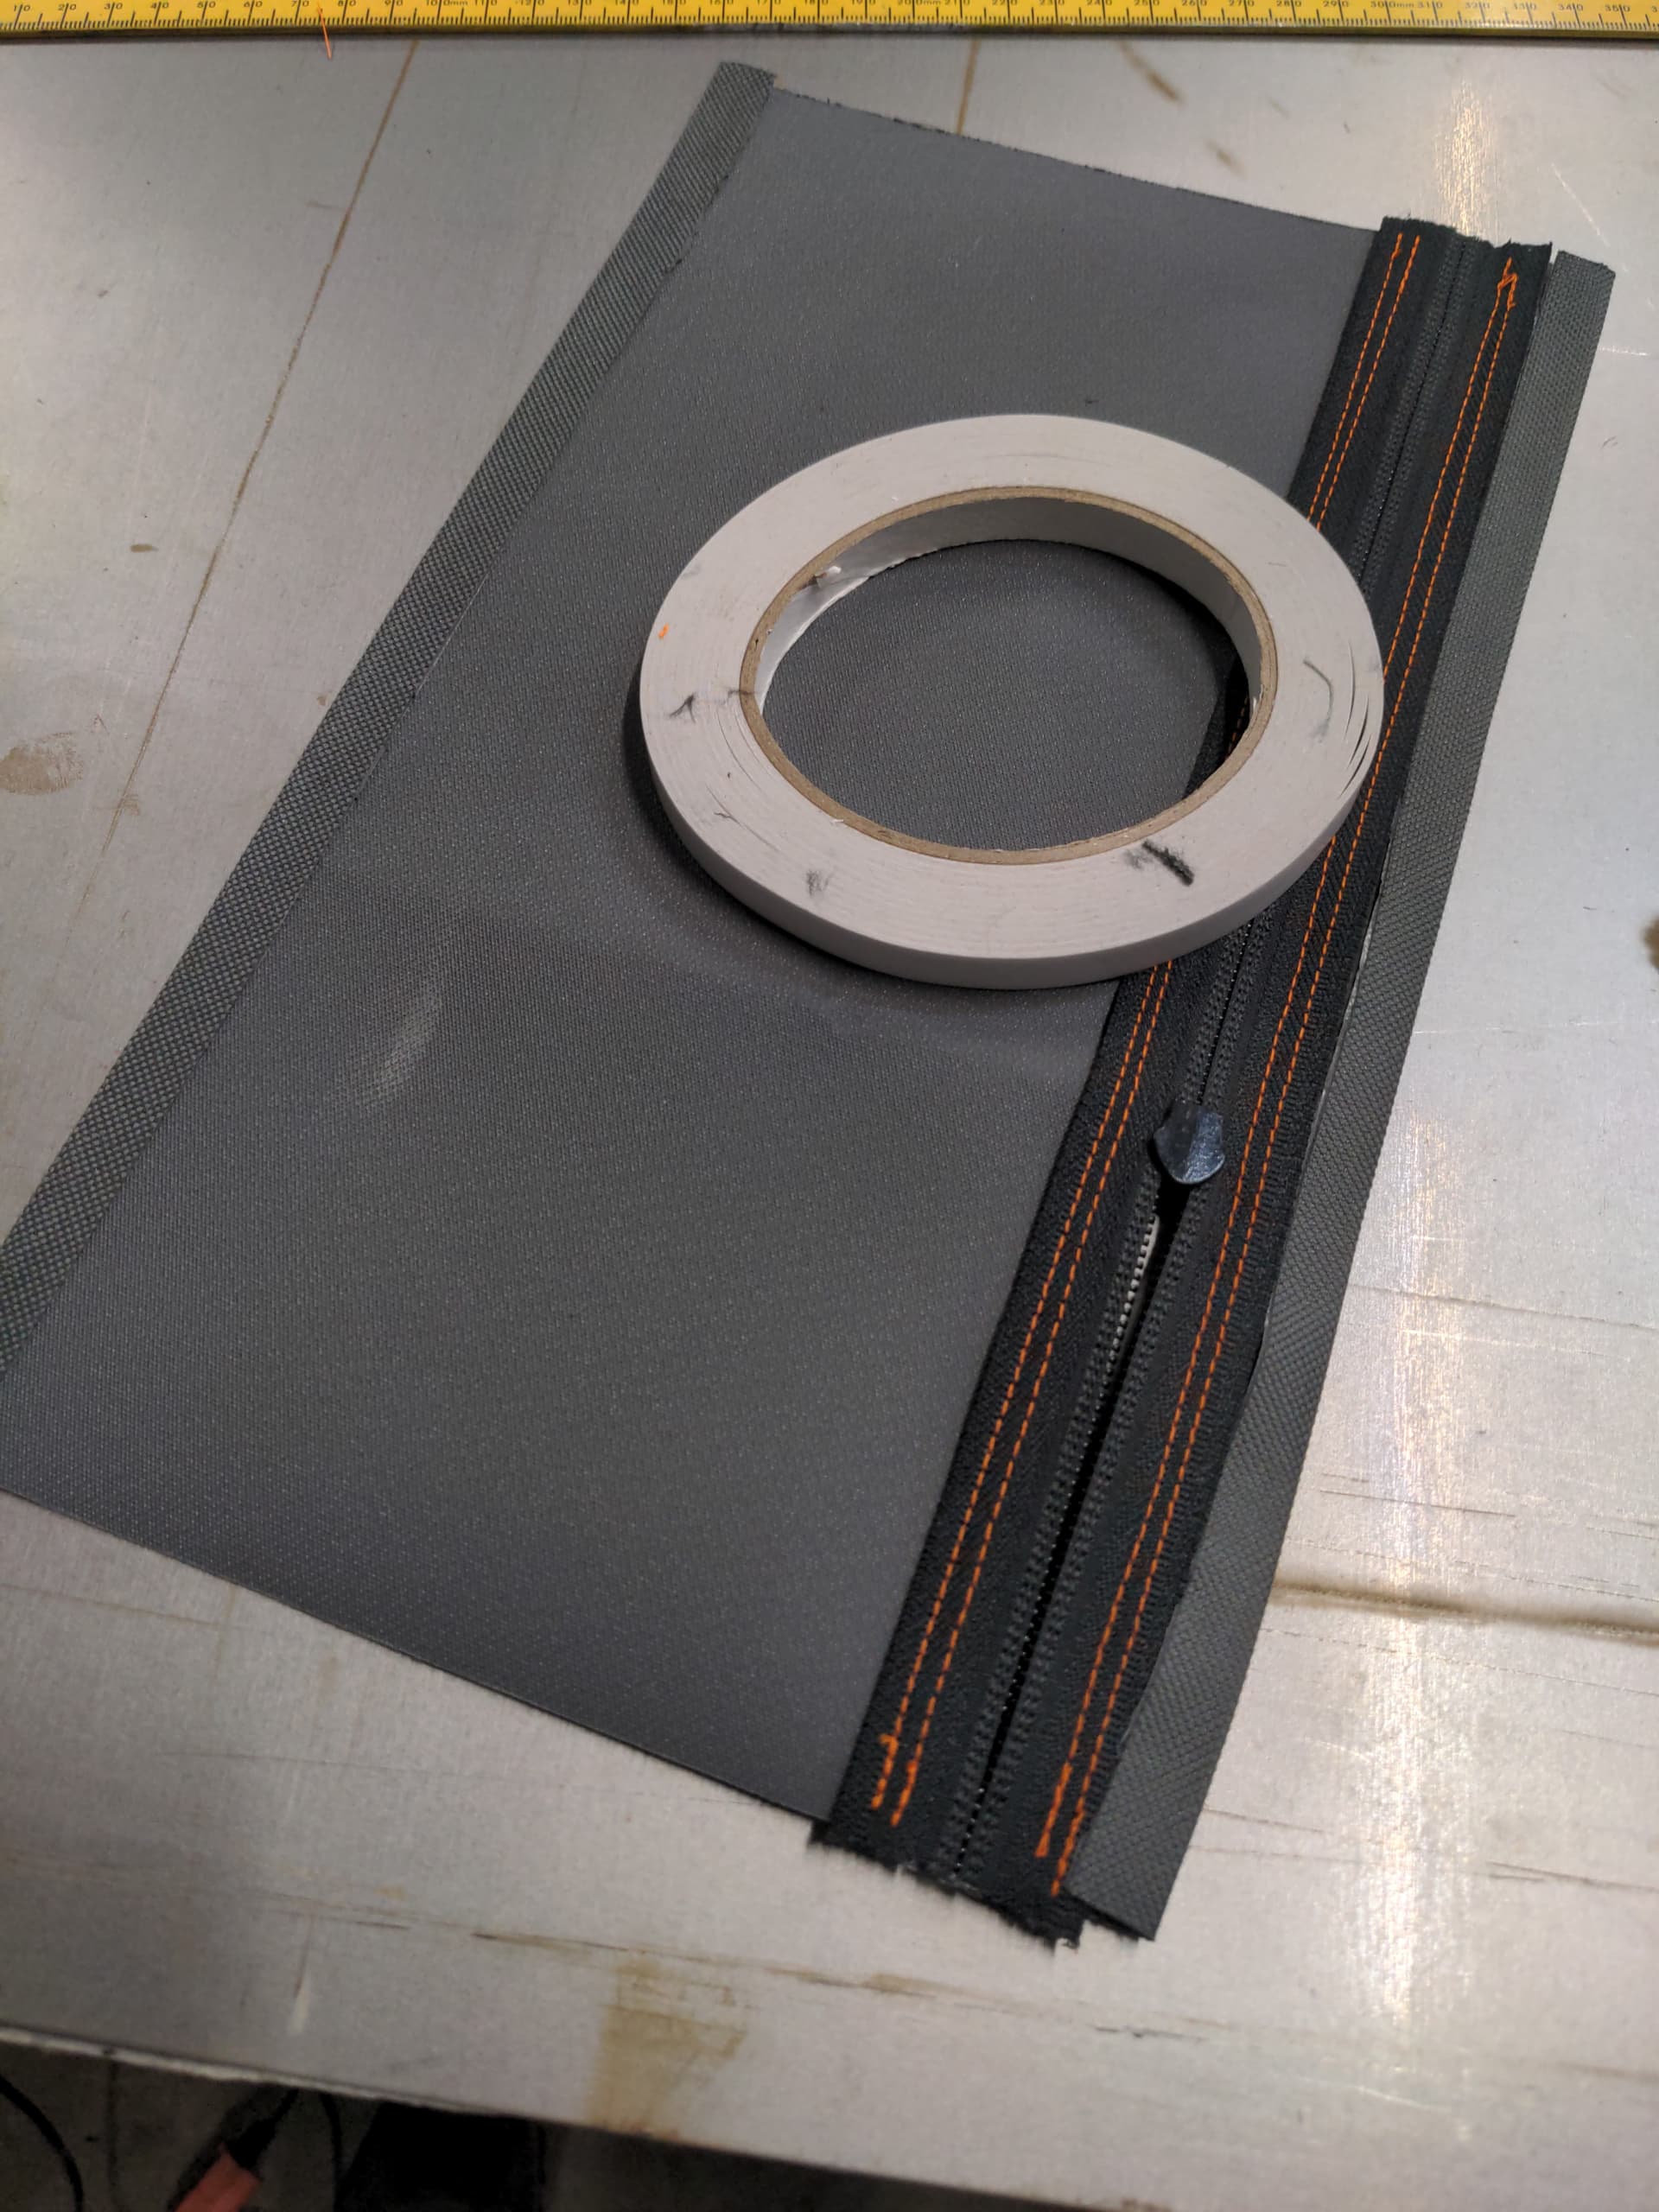
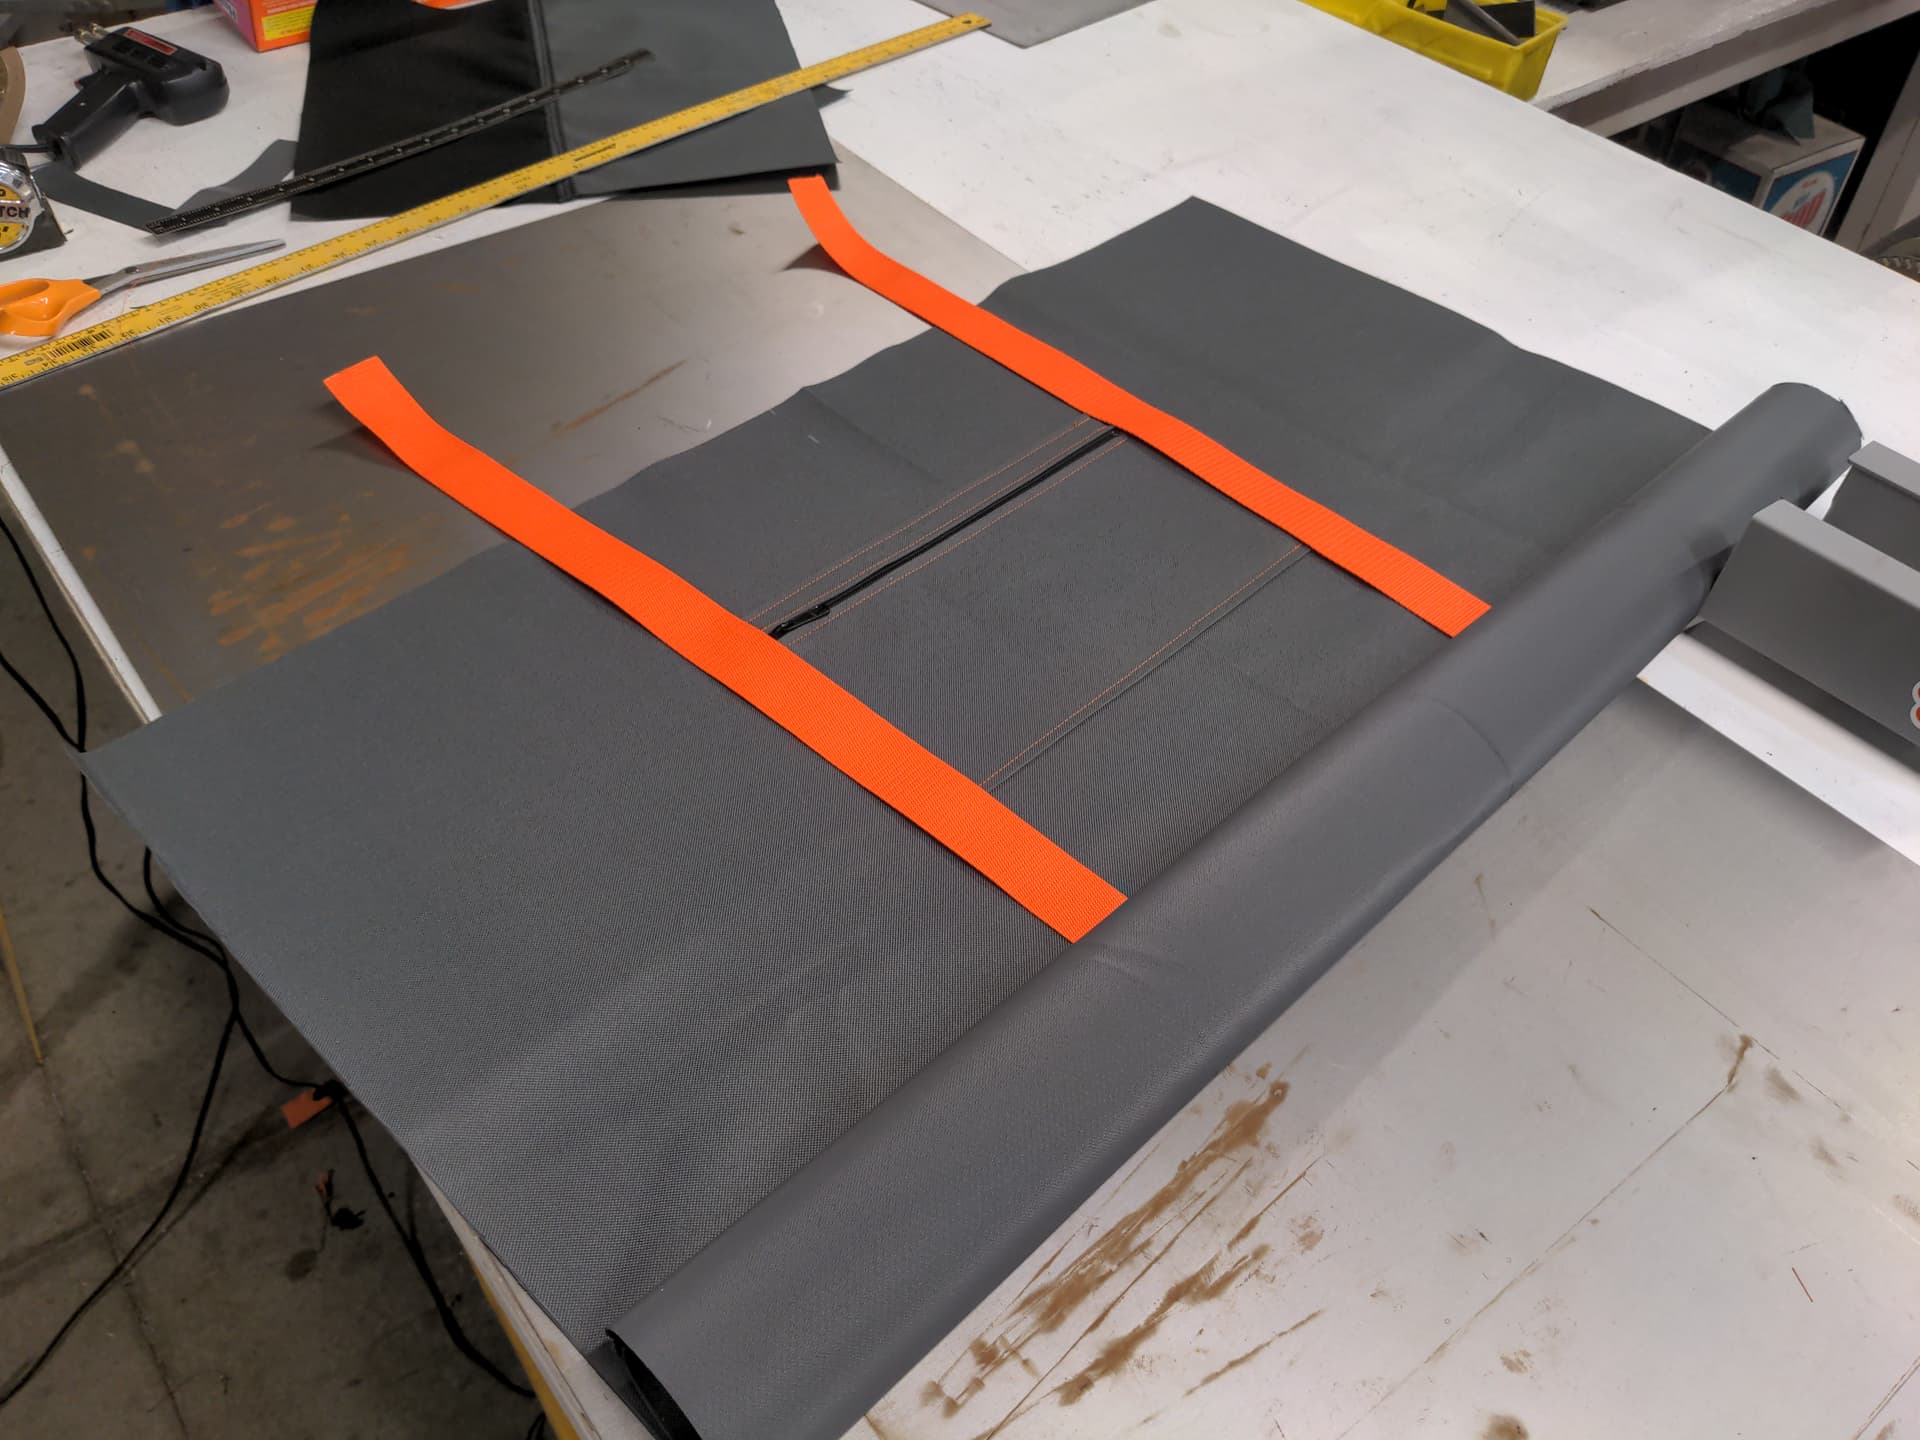
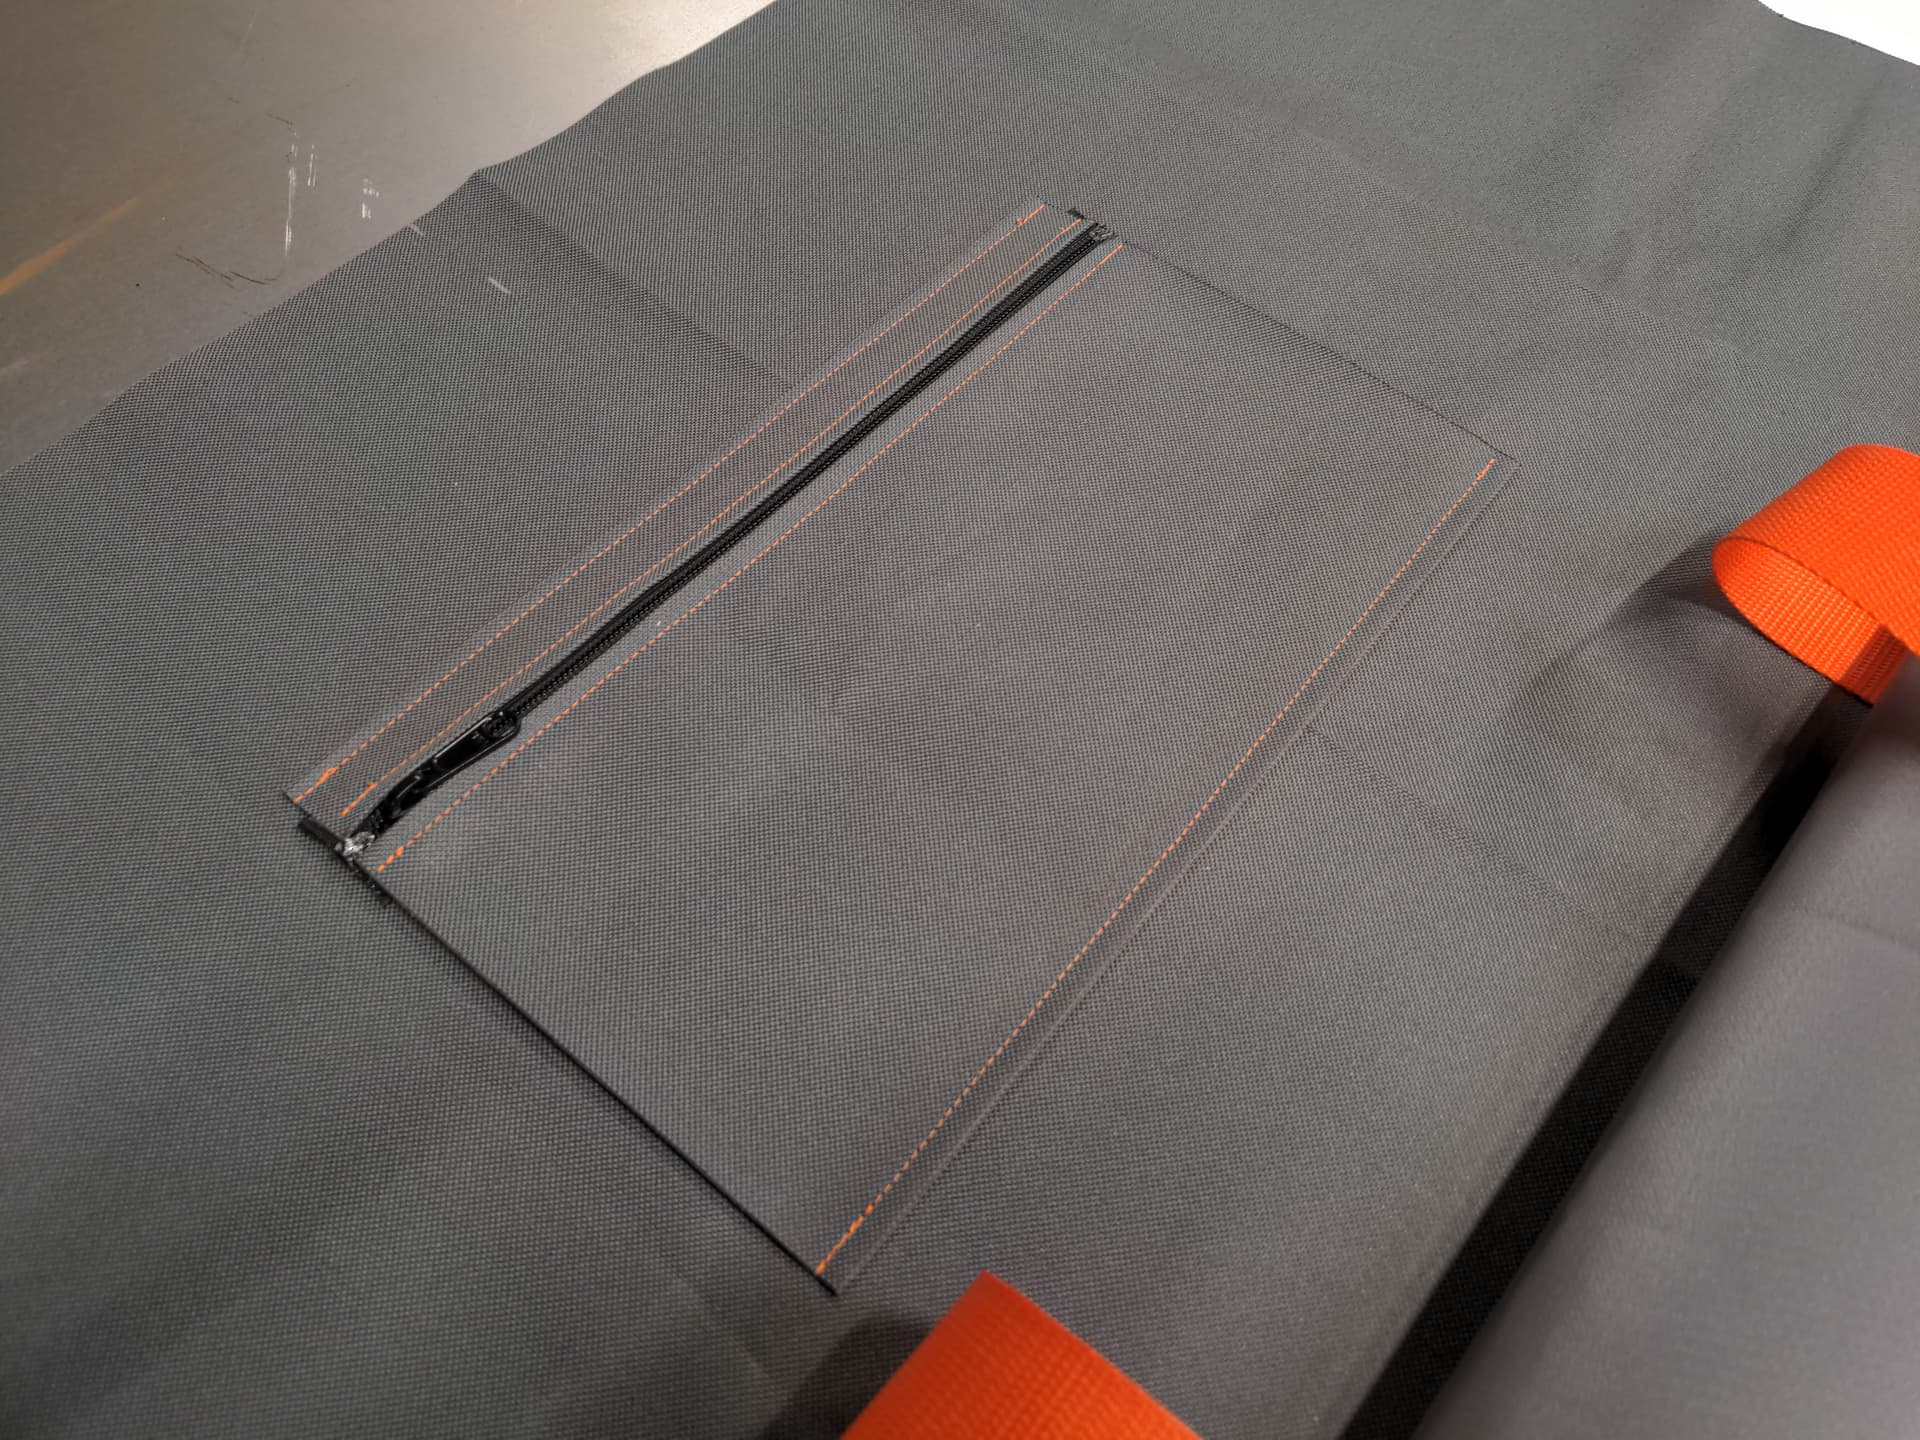
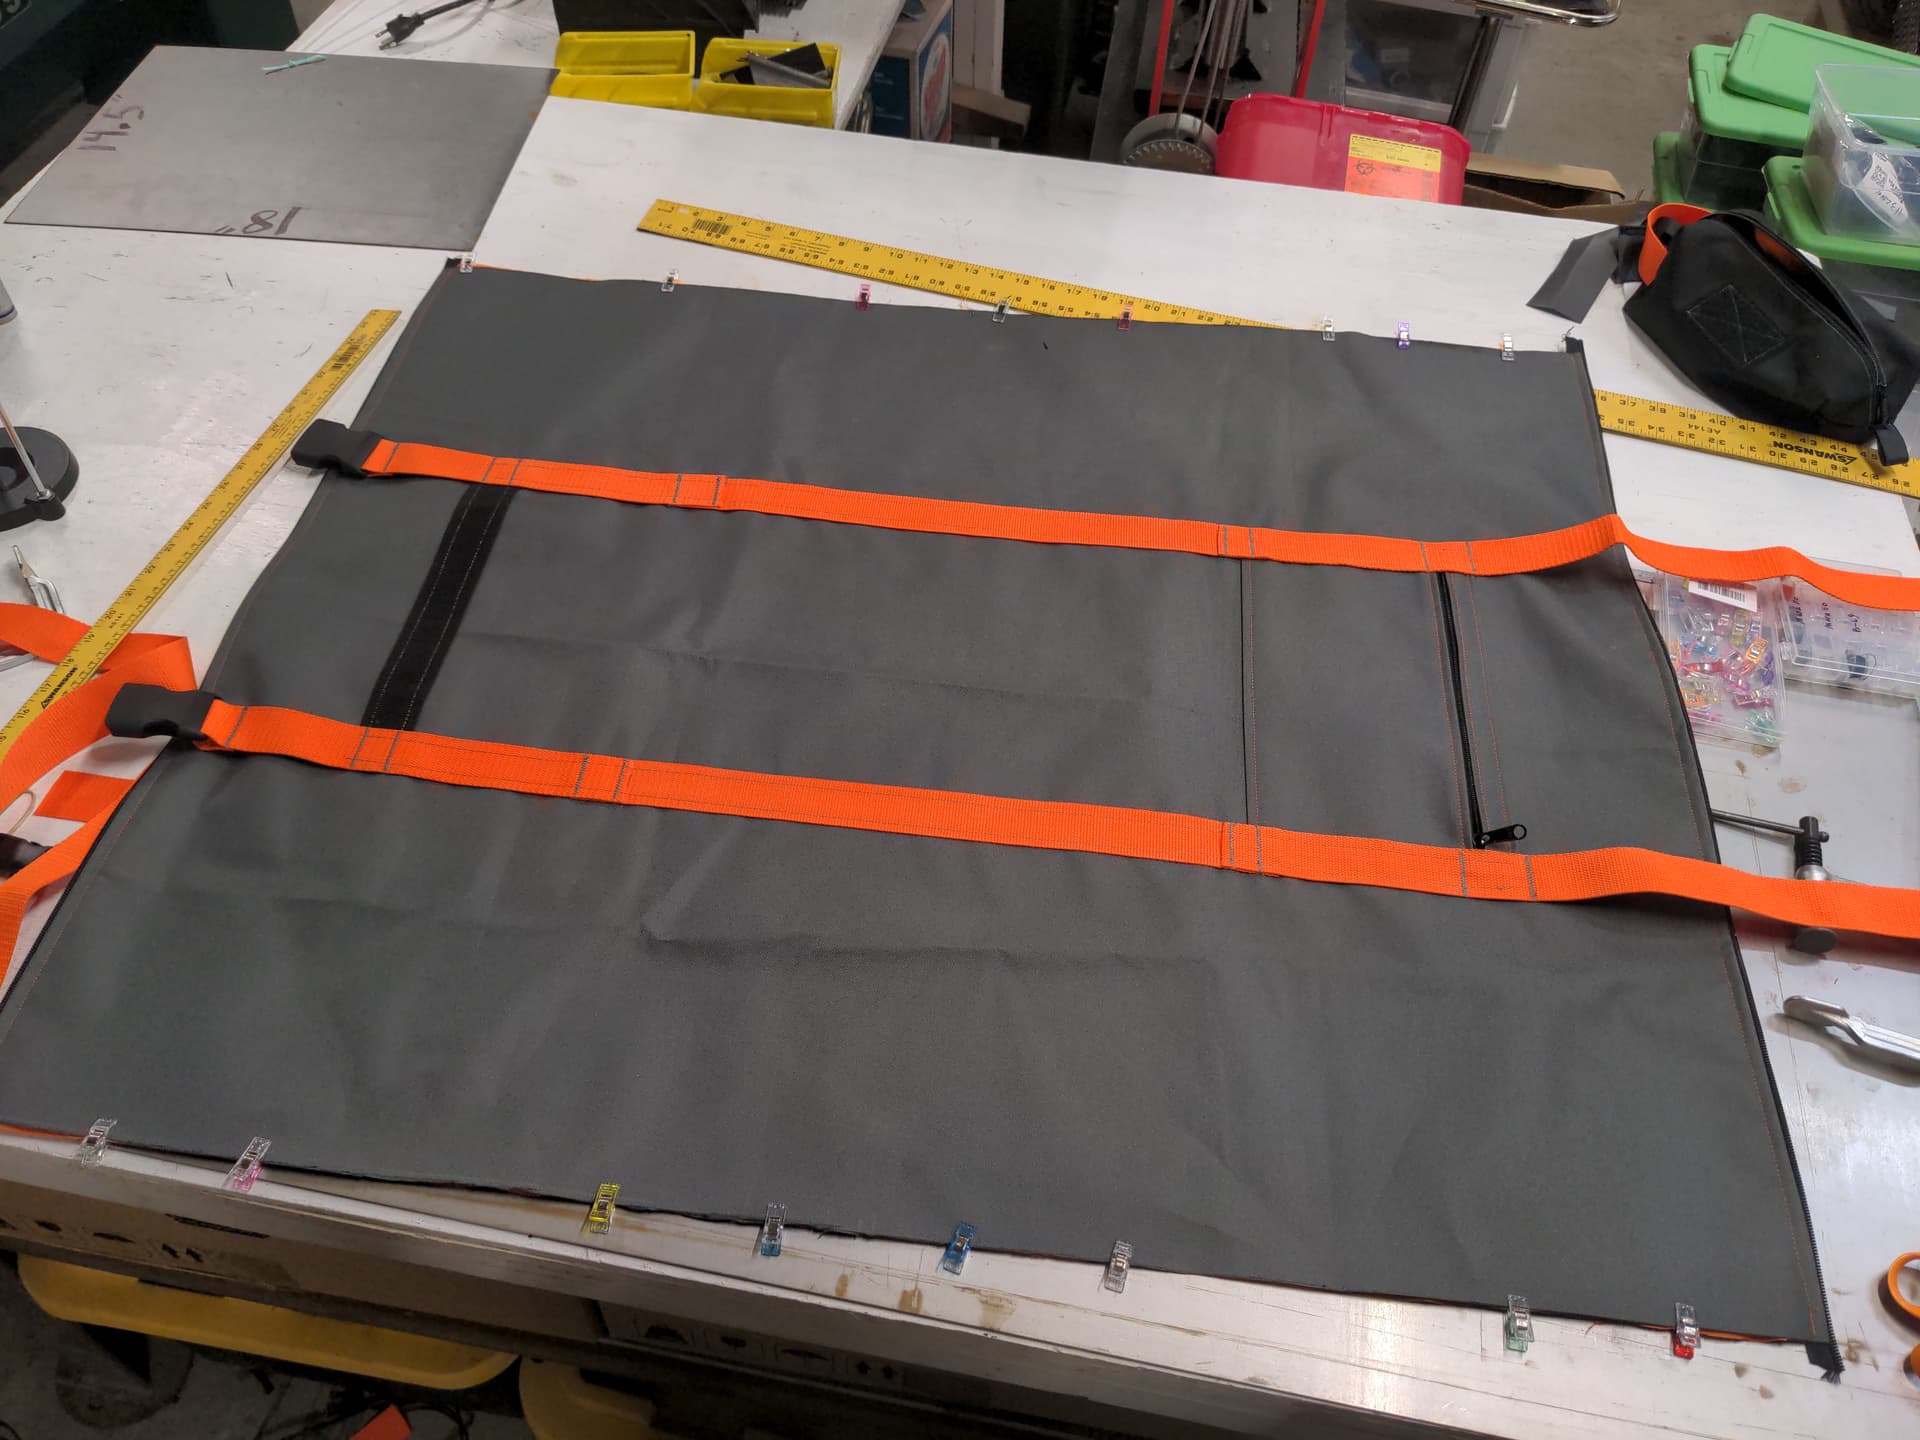
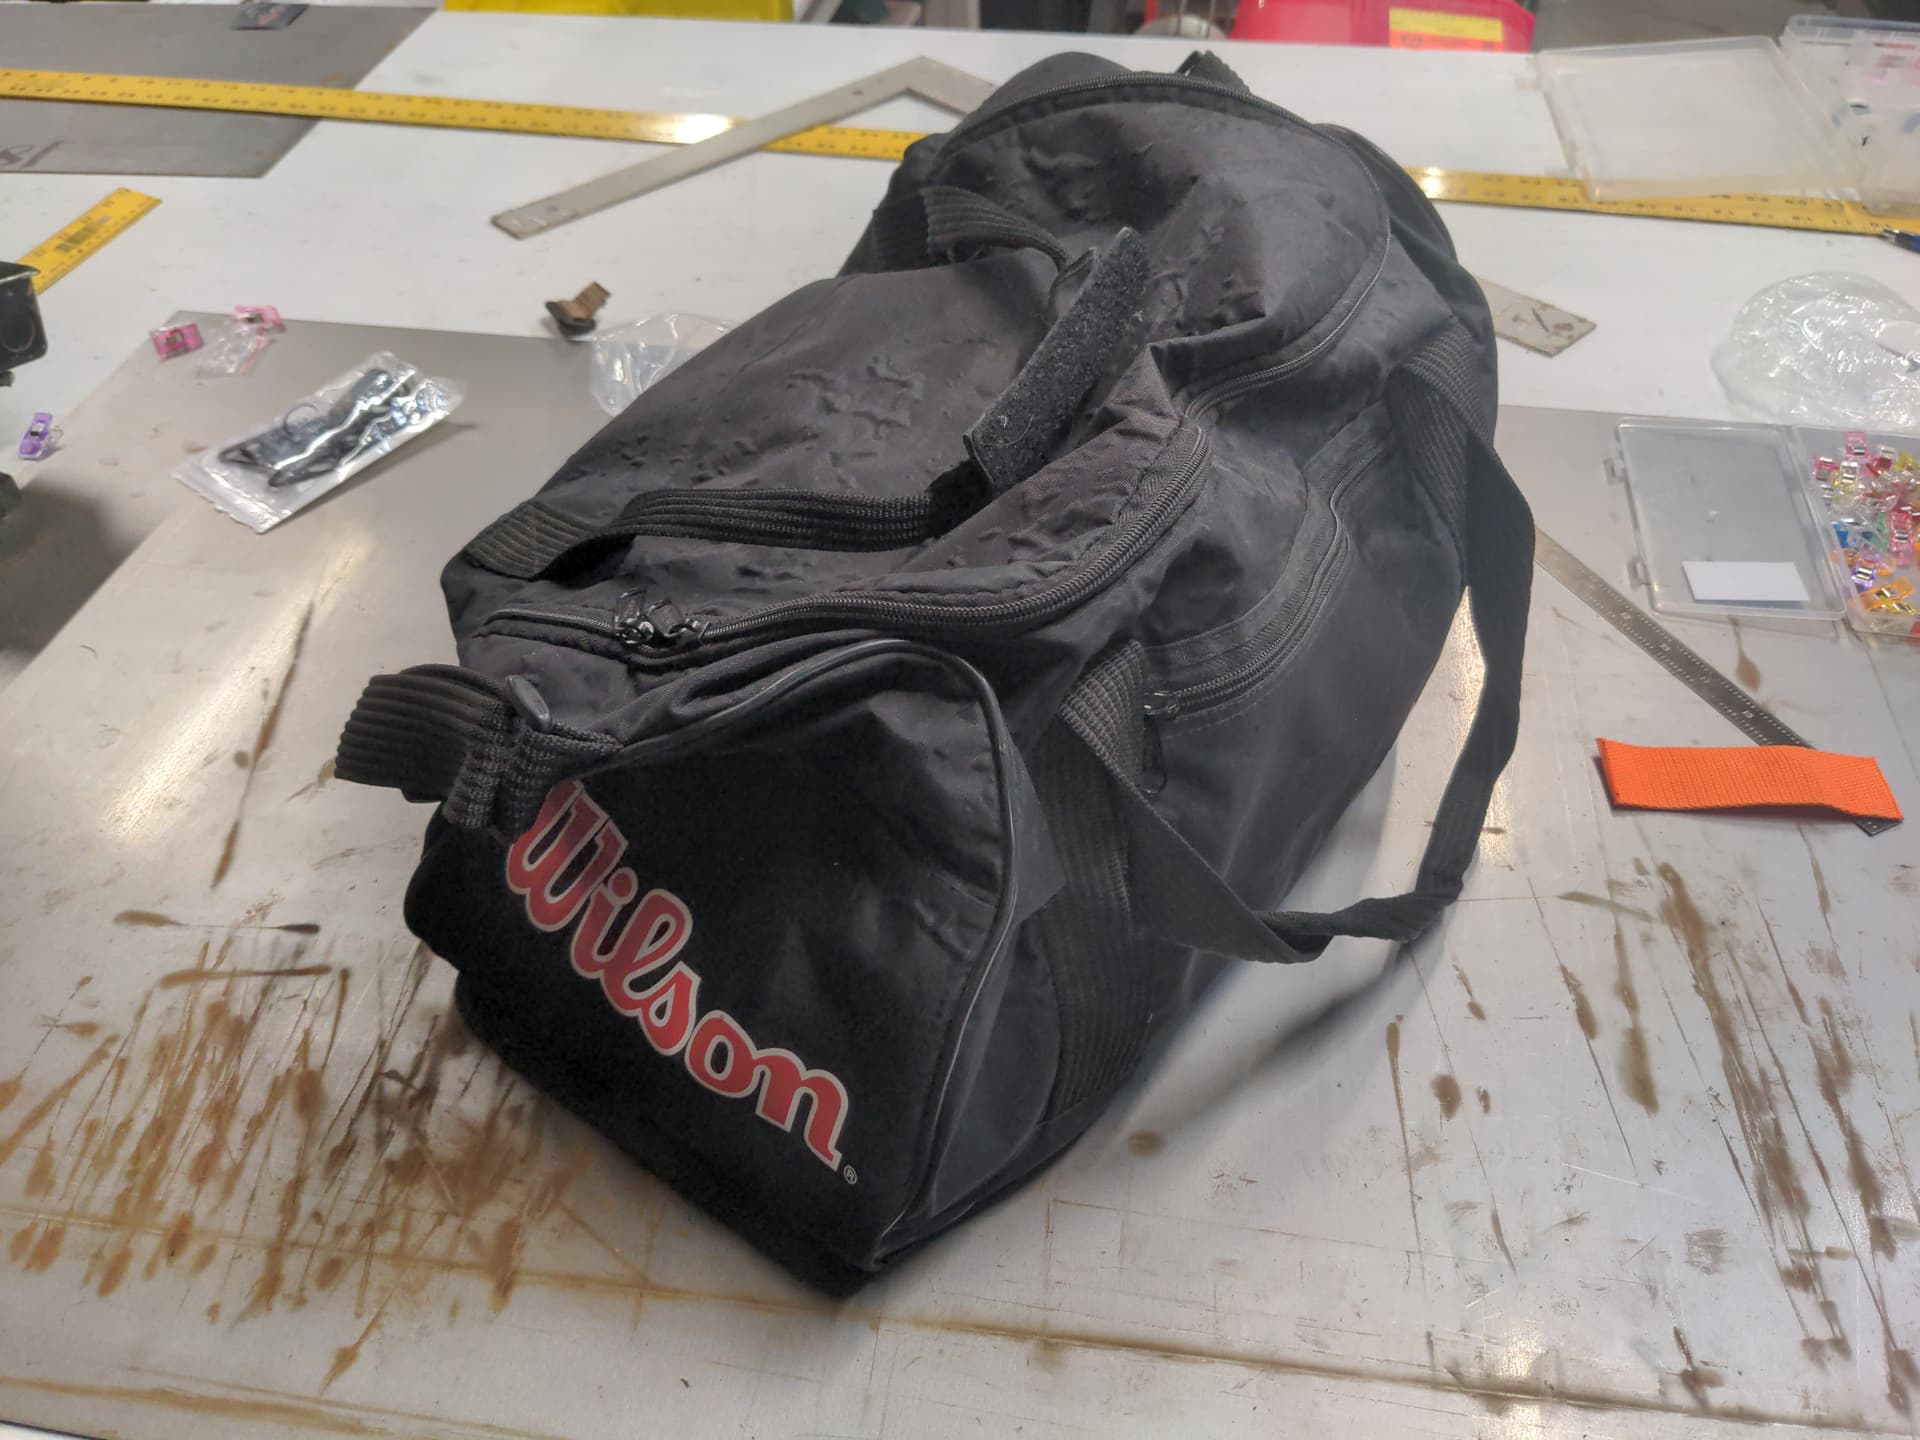
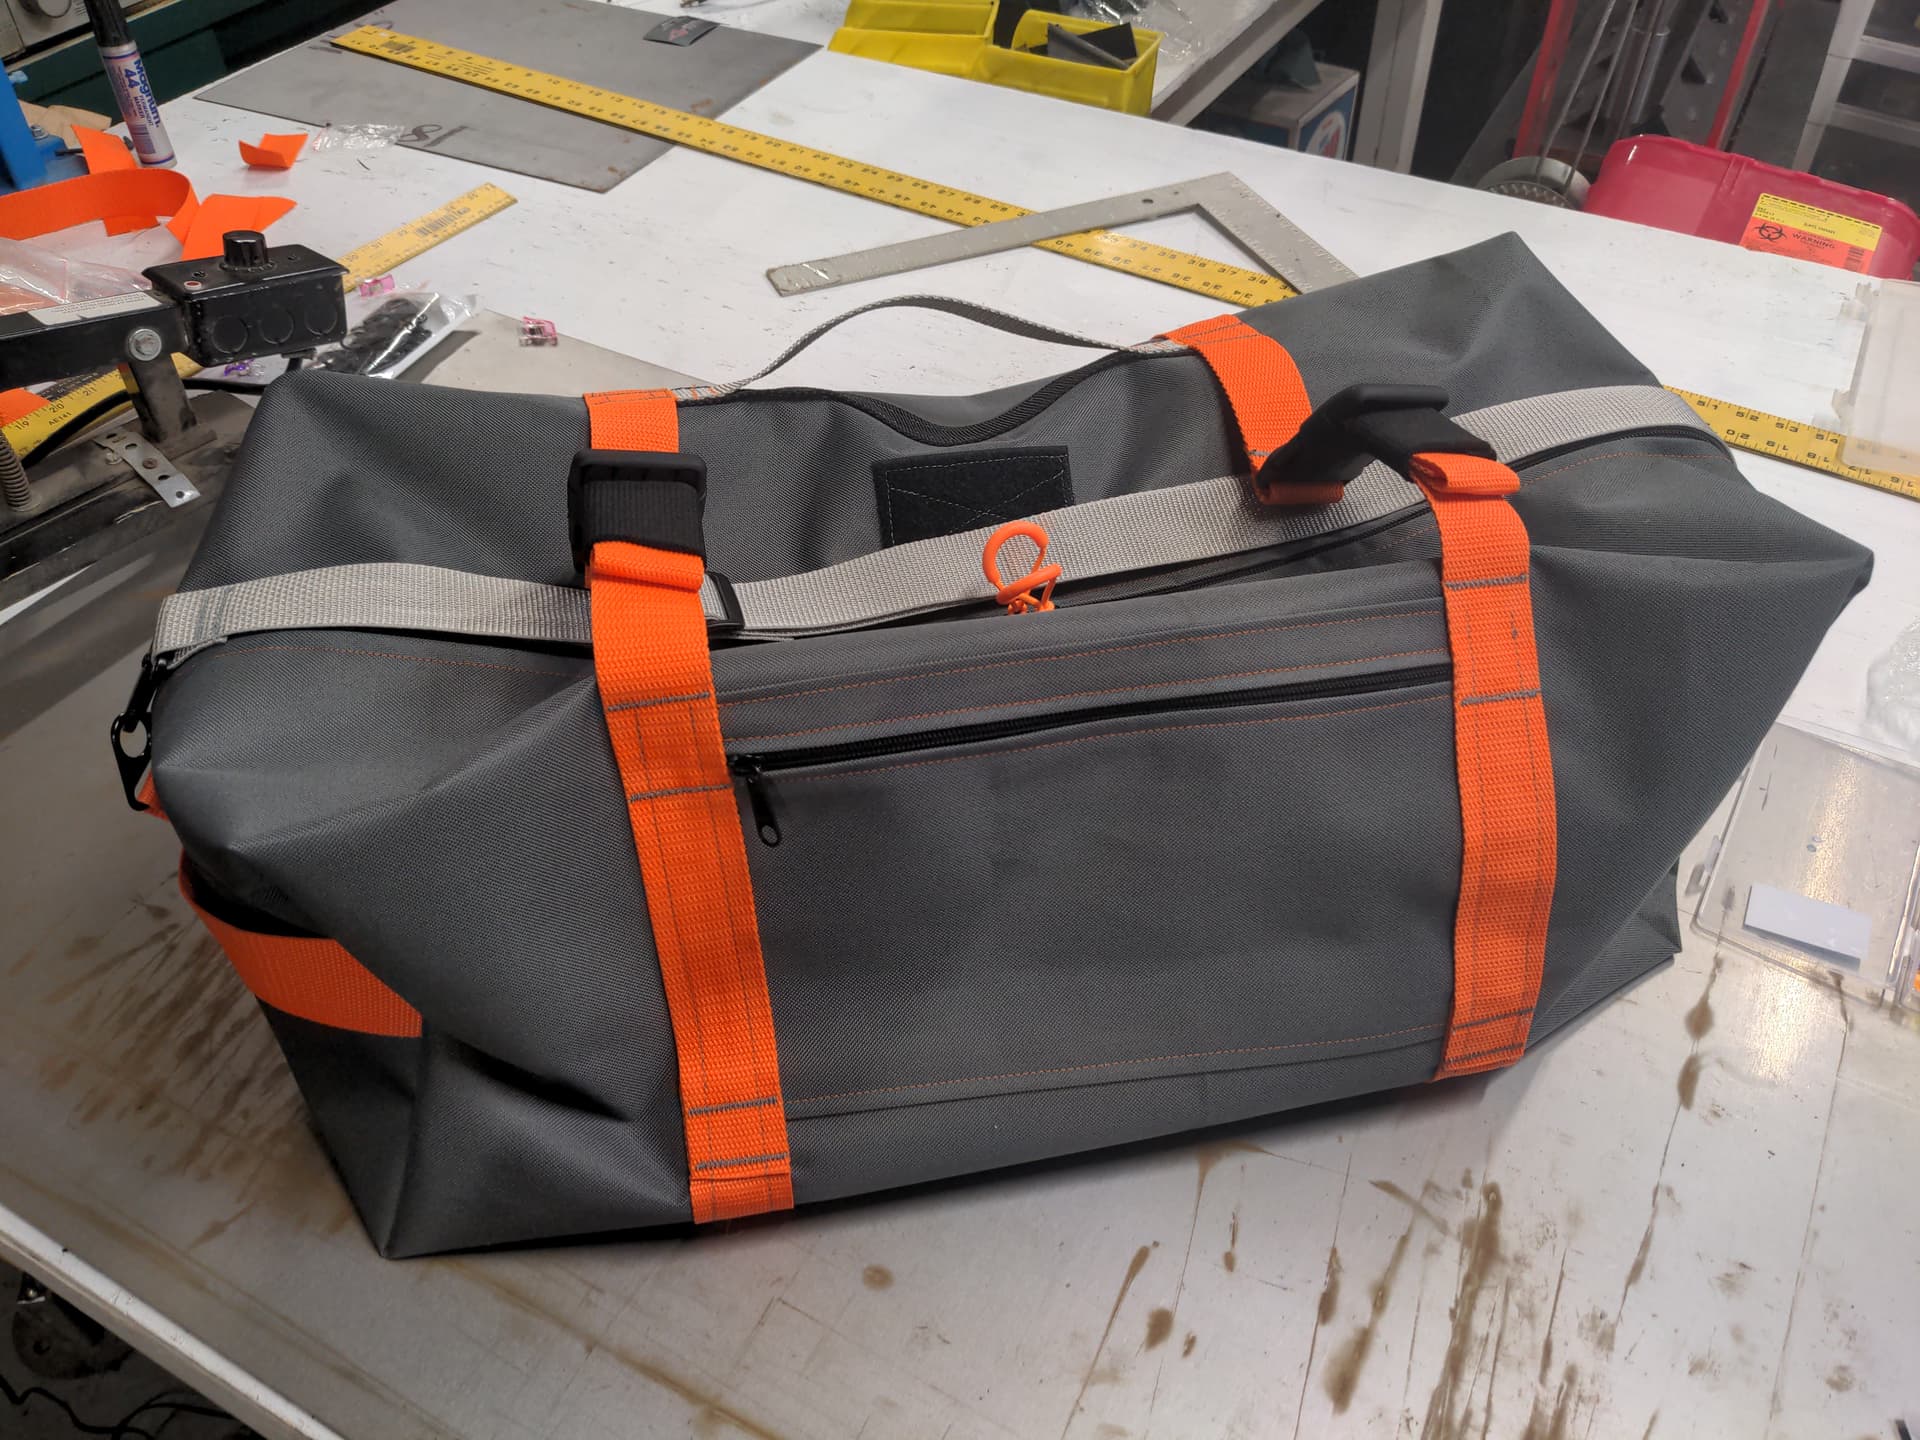
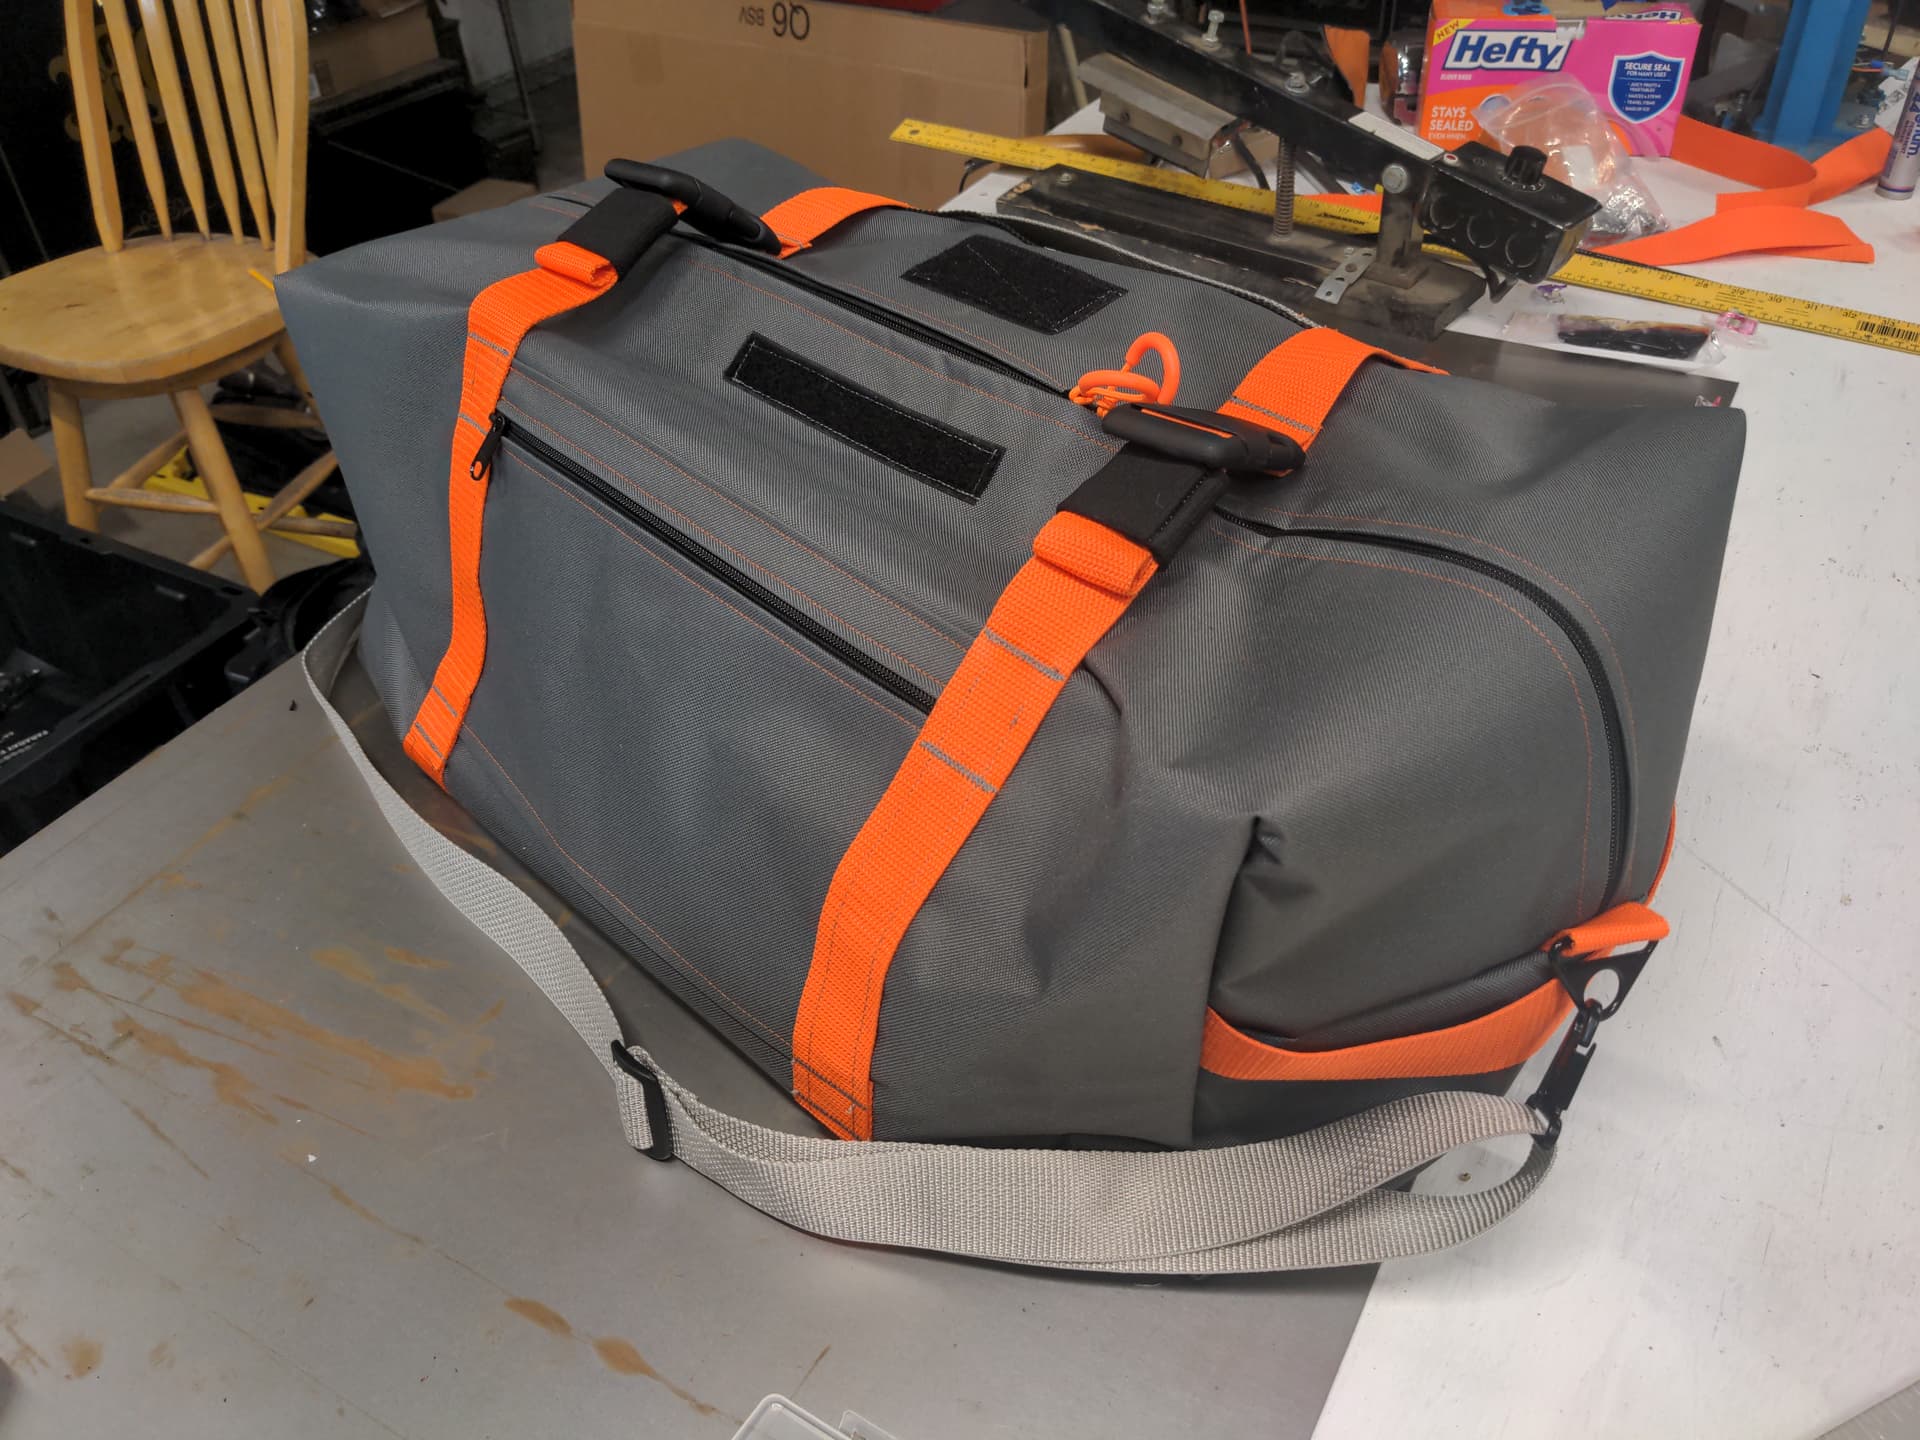
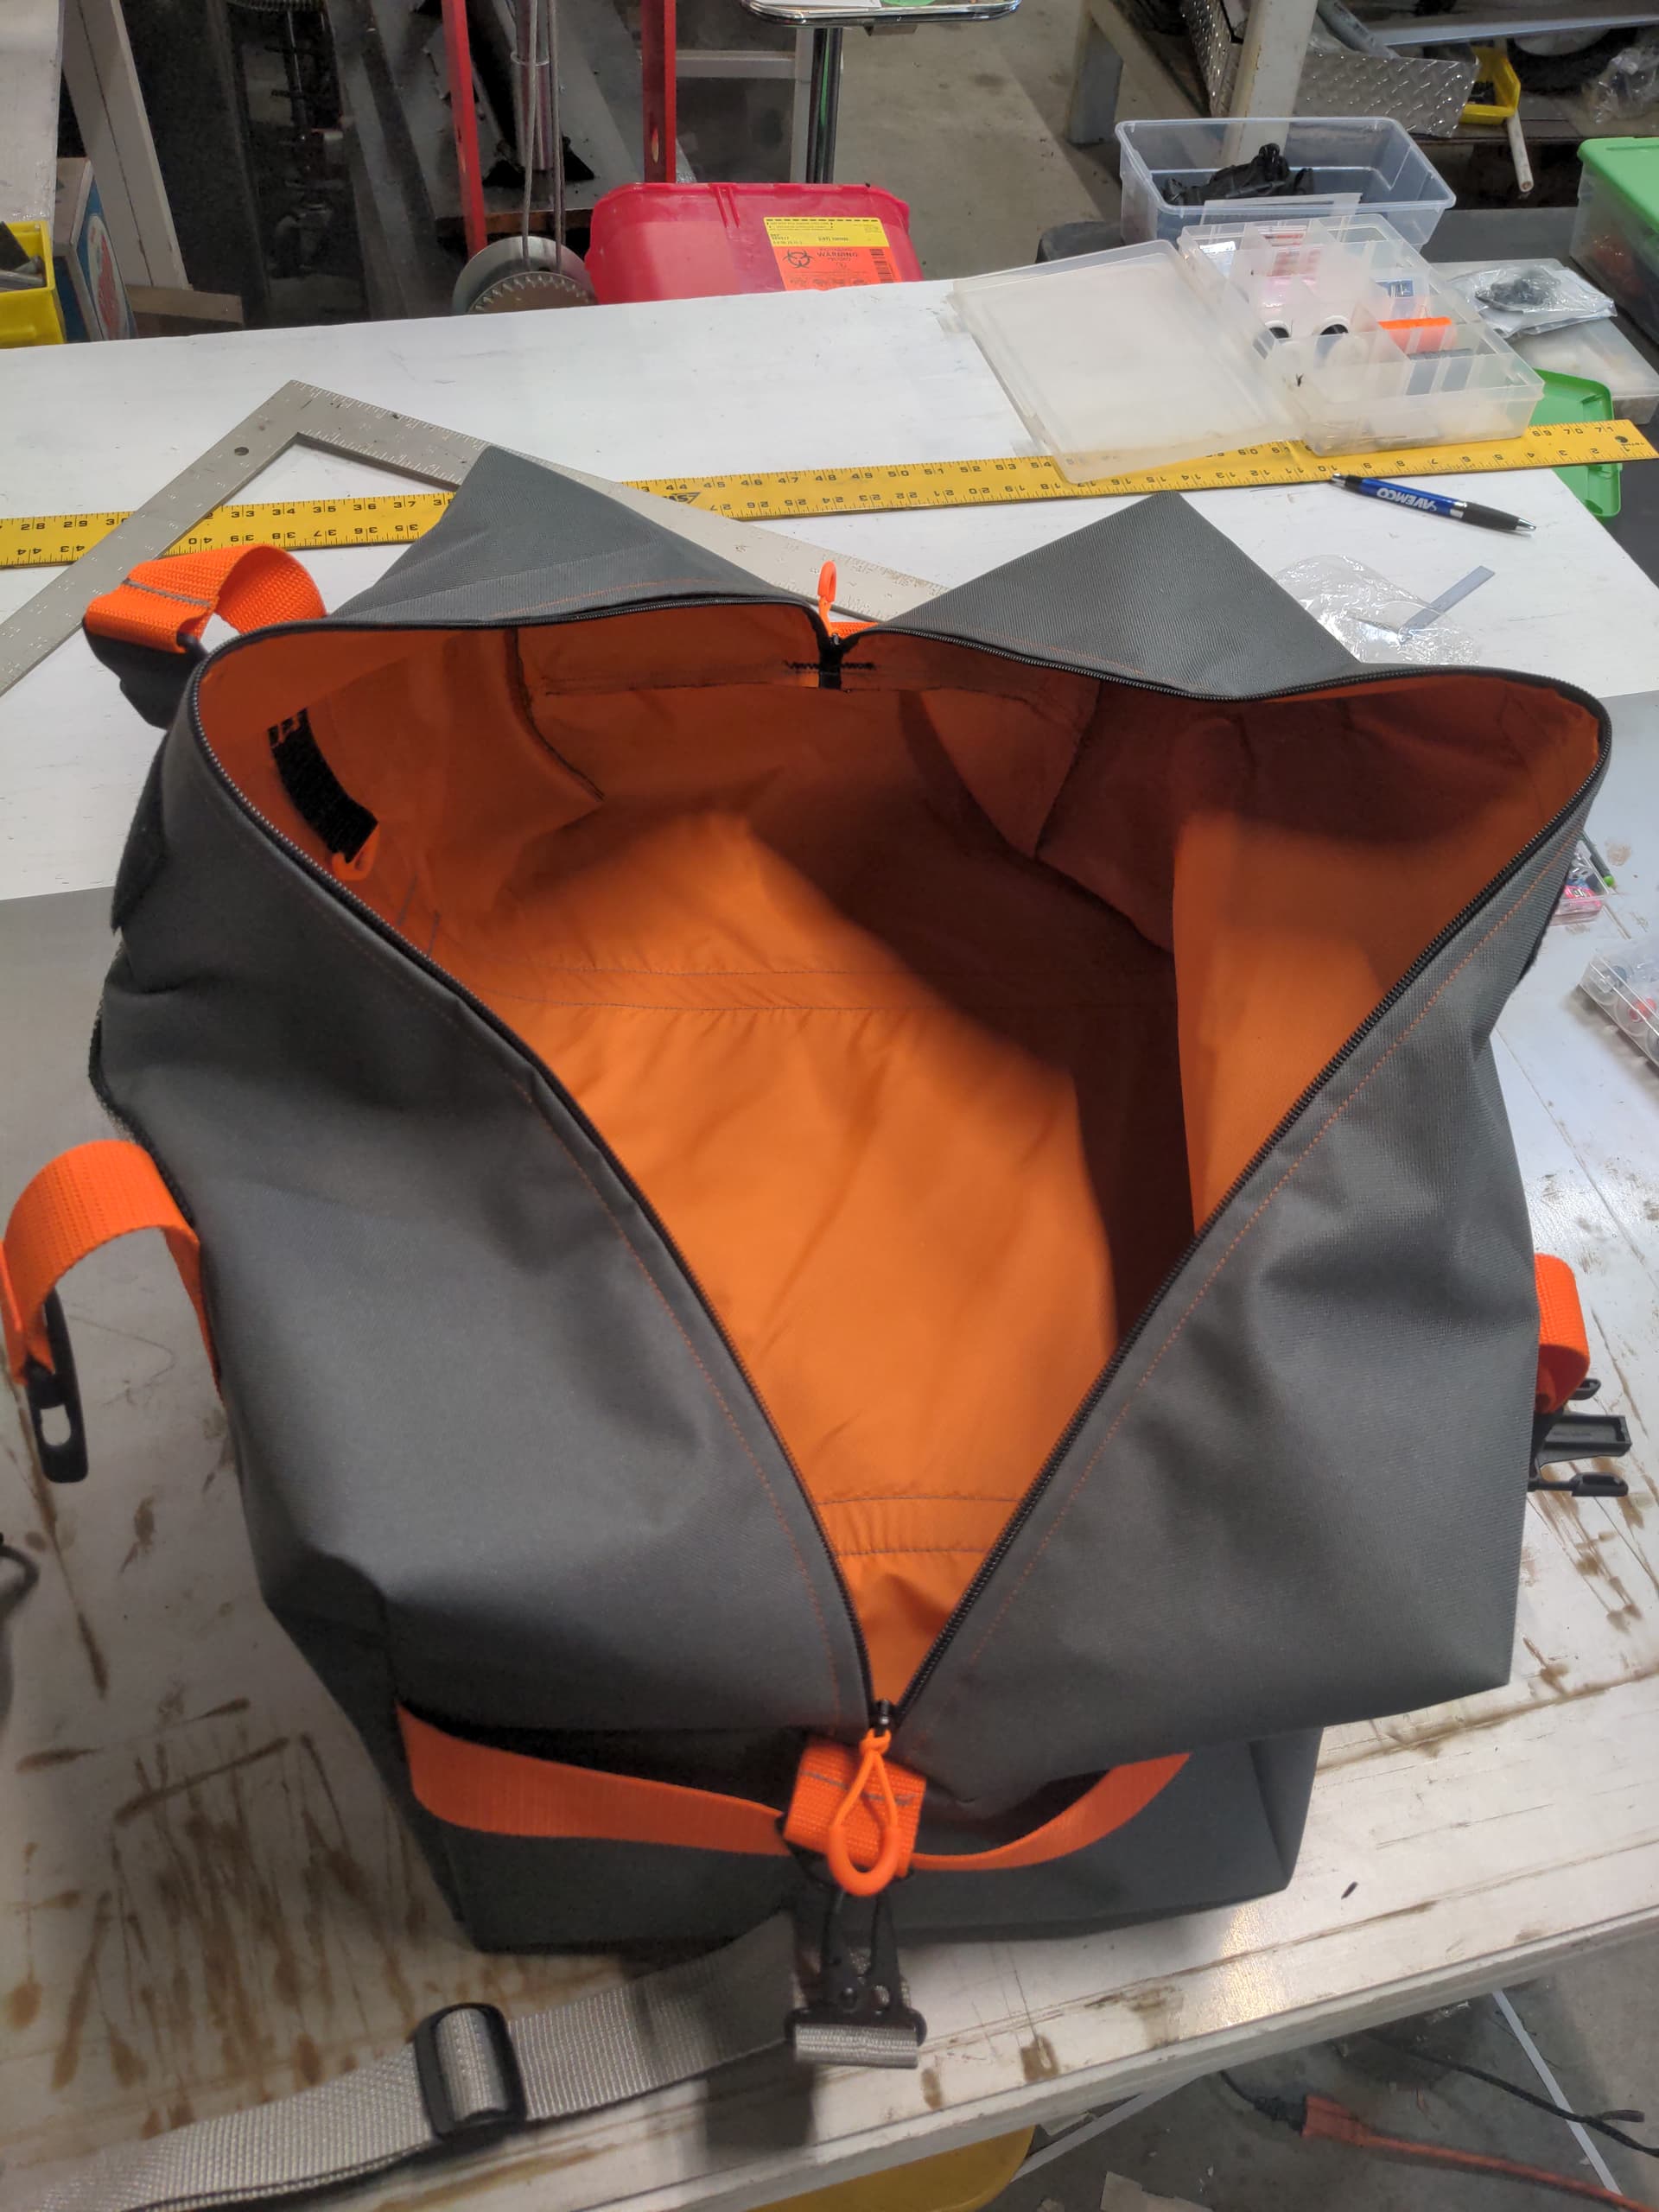
I did end up with enough of a part size to cut 18x14.5" out of it, so I think I’ll make another one of those box-bags from it and see how it holds up. Maybe I’ll use it. Maybe I’ll just fill it with rocks and chuck it around and see which stitch fails first (zipper, splice/seam, ends, or grab handle)

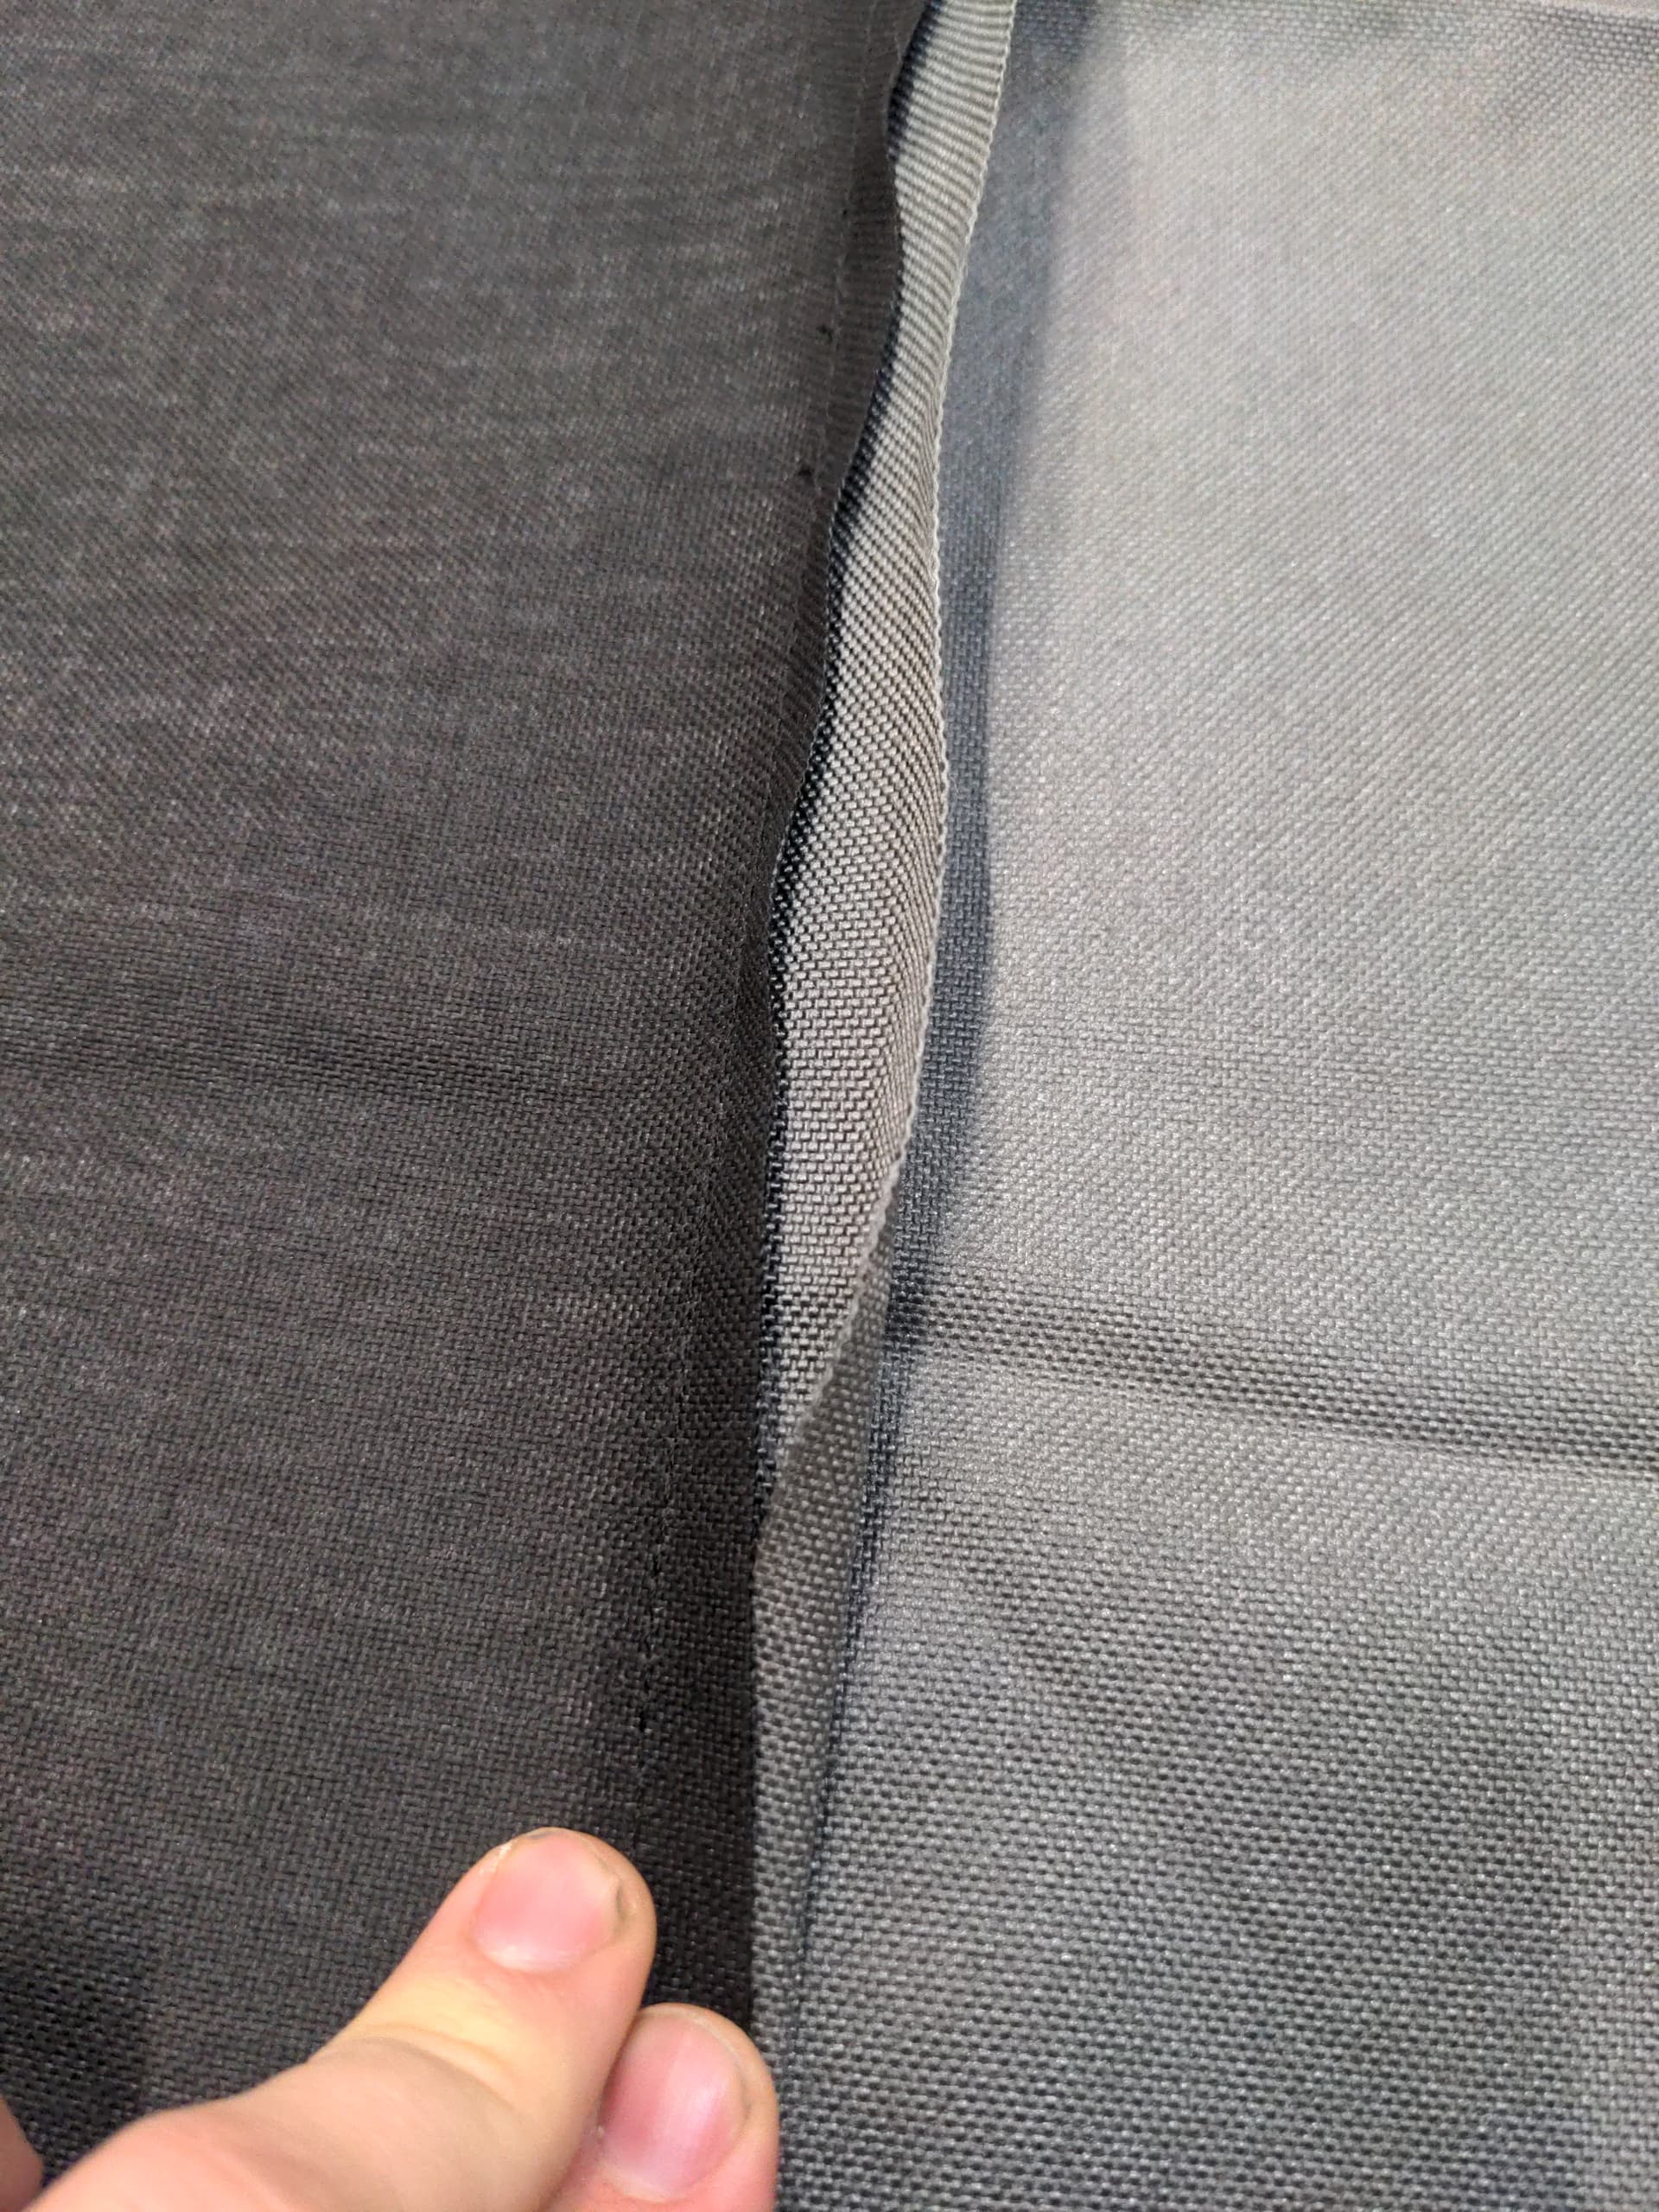
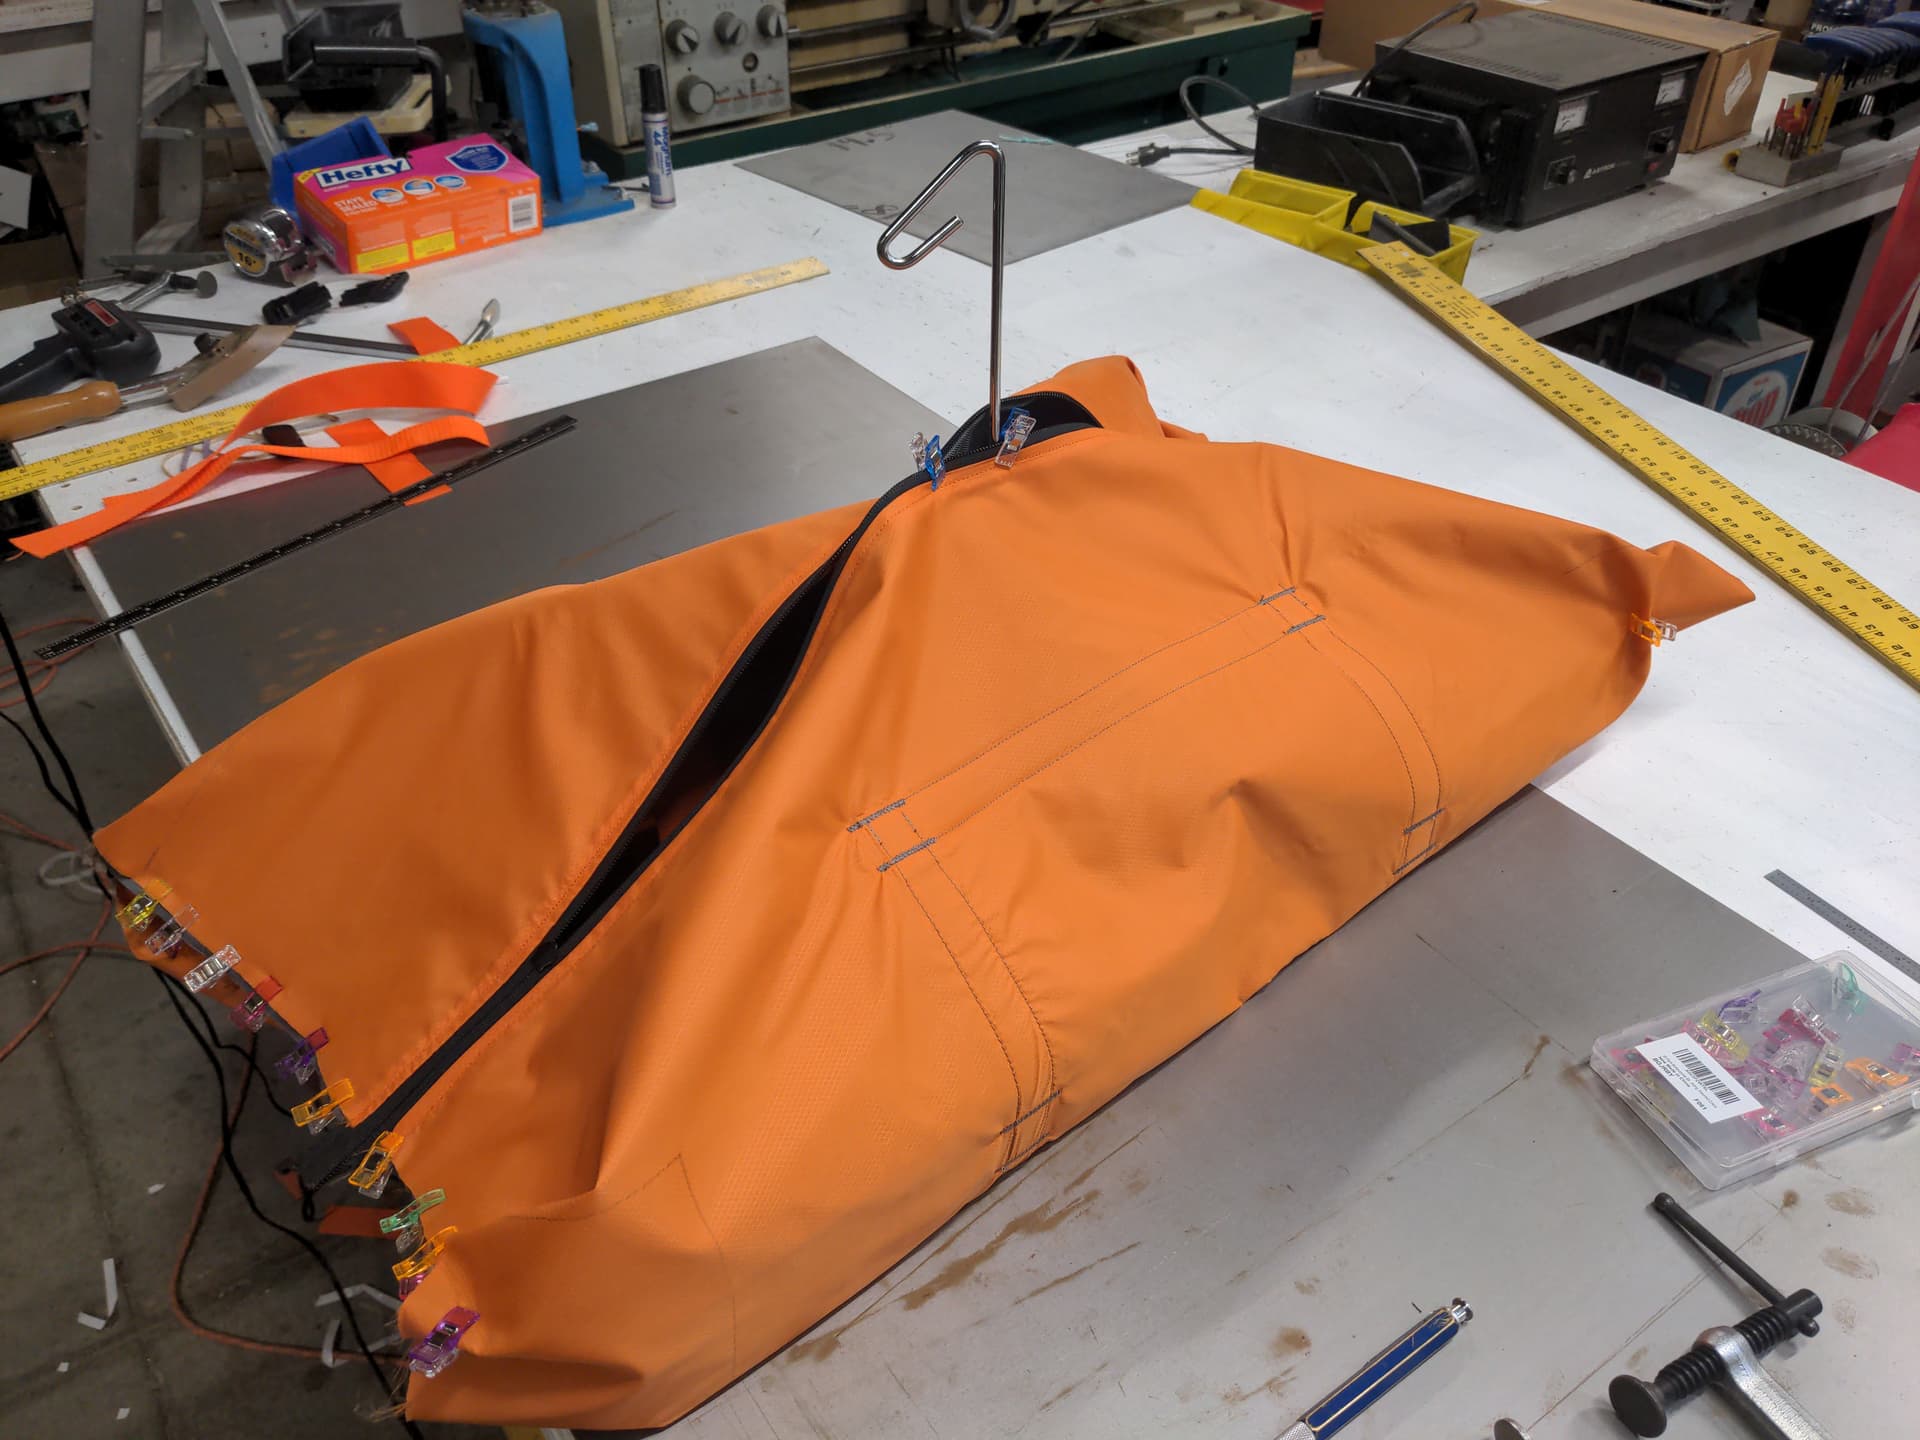
It did all work well enough that I figured to try and actual flat-felled seam next. Extra wide though, a little more forgiving on alignment that way.

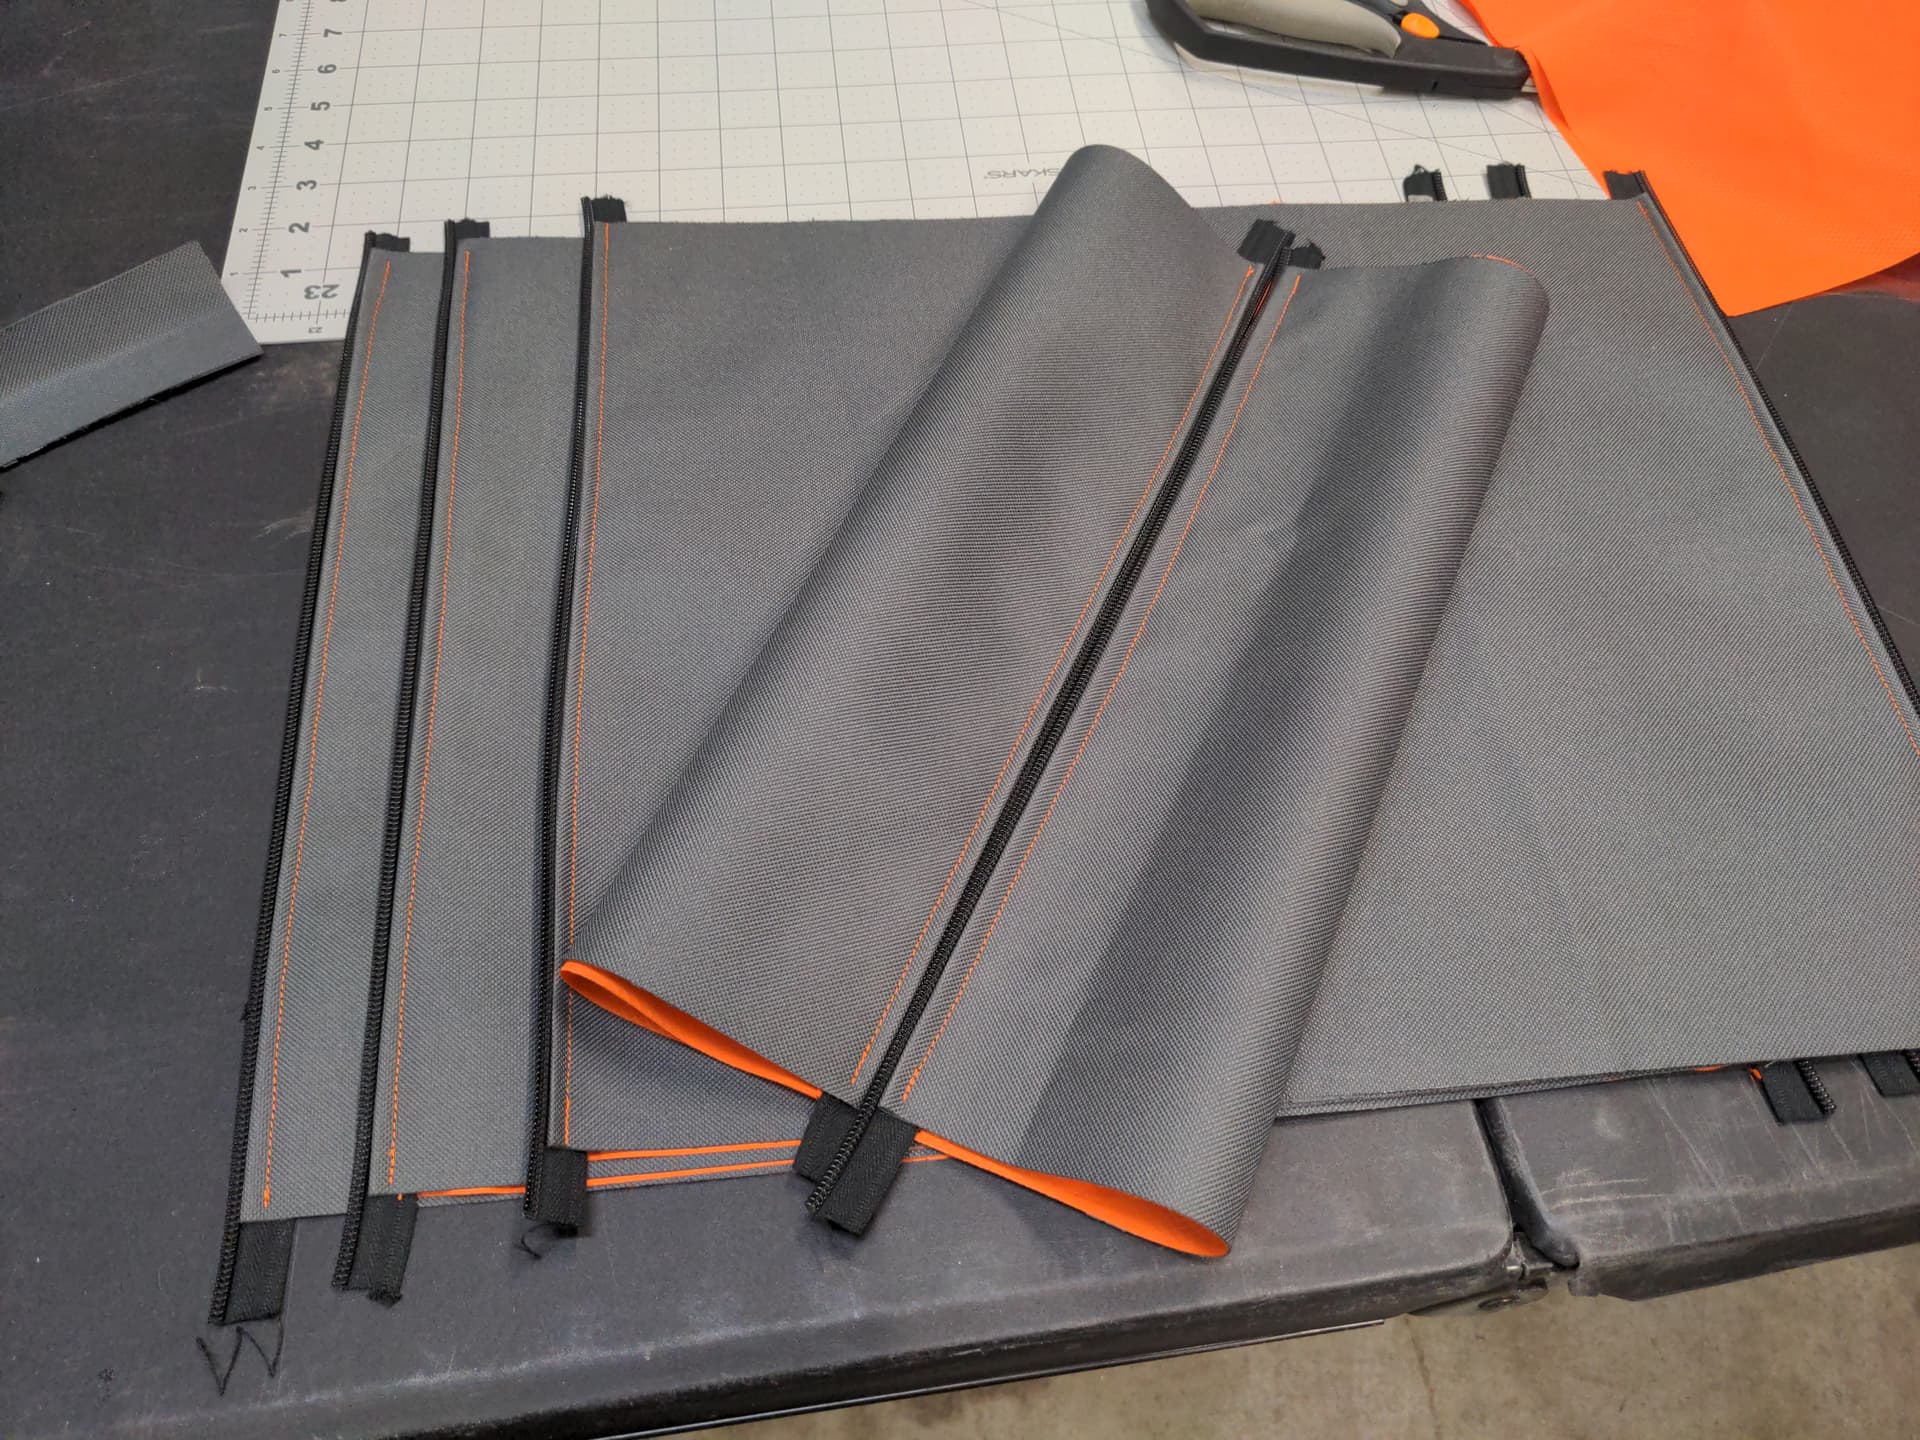
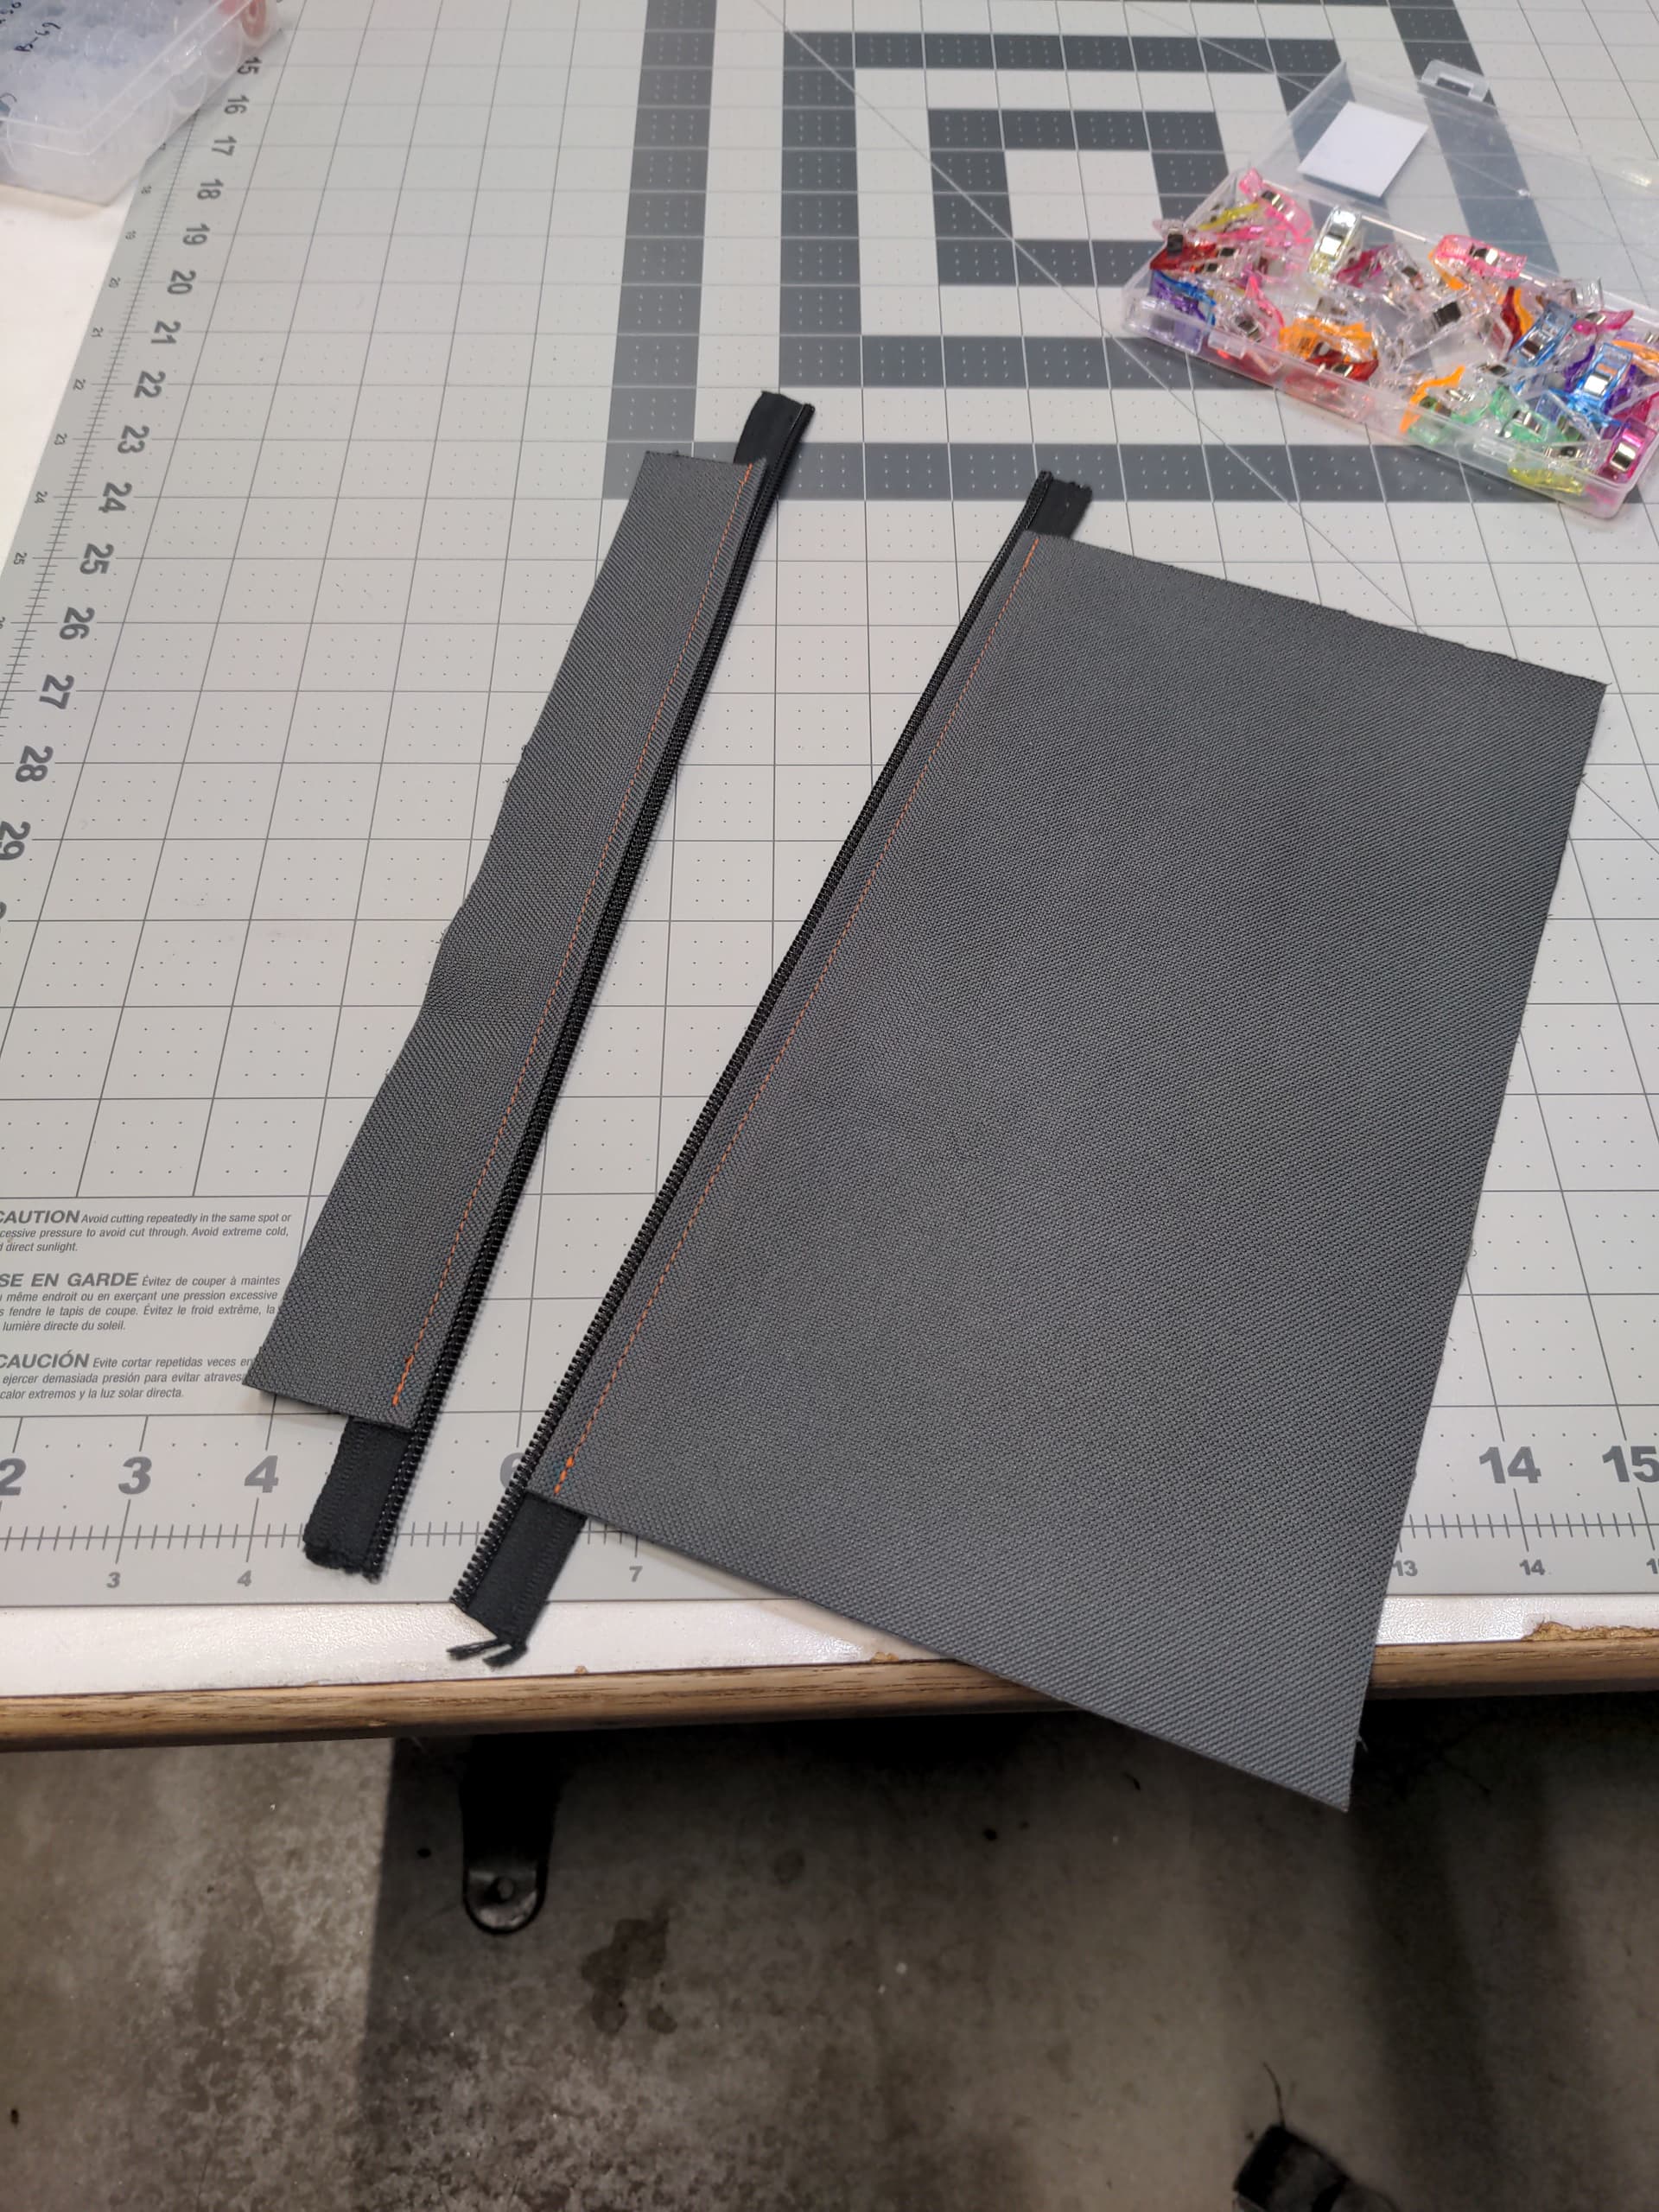
So you stitch the edges together, outside facing together, then trim one side of that back halfway. The black side in this case.

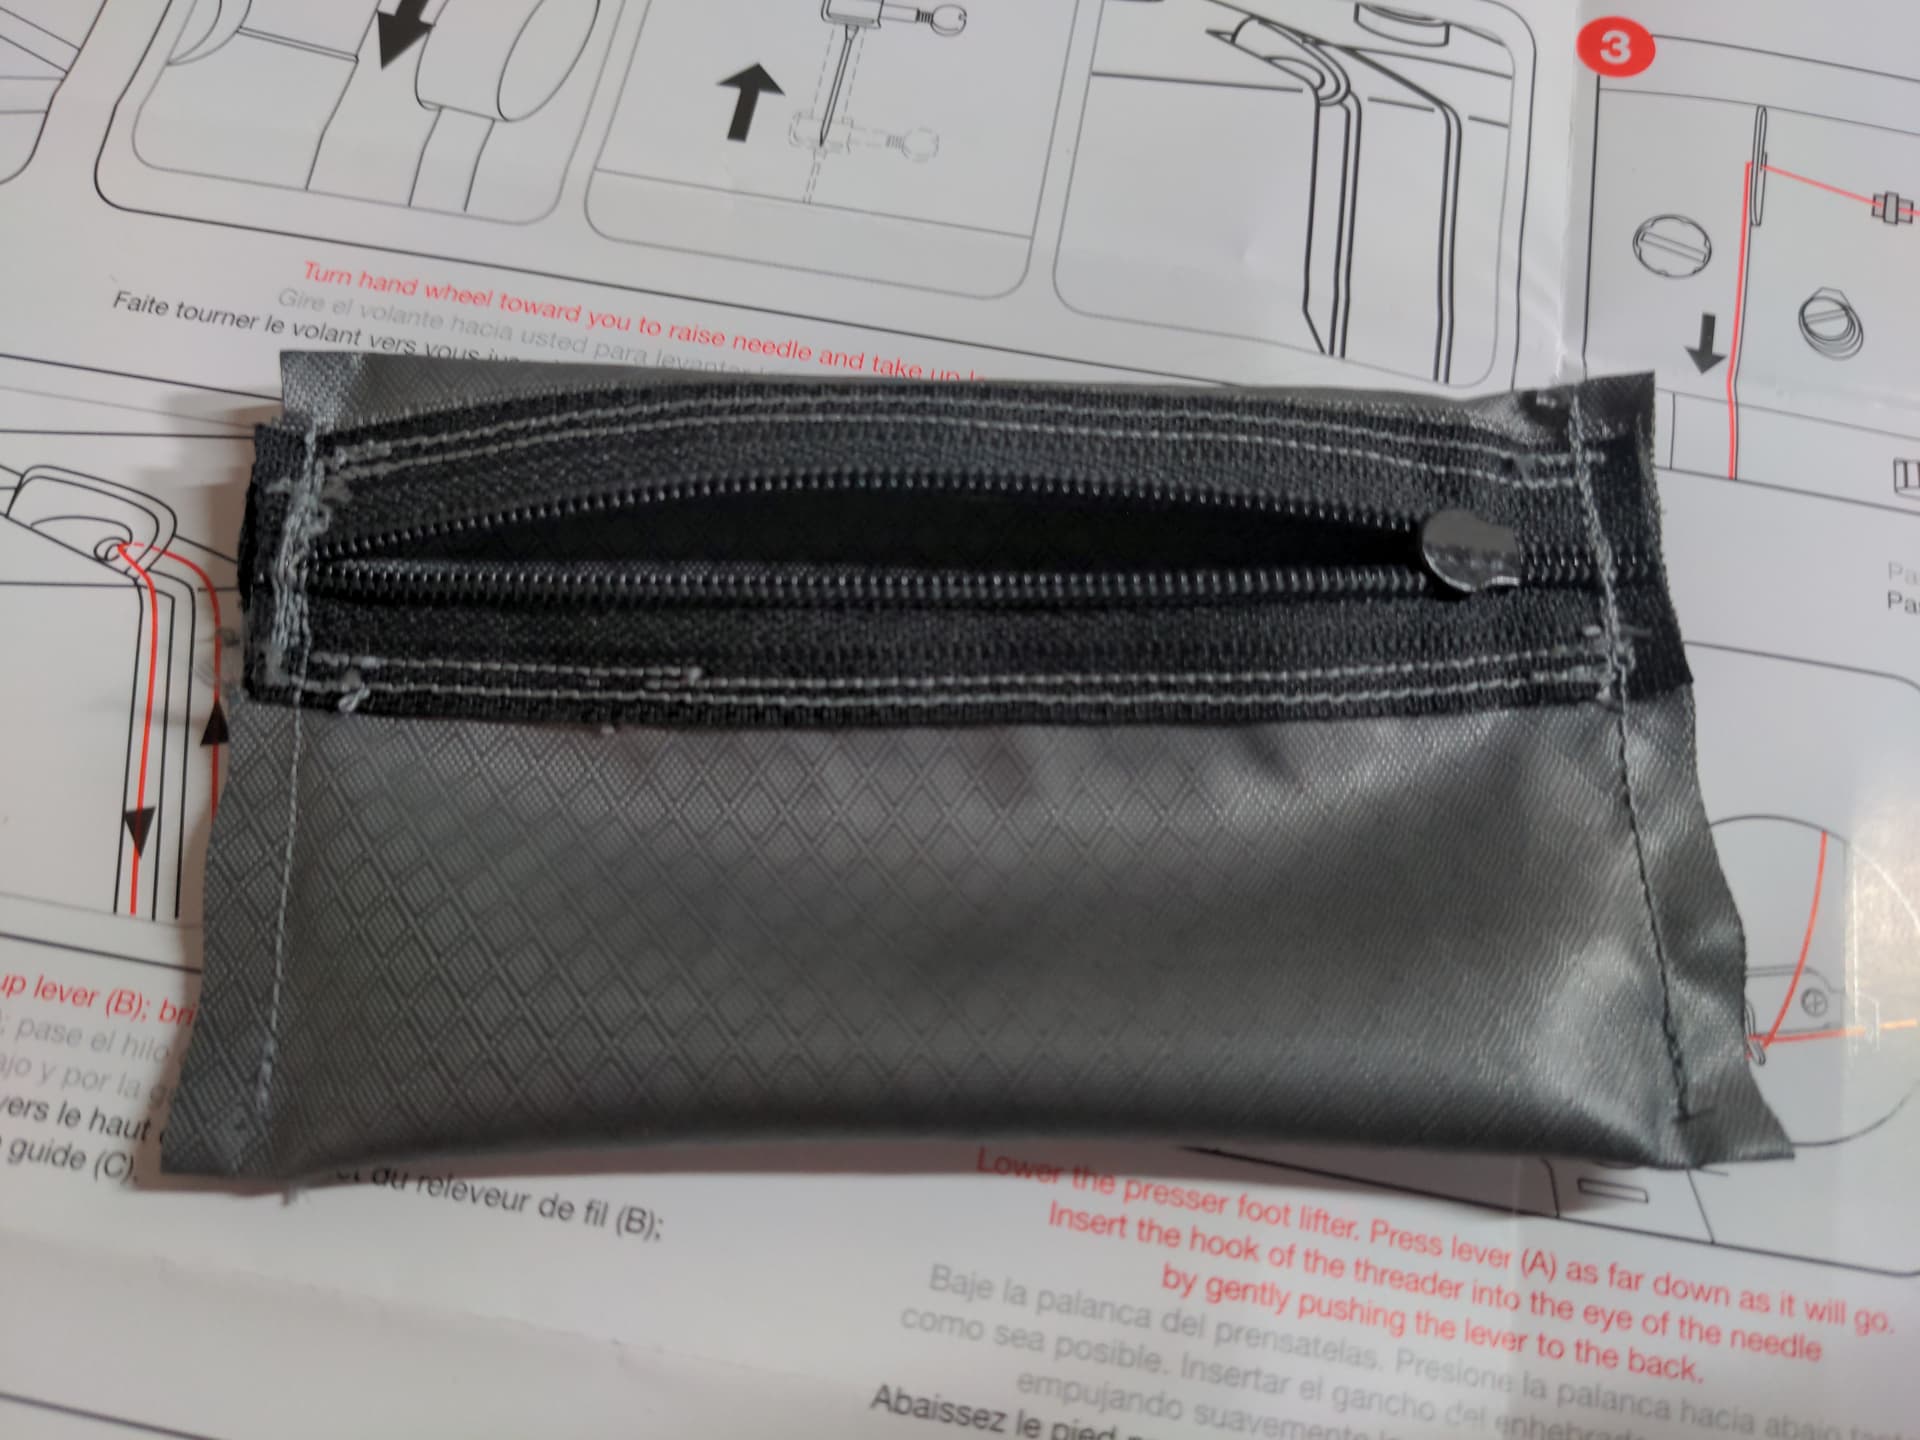
Then you fold the long-side into the center, then the whole thing will get folded over to the left. Then stitched. This encases the edges of both edges of the fabric and makes a strong, shear resistant seam.

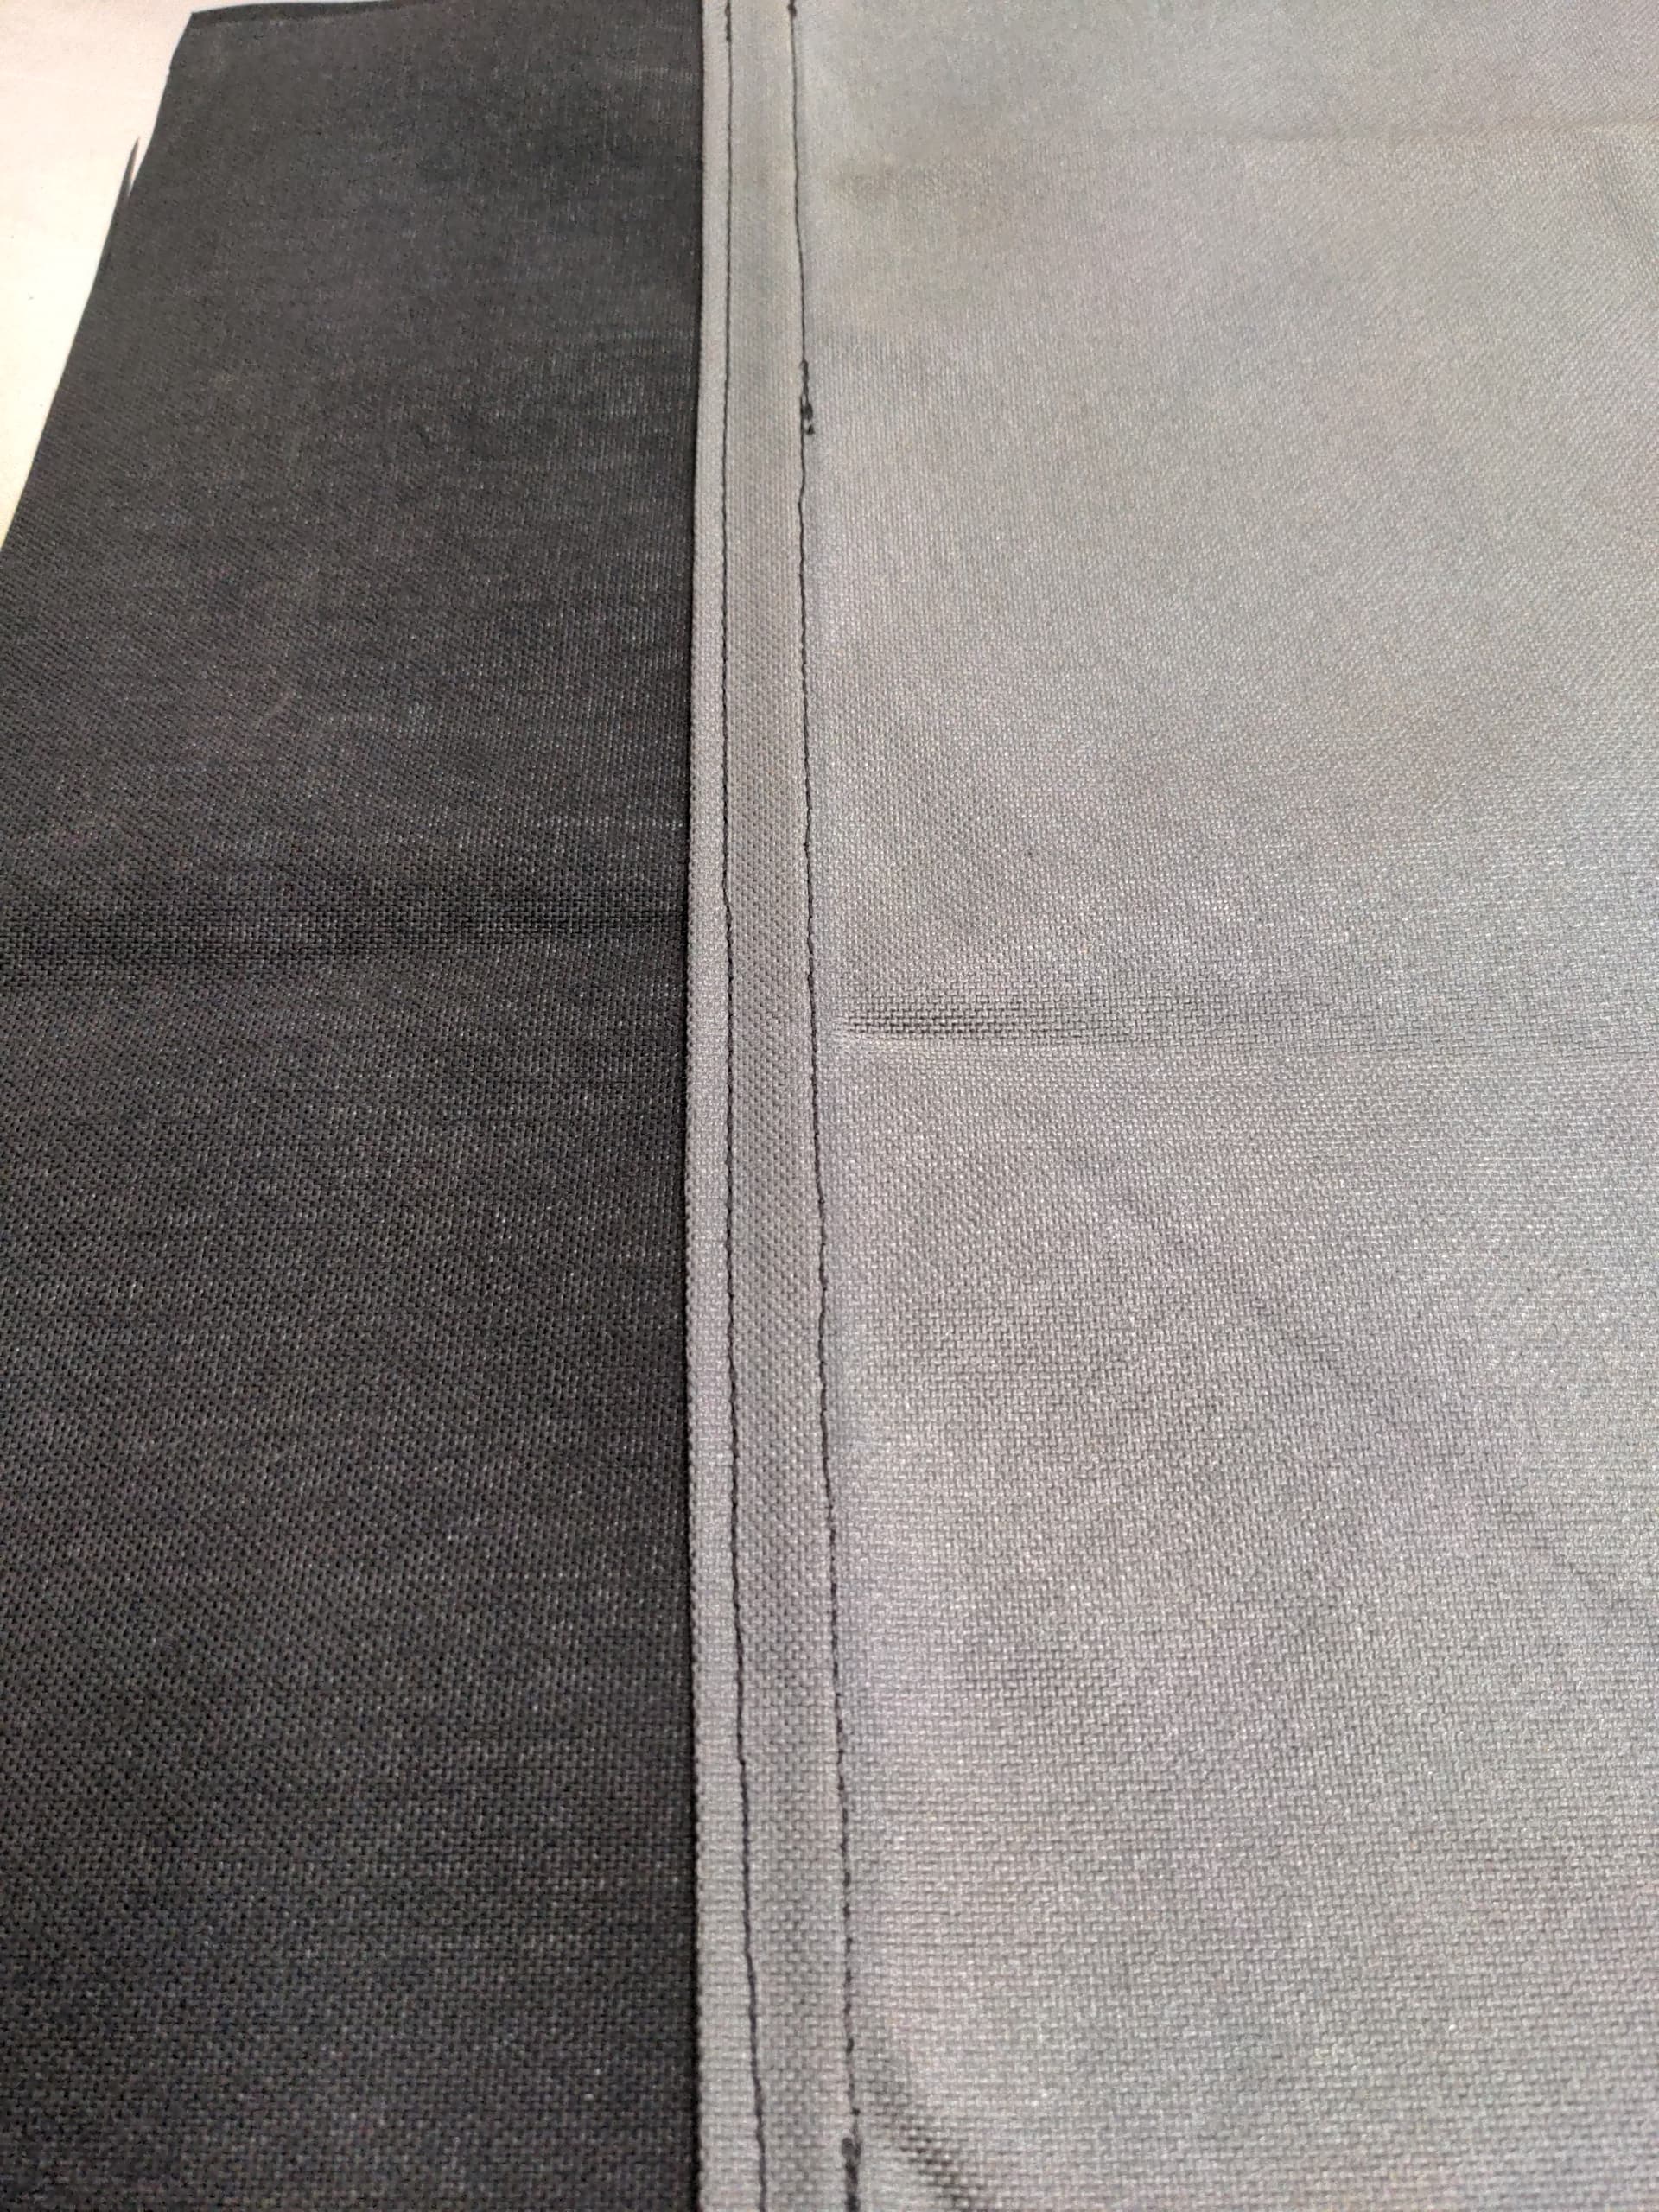
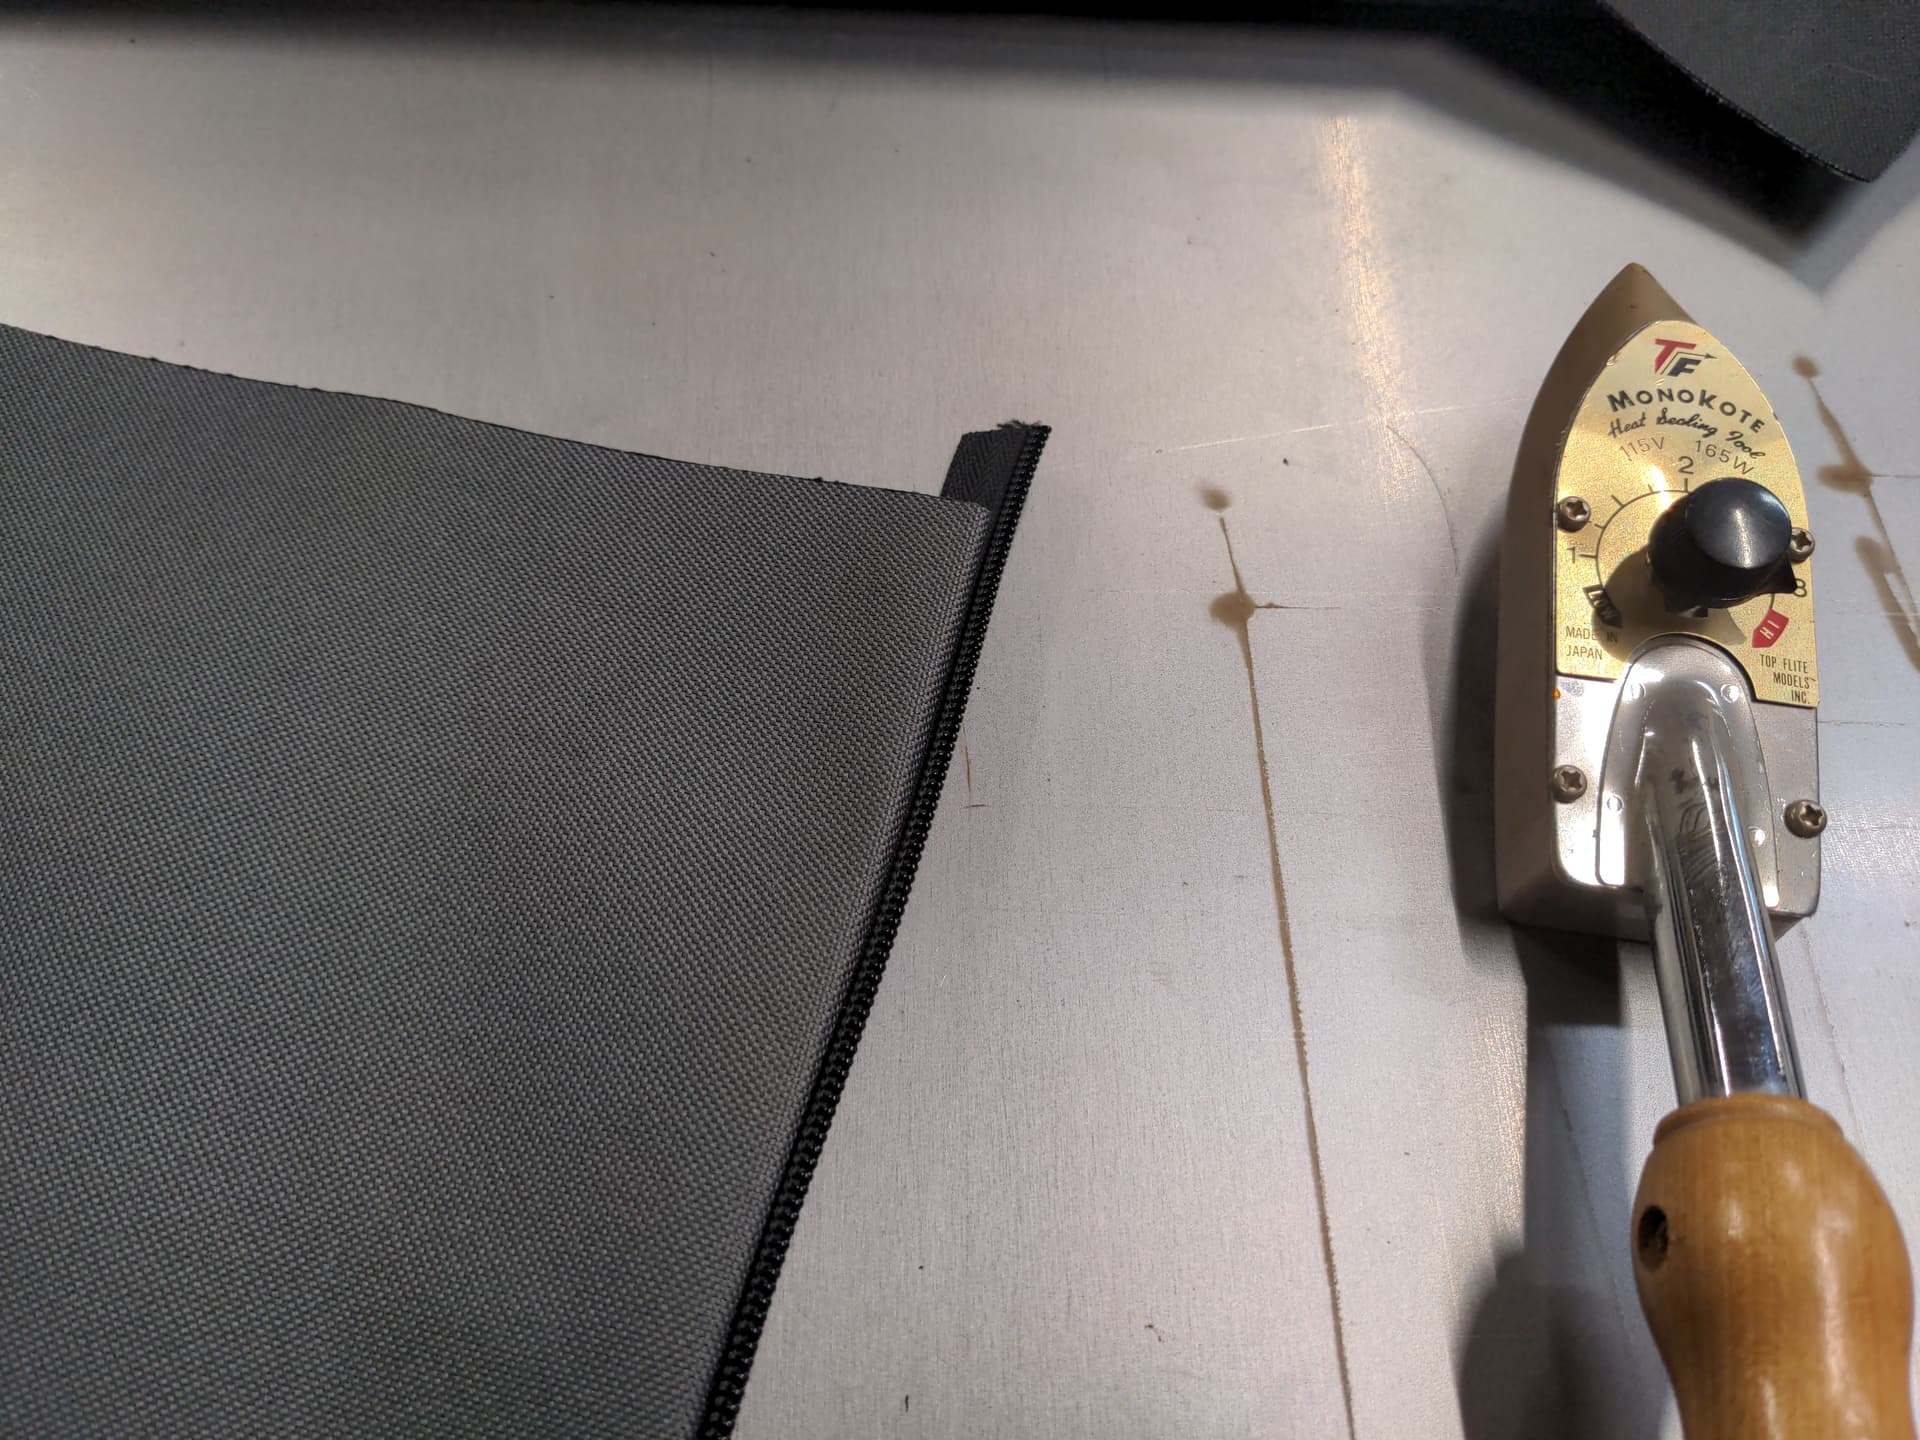
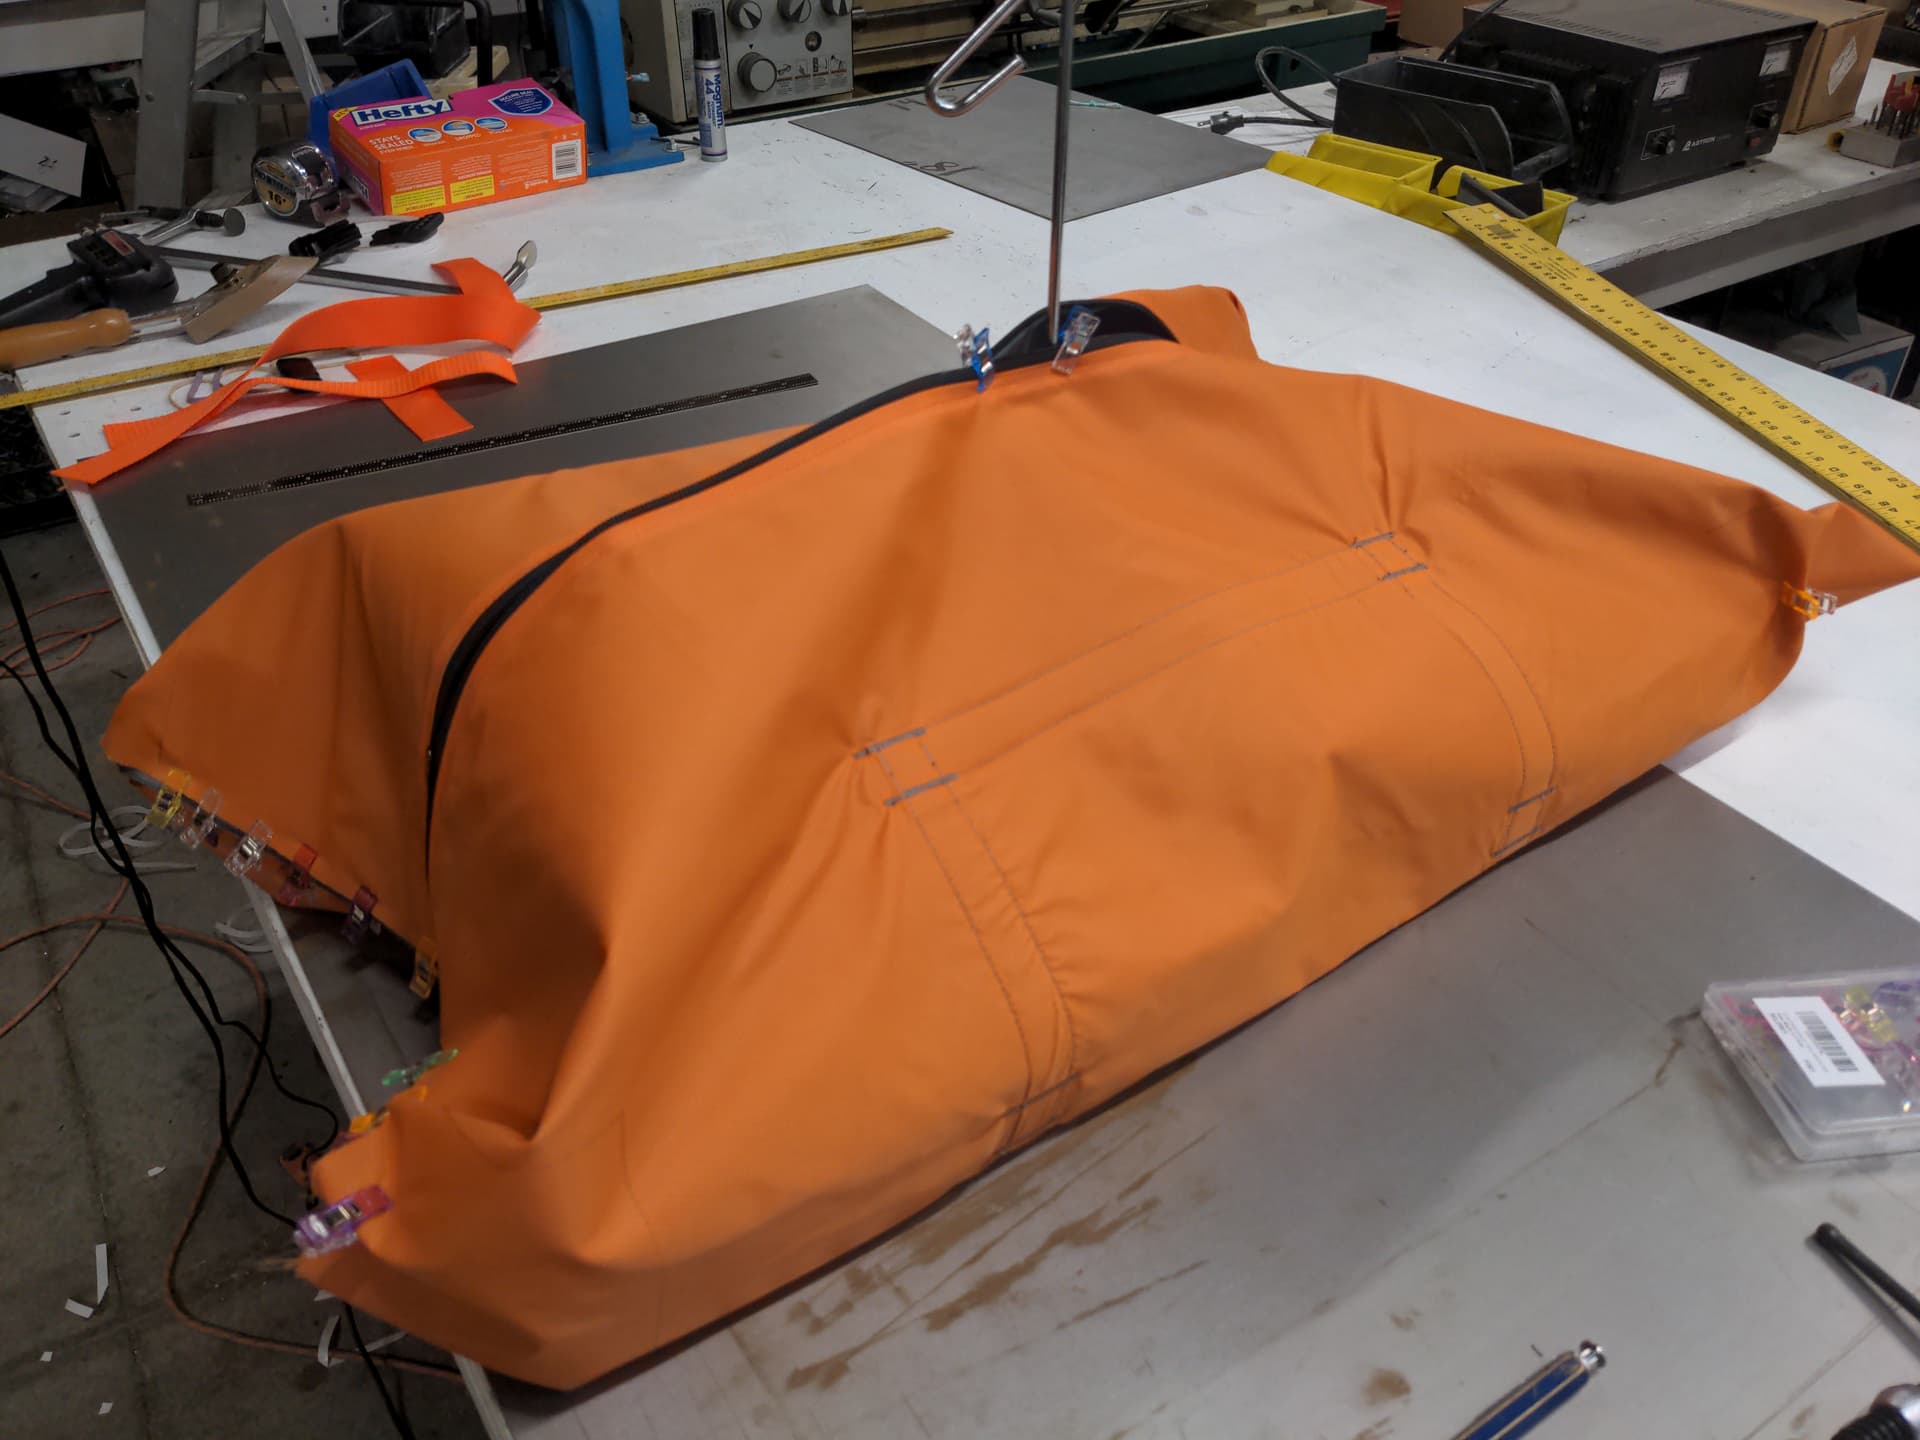
You’re supposed to iron the seams down in 2-3 stages to get it all tight and flat before stitching. Cordura, apparently, does not iron down very well. Or my little craft iron doesn’t get hot enough. Or I suck at folding and ironing clothing… yeah, yeah it’s probably the material’s fault. Let’s go with that.

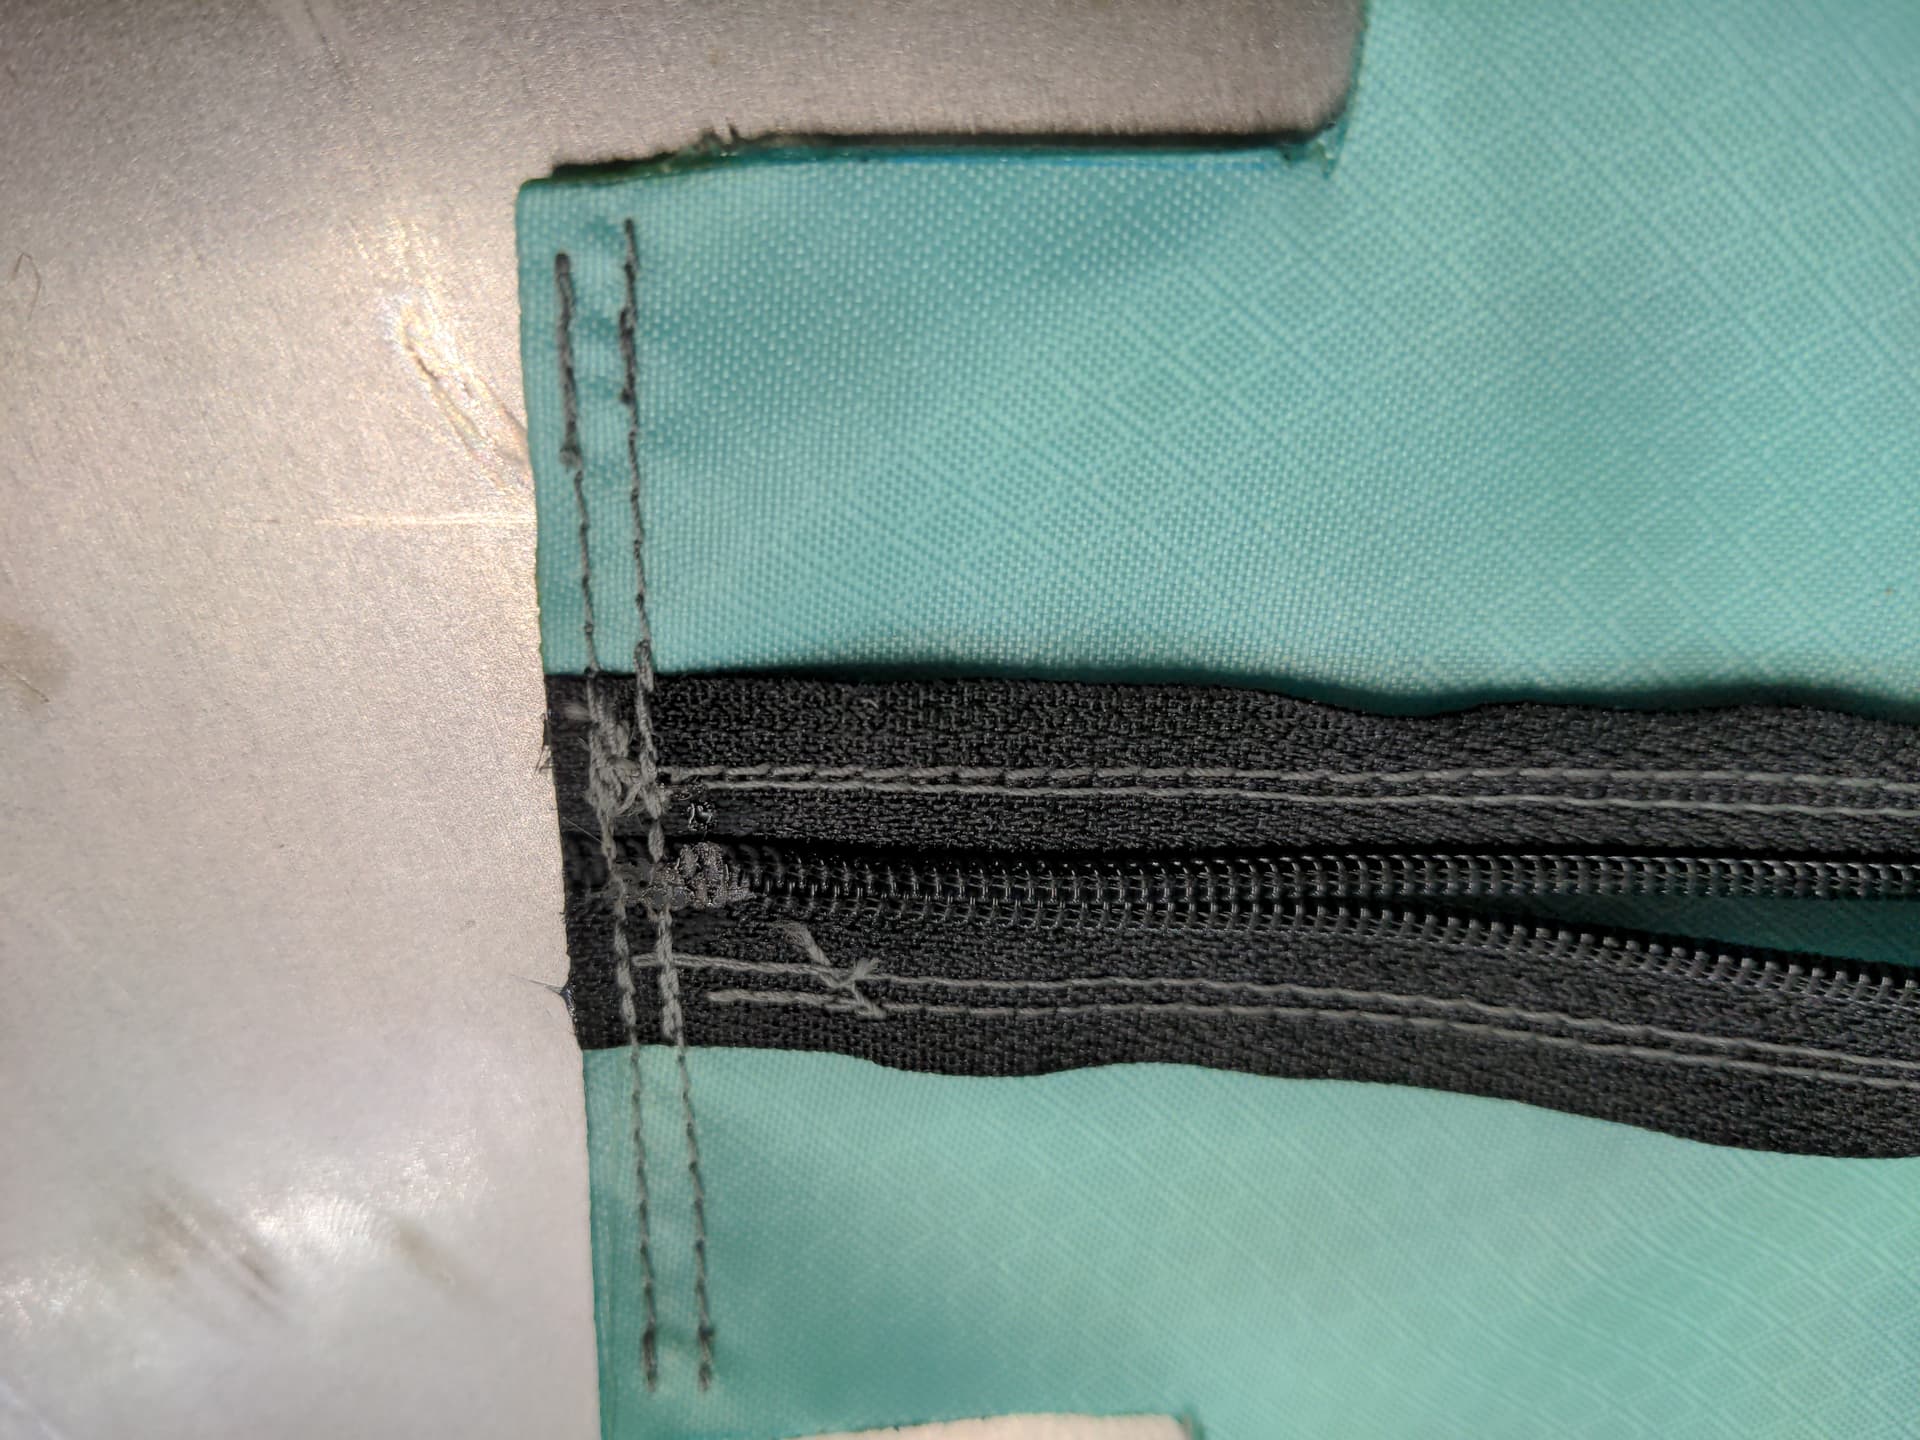
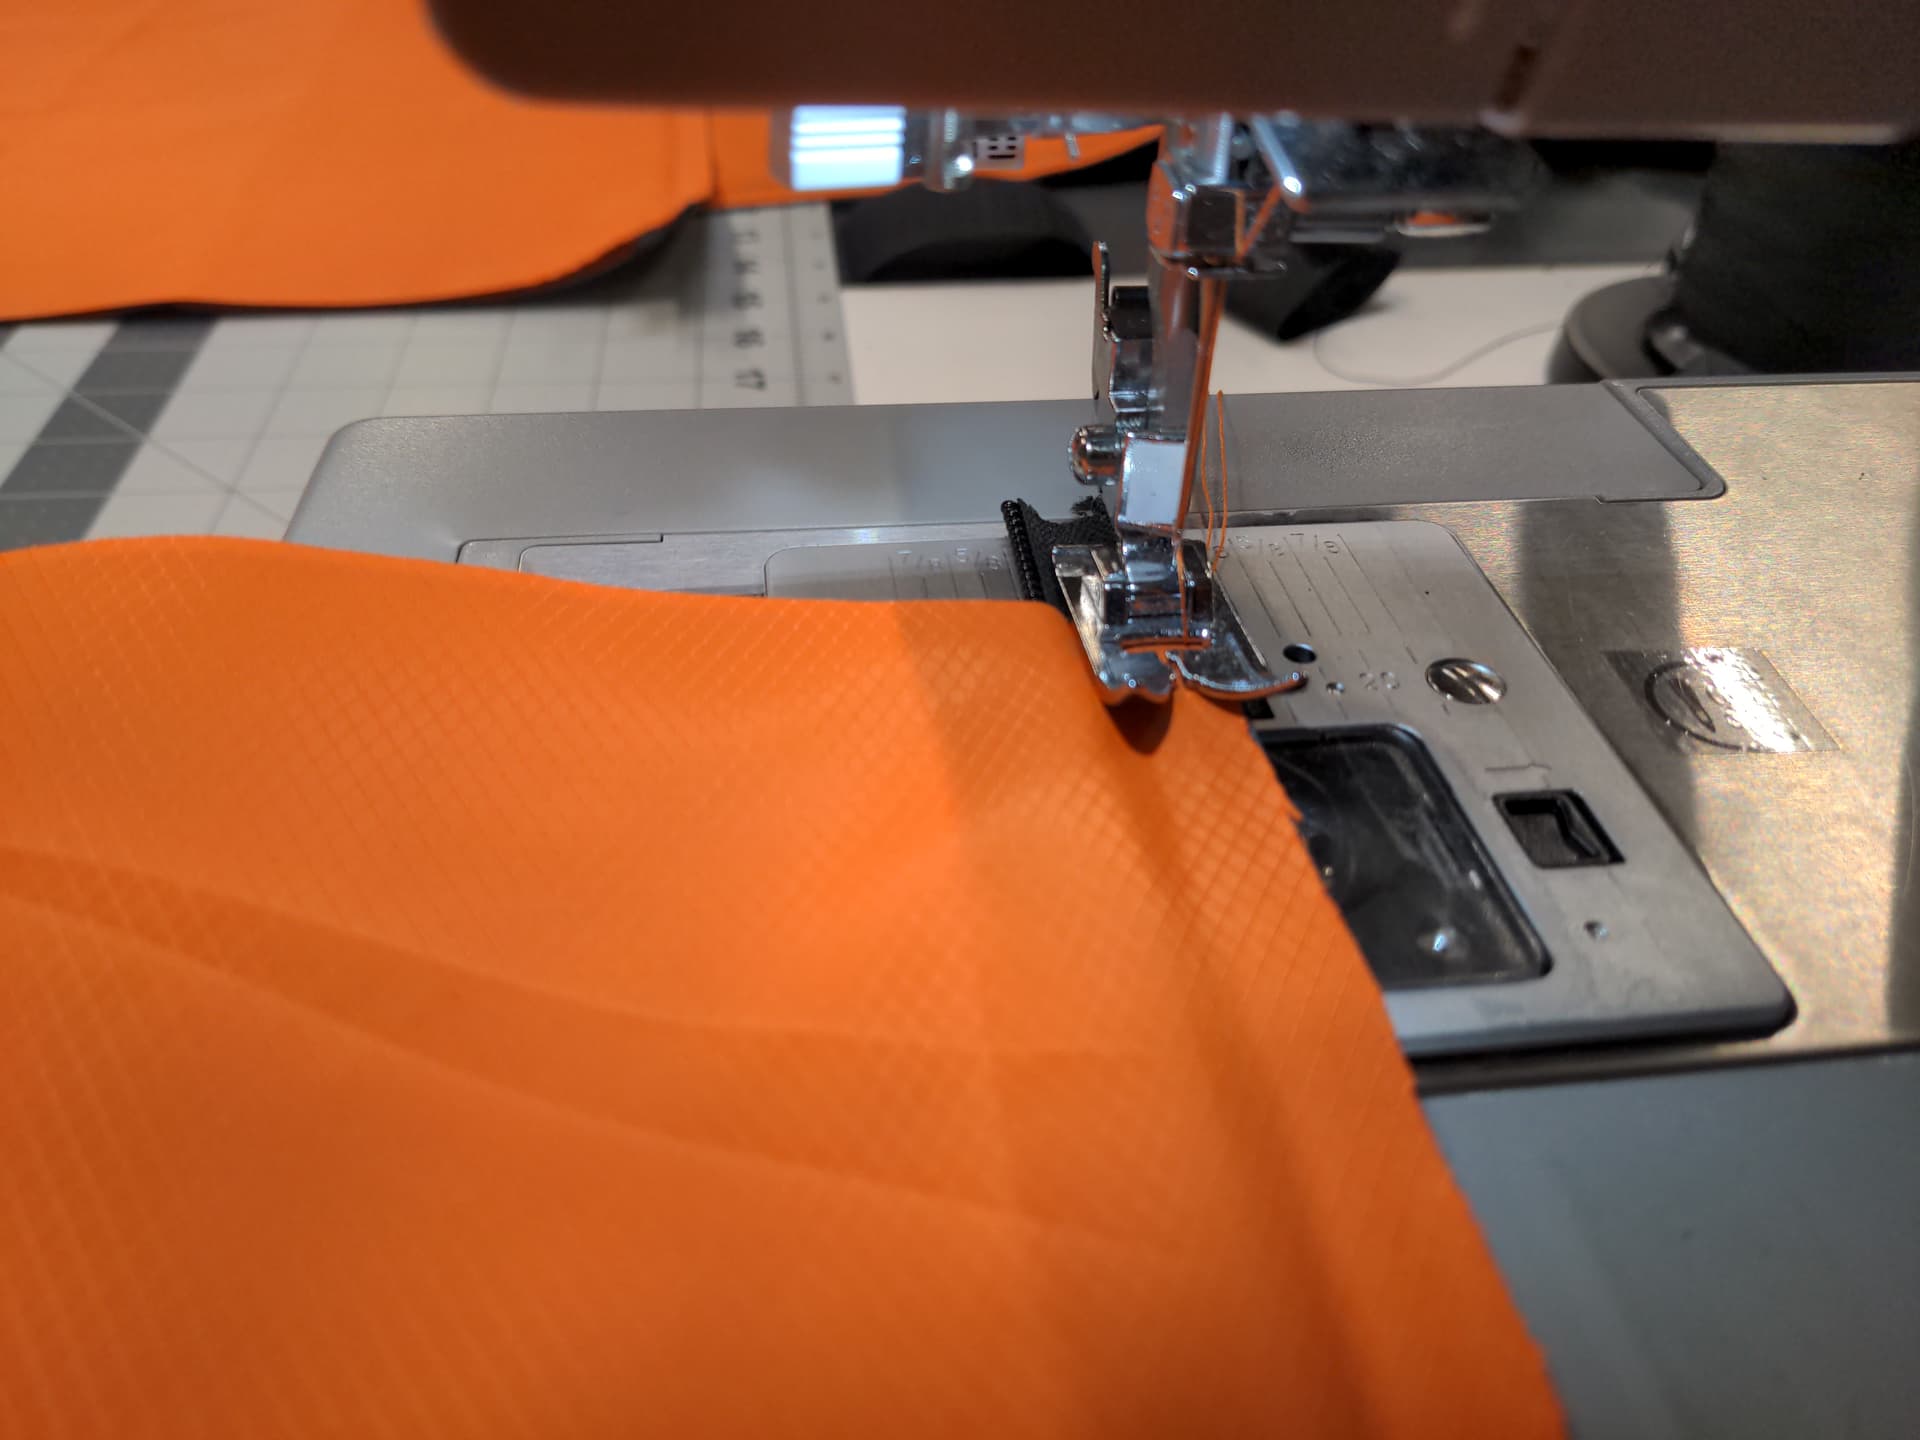
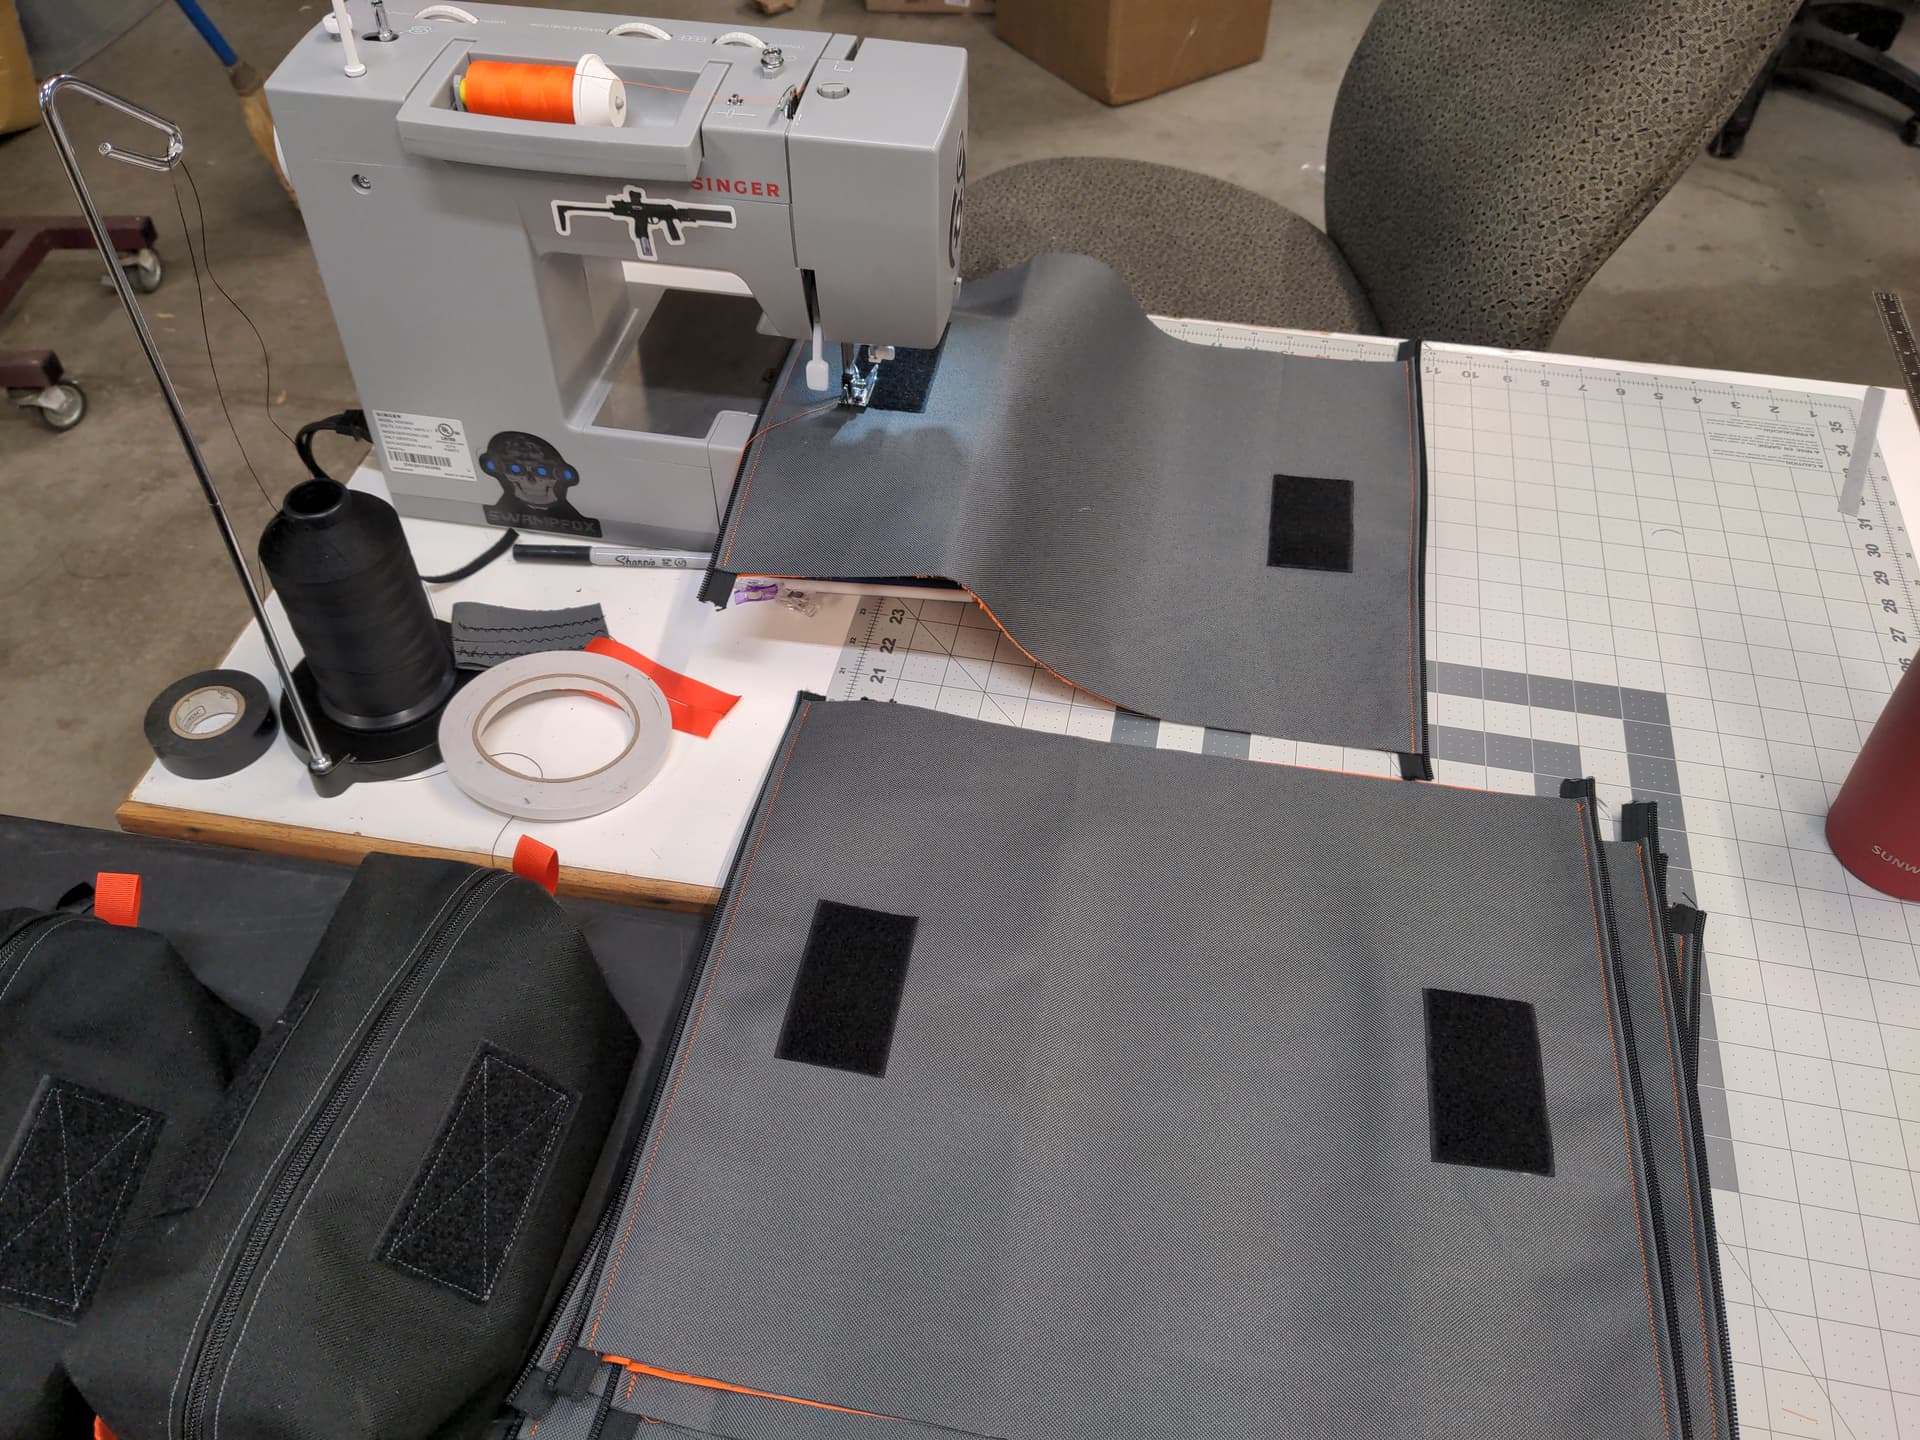
But there’s the double row of stitching and folded over seams. Every time I do this things get a little straighter, or at least smoother. There’s just something about needing to get a feel for how large pieces feed through the machine before I make smaller, frequent adjustments instead of large course corrections when things get off track.

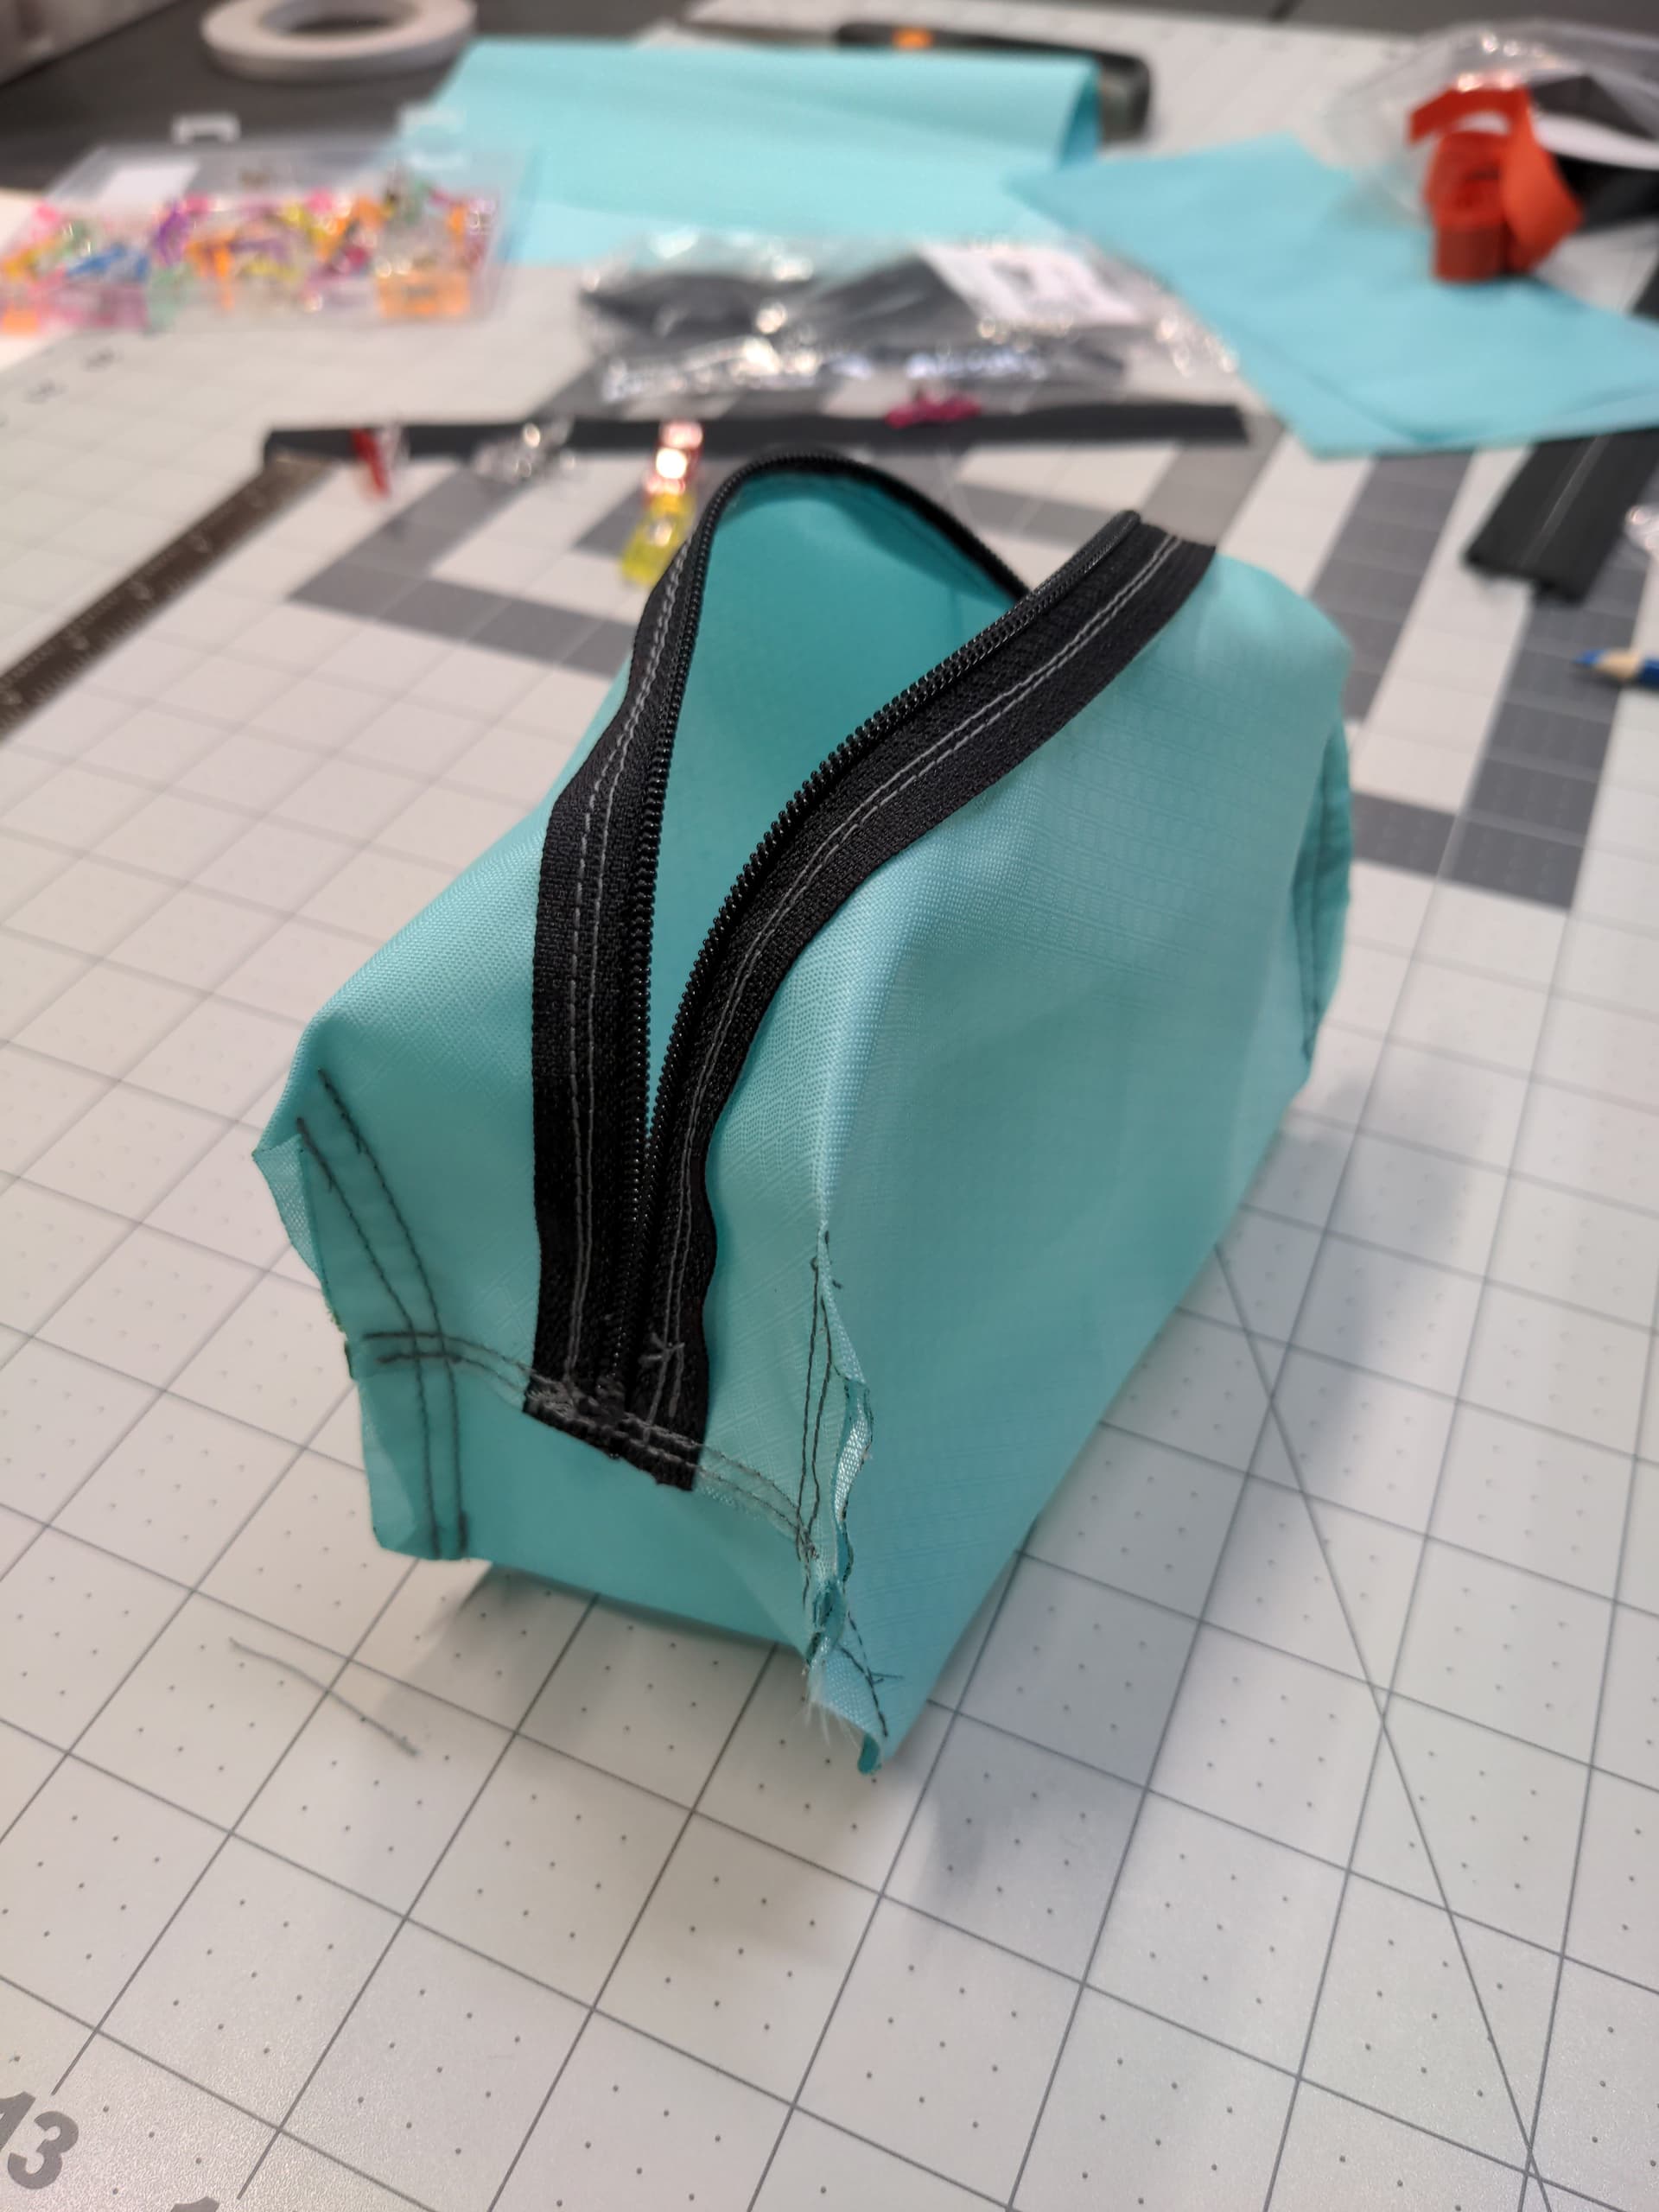
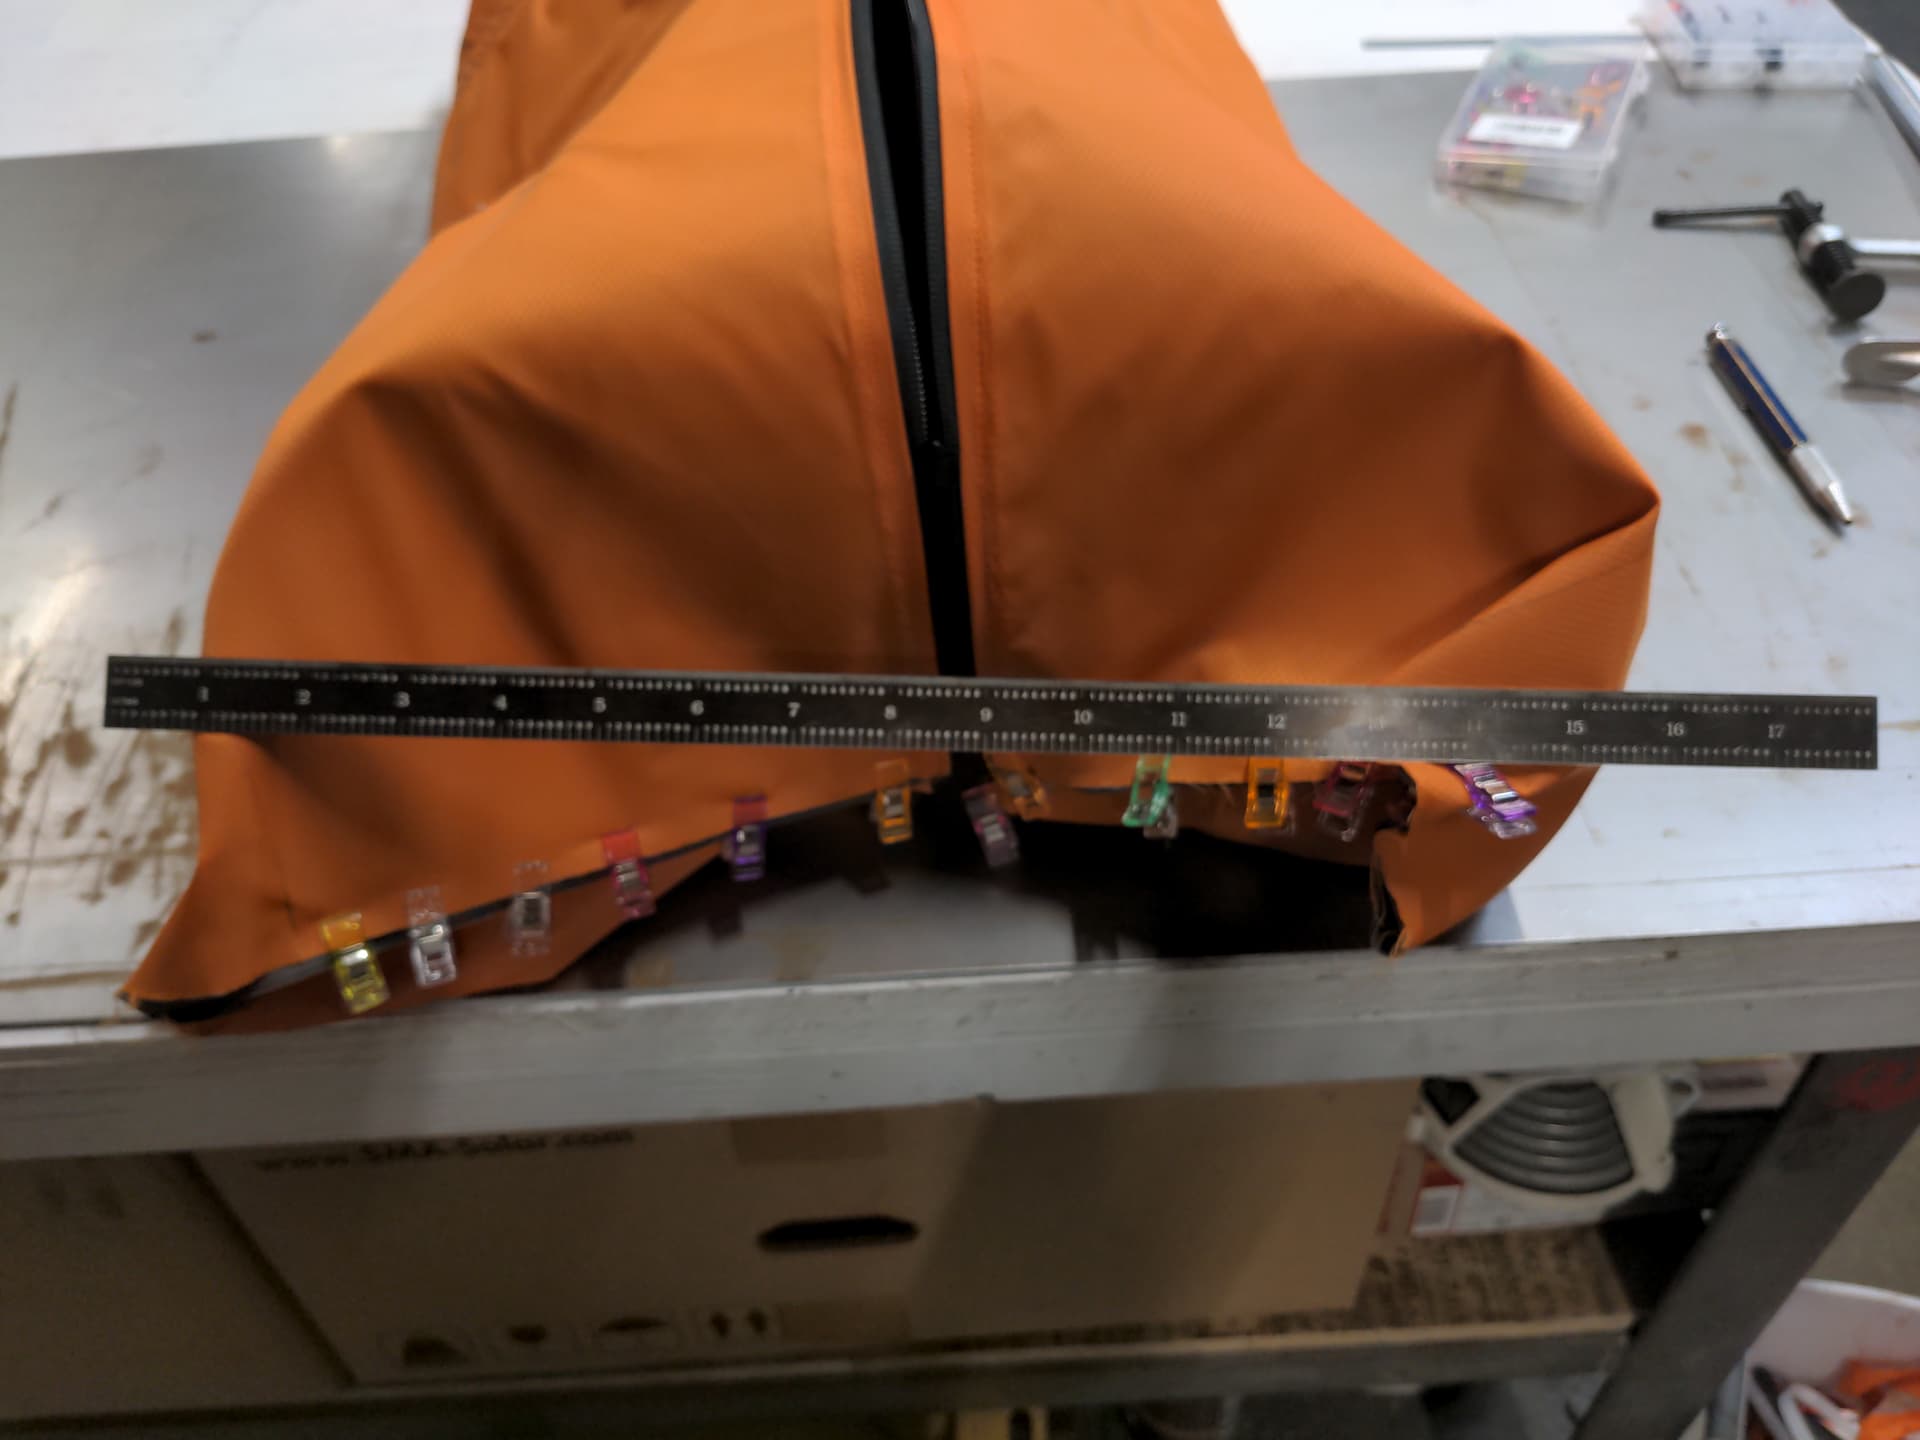
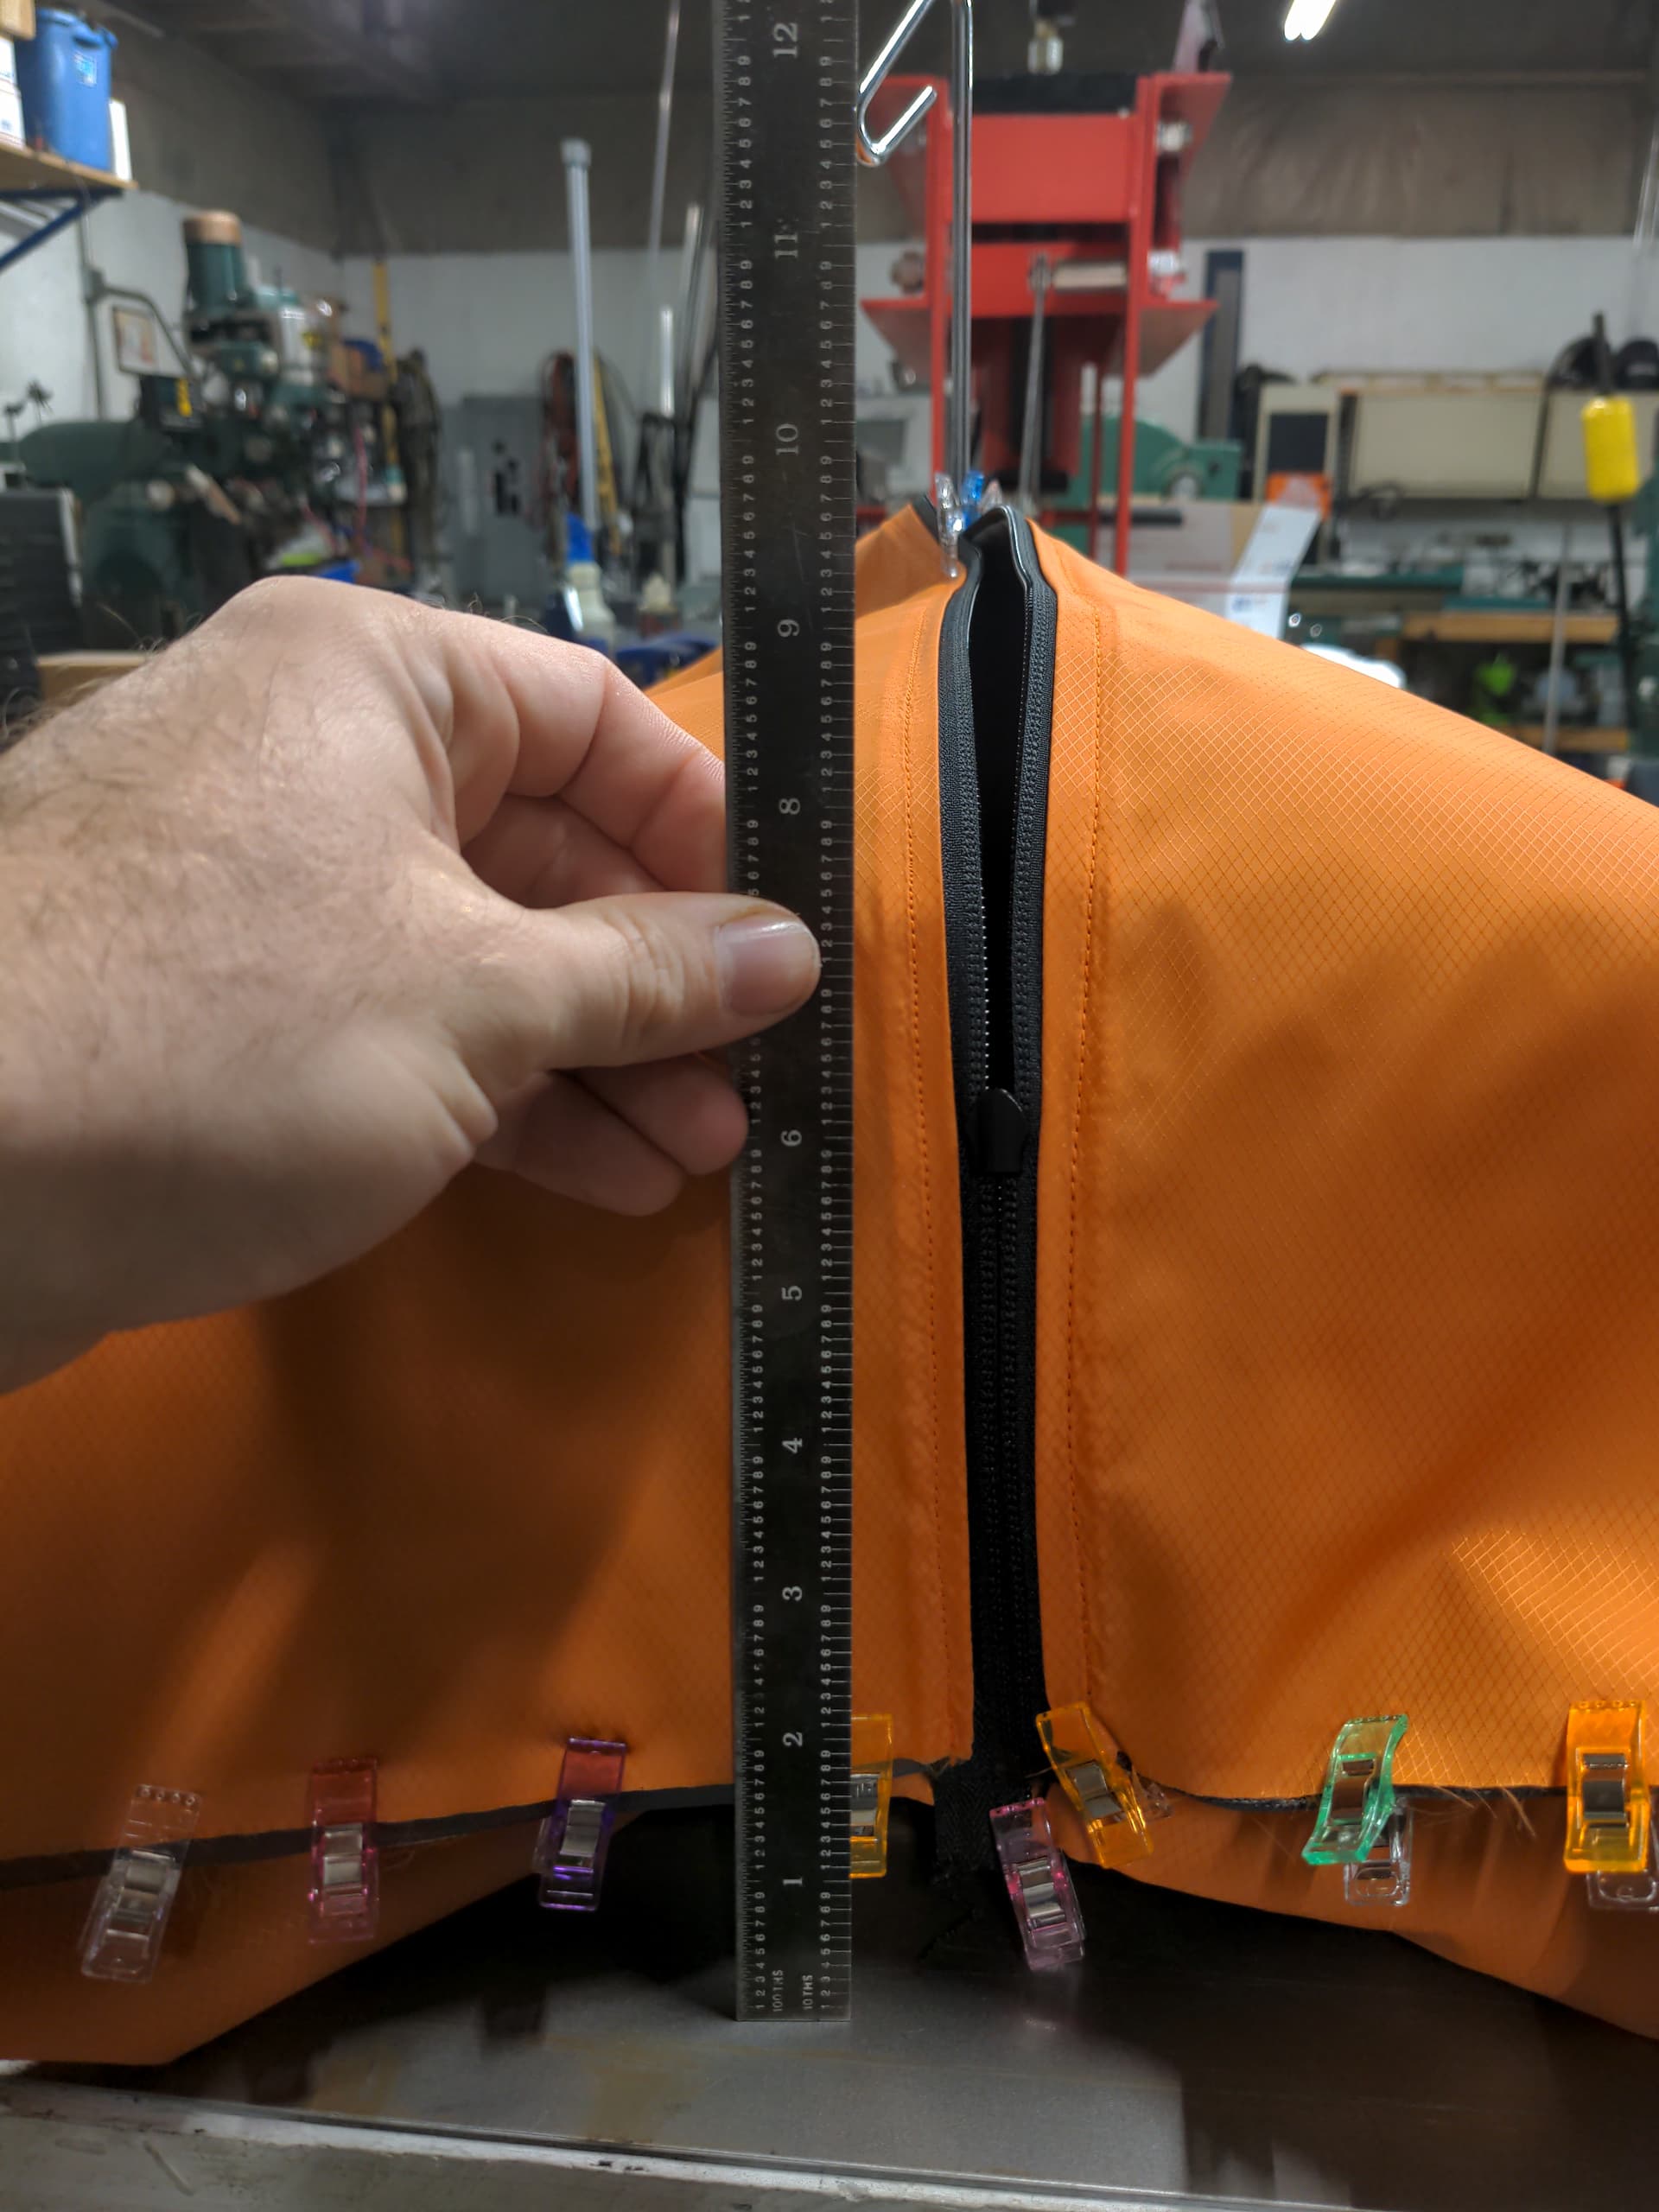
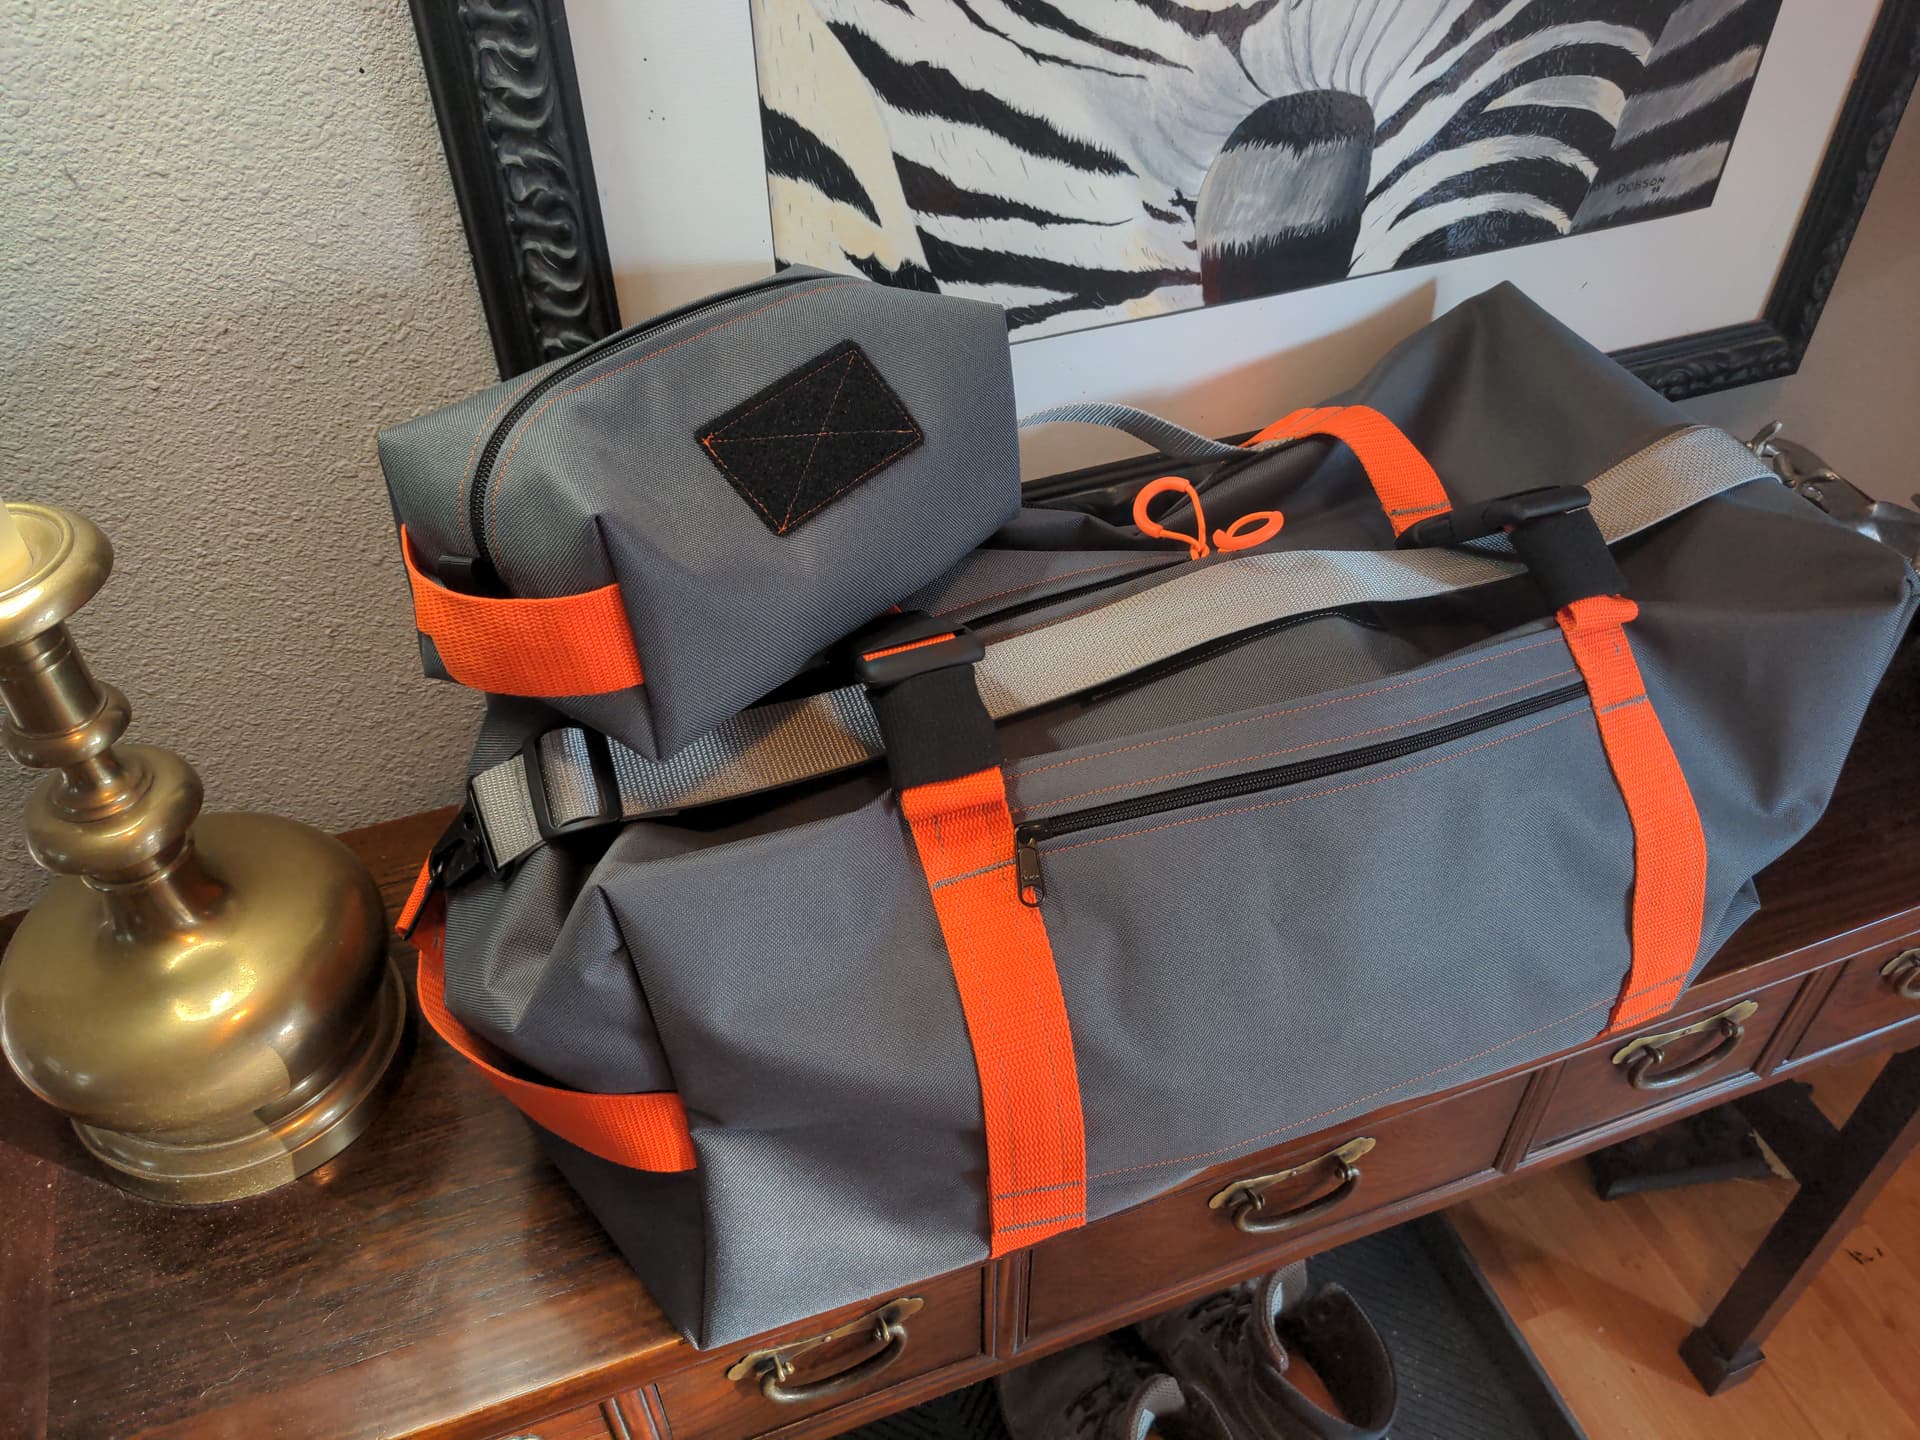
It does feel quite strong though! I’ll see how this turns out as another box bag once more coil-zipper arrives.

New materials day is always a great day!

Biggest bulk of the box is 2, 3-yard sections of 5oz/sqyd of Apex Climashield insulation. “… the lightest and most thermally efficient continuous filament insulation on the market today. Like other high-end synthetics, it also maintains warmth in wet and humid conditions.”

More on that project when I get to using it soon. Along with it though came the cover material it will be built with. A royal-purple/Morrocan blue pairing and a charcoal gray/burnt orange one. I think they look good together.

As a minor point of interest the difference between ‘burnt orange’ and the blaze-orange I got from my last order. A slightly more subdued shade, I think I like it a lot better.

With new zipper though means I can finish that run of box bags first. Using this nifty template generator:

I sized the materials of some light blue HyperD 300 scraps to make a storage pouch for my Sawyer Mini water filter. Light blue bag seemed a good way to color code that. Also it’s a waterproof material, so I figure that’s a bonus for containing drips and such when repacking the filter after use.

Cut, baste, then sewing the #3 coil zipper on.

Install zipper pull, square up, measure for corner cutouts.

Apparently I hit the zipper too fast and broke a needle. I also saw a trick online of melting the last few teeth of the zipper together with a hot knife. It reinforces the zipper and its stitching a bit not having the pull rammed right into the threads at the end every time.

And now it’s getting some structure to it. I’m definitely seeing slight improvements in my stitches every time I do one of these.

Back to the hotknife to clean up the edges a bit. Lingering with the blade helps melt the edges together a bit more too, so I figure that helps keep things a bit better sealed from fraying and pulling on the stitching.

And then it’s done! Everything in that Sawyer Mini box fits in the bag. Filter, water bag, straw, and a syringe for backflushing.

Then I made another one, because why not?

I should soon have more progress pictures of another Cordura box-bag… but I just realized I installed the zipper upside down on that one. Where’d I put my seam ripper again? :face_exhaling:

It’s taking a bit but making progress on a batch of bags.

I cut a 14.5x18" piece of 18ga sheet metal as a cutting template, and cut 6 each of those rectangles from gray 1000d Cordura for the exterior and orange 1.6oz hyperD ripstop for the lining.

Zippers get held in place with basting tape. For the longer parts I’m finding it easier than using a bunch of clips.

#5 zippers are convenient. I don’t need to use a zipper foot for them, they’re just the right width to line the teeth up with one side of the standard presser foot. This machine lets me adjust the needle within a small range of left/center/right too.

1st stitch is made, then the bags are turned inside out, folded over, and ironed down before top stitching. I’m learning that Cordura doesn’t like to iron down very much. I don’t think I’m at a damaging level of heat, but I don’t care to turn the iron up much higher. Anyway, it’s mostly alright. What ironing there is helps hold the crease down instead of trying to feed it all by hand.

First time trying an orange thread on gray Cordura. Really digging the accent color.

Moving on to velcro panels for morale/label patches. I’m using more basting tape to hold everything in place until it gets boxed stitched.

Apparently I can’t enjoy even a hobby project unless I’m doing it as a batch-style production run. #jobshoplife I guess :sweat_smile:

Some box stitches are… better squared than others. Or better aligned. Or straighter. Either way, I like the orange accent here too. I will say I do enjoy seeing my speed and accuracy improve over the course of making a batch of parts instead of complete 1-offs.

Zipper pulls get put on, everything lined up and mark out a 1.5x2" notch in every corner. Then notch away with the hotknife. First brass blade, still going strong!

Notice: Burning nylon makes about as nice an incense as burning used motor oil :face_vomiting:. I’d been running a fan but after cutting through enough double-layers of Cordura I opened a window too.

A 4" length of grosgrain ribbon gets folded in half and tucked inside in line with the zipper. Then run double stitching across the ends. Also ran back over the zipper before continuing forward so that actually gets 3 passes of stitching in 2 lines. The orange thread was a MARA 70, but I think the MARA 50 is a little better for this heavy stuff so I went back to the gray thread for the interior stitches.

That’s as far as I got yesterday. I’ll see about making some more progress this evening. Next up is to trim those edges and zipper with the hotknife, then pull the inside apart at the corners and start stitching some shape into it. Oh, and add the grab handle. Almost there, then I’m going to try a similar Cordura project with a slightly bigger scale.

After the corners are notched, the edges get folded up and the handle placed inside the bag. Then clip them all together before double stitching all the vertical edges.

And then turn it inside out and they’re done!

Getting a bit of a collection going! I’m very happy with how these turned out, and ready to try something more sophisticated.

I do basic repair (patches) on horse blankets; super heavy materials. I ended up using a leather needle and upholstery thread, which has worked great for me. I usually spend more than half my time seam ripping since I typically need to rip out a foot or two of seam to make a repair. Nylon strapping is easy, I just sew a new (salvaged from another blanket) strap on over the existing broken one. :grin:

Seams where you get 6-8 layers thick is nearly impossible for me to sew through. I usually have to hand crank the machine through that part. I ought to find a better machine to handle that abuse, but I do this only 2-3 times a year.

Also weird little misuse: remove the thread, run leather needle through even a thick piece of leather, then you can stitch it by hand, and you get perfect spacing, making it look professional. I need to make a stitching pony though and learn how to stitch with two needles instead of an awl.

ohh, I like that idea! That sounds like a really great way to work leather in a machine that might not be capable of doing what you need it to. Even if it’ll just punch through your top-layer of leather, now you can hand-stitch many more layers underneath. Neat!

I haven’t done much this current machine can’t do yet, but just enough ‘forcing’ stuff through either the needle or the feed that I’d like to have a walking-foot machine in my future. Actually for the heavier and larger projects, I’m finding the feed-dogs are the first thing to start failing their duty even though the motor has plenty of power to drive the needle through.

I want a new duffle bag. Actually I want several, but #1 is going to be a new gym bag.

I was browsing a couple designs online of various complexity. Most of them were very nice, but a little too complex than I wanted to tackle for my current sewing skills. Curved zippers for example is something I’ll practice on small projects another time. For this one I saw a nice center zipper design that looked awfully familiar. Turns out it was pretty much a giant version of the box bags I’d already been making. I can just add extra stuff to the outside and that should work great!

Step 1 was cutting and layout of my remaining gray Cordura. Apparently I wasn’t paying close attention on other cuts and had to trim all the way around to re-square some things.

I’ve decided on one side pocket, and a side handle will go opposite that.

#5 zipper and a couple scraps of Cordura should do nicely. This bag should come out to be ~24"x14"x10", and I want some compression straps around the outside a little further towards the ends than even 1/3rd spacing. So I sized the pouch so it could be stitched flat to the outside of the bag, and the sides of the pouch will be secured by the compression strap stitching.

So first I basting-taped that down and sewed the top/bottom of the pouch in place. Then it was time to put the zipper and lining in.

It’s not like a horse blanket yet but I’m learning the challenges of making larger/heavier stuff for sure. Mostly it’s about keeping the weight of the material from dragging the stitch off course, without trying to over-control it and end up fighting the feed dogs and making other problems.

Lots of picture opportunities got missed here because I was fighting the material and figuring out how to handle all this stuff shoved under the arm of the sewing machine. But here’s most of the outside features completed:

I didn’t have the orange strapping quite long enough, so I spliced each compression strap together from 3 pieces. I figured each connection would look and work best with a box stitch, then I realized that every ‘bottom’ side of the stitch would require stuffing most of the material through the sewing machine to make it fit in place.

So I lowered my standards and bartacked it all… It feels quite strong, I think it’ll be fine?

So far there’s 2 compression straps, the side pouch, the black web is the reinforcement for the 1" grab handle (yet to be made), and I’m still going to add a couple bits of loop velcro for nametapes/morale patches.

Before that though I was getting anxious to sanity-check my measurements for cutting out the corners. So I assembled the zipper inside-out and clipped the ends together to try and give the bag some structure and see if my dimensions were working out as expected.

I think it’s working! So far the end dimensions look like they’ll work out to about 14"x9".

But first I need to do some more outside work before I stitch it together. I need to make d-ring loops for the shoulder strap, the 1" grab handle, the velcro.

Oh, and I think I want to add some carabiner loops to the inside. Hmm… I don’t seem to have any 1" D-rings though. Nothing in the bins. Nothing I can scavenge from. Hmm… what should I do?. Hmm…

:wink:

Turning a project sewn inside-out to outside-out is like unwrapping a Christmas present!

Farewell old Wilson bag, you have served me well the past 12 years. Actually you’re probably getting reassigned to store the growing collection of AC power cord adapters.

So here’s the new awesome:

Compared to my old bag this one feels cavernous; still it turned out slightly under carry-on size, fwiw. It was supposed to be 24"x16"x10". Errors, extra trimming and last minute modifications ended up with 24"x13"x9".

It’s easy to open and get things in/out of with the zipper that runs ‘over the edge’ and down the side. Some bags in this size range use a #8 zipper. I only had #5 but it seems to be a fine choice so far.

Fits all my gym gear and then some. Haven’t put my boxing gloves in yet and there will still be plenty of room after.

I am so happy with how this turned out! For a v1.0 I have some pretty minor nitpicks that I’d change for the next one.

  • Compression straps should be attached lower that the top-corners. They work, but don’t have the range to compress the bag when it’s <<50% full. So they help when it’s stuffed, but they’re not really doing anything to reduce the size of a mostly empty bag.
  • The balance of the side-grab handle is weird. It would work better halfway down the side of the bag instead of top-corner
  • Side pocket turned out looking great, but it should have some slack built into the front or back. 2-layers of Cordura doesn’t have any give either, so it really can’t hold as much as it would seem. A thick wallet and phone and it’s already getting hard to close.
  • Minor dimensional changes, really just a matter of learning/experimenting with how much slack gets taken up/shifted with different seam allowances, turning stuff inside/rightside out, etc.

Time to run it hard for a bit and test my stitching! It’ll be my new gym and overnight bag for a while so I can get some field testing done with it.

Matching box bag for scale :smiley:

Excellent work. Regarding the compression straps, I’d suggest not actually attaching them to the bag at all, rather build “belt loops” that they run through. That way they can scrunch the bag as far as they need to.

1 Like

I like that plan. Part of me was also thinking they would add a bit of structure/stiffness to the bag attached like this. I guess it adds a bit, but not really enough to be worth the trade off.

Years ago a friend gifted me a book, titled “Hammock Camping”, whose contents are fairly well described by the title. The basic premise was for those who enjoy overnight hikes, a hammock would be more comfortable, lighter, compact the ground/vegetation less, and remove the need for level and rock-free ground when compared to the typical tent. Additionally the book contained a design for a DIY camping hammock that is in many ways superior to any commercial offering, made from the same Cordura fabric you’re working with.

While doing additional research in the process of putting together my own camping hammock, I came across a web forum and community focused on the practice of hammock camping. They have a bit of terminology that may be useful, lest someone confuses your machinery as something that a grandma would use to make a teddy bear or quilt:
What is the difference between a thread injector and a sewing machine?

I see some folks making hammocks from some of the upper-tier ripstops down to the 1.6oz and even 1oz weights. Which I consider quite a testament to the strength of such lightweight, modern synthetic fabrics! I’ve been working with some 1.6oz but still working up the skills and courage to do <1oz stuff. Still learning the tricks of sewing slippery, bunch-y thin stuff like that.

Cordura is great to work with, should survive anything but open flame, and if my recent price-research into nice natural-fiber fabrics is anything to go by- very economical.

hey now, I actually have a box of material here to make 2 quilts. Fully synthetic, continuous-hollow-fiber insulated, water resistant, ultra compressible, ultralight tactical quilts TYVM… but quilts nonetheless.:wink:

o.O

I wonder what you can sell those for, to the right crowd…

The one major difficulty with hammocks is that they require sufficiently sturdy supports spaced an appropriate distance apart, and crucially with nothing intervening between them. I tried hammocking as a fairly serious pasttime for a few years, with an eye toward further incorporating them into my camping, but there were enough geographies I went and/or wanted to go that could not reliably provide a suitable location for suspending the hammock. So, I think it’s a wonderful trick / capability to have in an all-round camping equipment collection, but it’s by no means a replacement for a tent; rather, at best, it’s a complementary method that can be used, in the right situation, as an alternative.

I have an unusual “double wide” sleeping bag, and it’s difficult to carry. Rolled up without folding, it’s about 10" in diameter and 36" long. I built a shoulder strap from a 1" nylon strap where one end has a permanent sliding loop (i.e. sew end into a simple loop, pass the strap through it). The other end is similar, but instead of a permanent loop, I used a buckle. To use, roll bag up, pass one end through the sliding loop, tighten. Wrap other end with the other end of the strap, clip to fasten shut, and the length between the two is your shoulder strap. Using this requires stiffness in the object being carried, or to carry it mostly vertically. Also this won’t work for very heavy objects since the weight on the plastic buckle isn’t in the “strong” direction. This isn’t what you want for this case, but just thought I’d mention the idea for other possible uses.