I think it looks pretty damn epic! Size aside ~$2k base price on a multi extruder printer seems extremely reasonable. If it was from anybody other than Prusa I might consider it too good to be true. Since it is Prusa I feel more confident that the software will be there to appropriately back up the hardware.
I’m a ways off from dreaming of a 3rd printer at this point but prior to its announcement I was thinking something in the Lulzbot series when the day comes to get into nylon or similar. Now I’d rather have this.
EDIT: Why the hell do sites/manufacturers allow reviews to be posted for products on preorder? “5 stars, looks great on paper, can’t wait to see one in person someday.”
LOL, yeah, that is very unhelpful. And they probably won’t nuke all of them so that when it’s actually out it’ll start fresh.
And I agree. Coming from Prusa I think it’ll be pretty much there, maybe late beta software at worst, probably more production ready except for the bugs that get found when something finally is in use by a lot of people.
To allow the Human Justification Engine to rationalize purchases, of course!
“Well, I preordered it. It must be amazing, because I only preorder amazing products. Therefore it’s amazing, and it’ll take me three months and having posted a few this is amazing reviews to realize it’s not. But I’ll never say that, because that would be to admit that I picked something that wasn’t amazing.”
What I love is that the pre-order is really a refundable “hold your place in line” thing. So much better than a “well, now you’ve got to pony up the rest of the money or lose your deposit”. And that they didn’t make the pre-order the full amount.
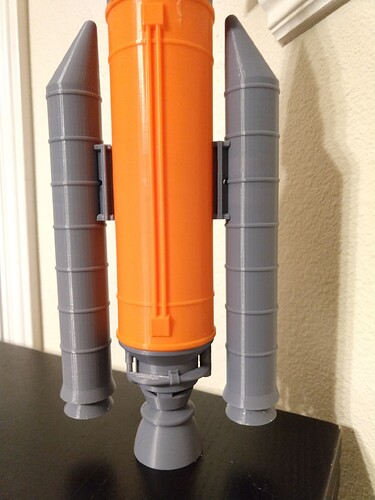
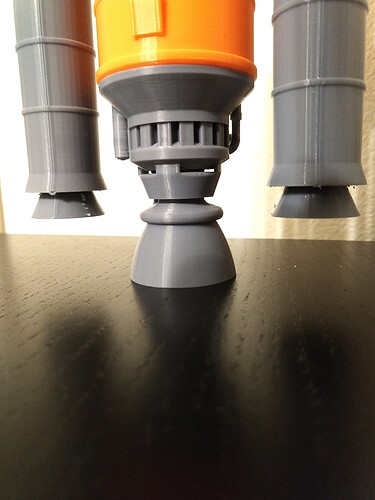
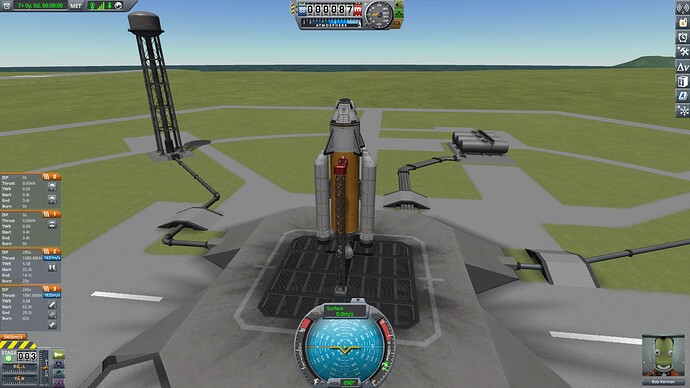
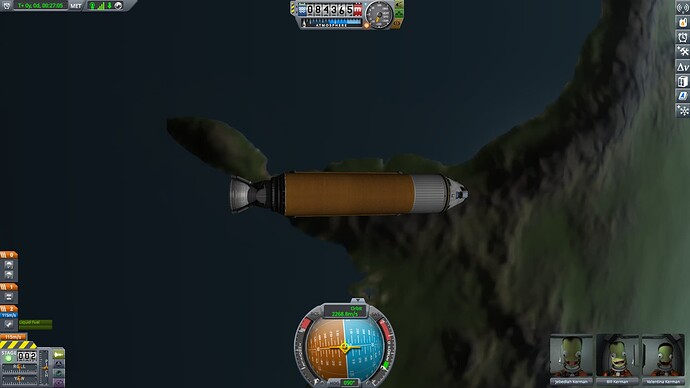
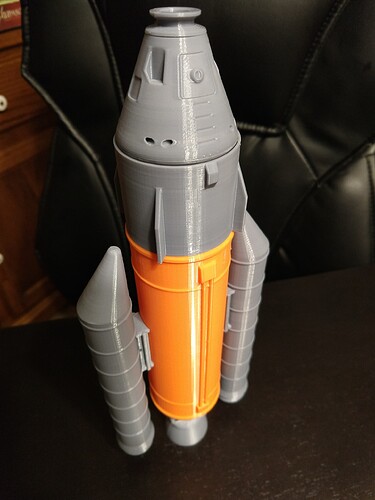
@Canem My son & I have been really enjoying the rocket construction set. We made a simple rocket and launched its equivalent in KSP. He suggested we add some parachutes – good thing, too. It took us several attempts and a prelaunch EVA to remove the wings before we made one to orbit.
Printed in PLA, on a cheap Monoprice Select Mini ($200 ish), I’m surprised it fit first time! I’m starting to get a hang of where I can add extra spacing, and how much:
There’s 2 openings for the micro SD card and one USB connector (courtesy of a WaveShare usb+eth hat)
Add to that a RJ45 keystone for ethernet, a HDMI keystone for debugging, and a JST-SM 2-pin locking connector for power, plus thinning of the faceplate to accommodate the JST-SM (aimed for 1.5 mm thick; it will fit 1-2 mm thick panels).
It was supposed to be a panel to which a RPi Zero bolted to the back of and a box (with no other openings) on all other sides. Due to the cost of trying to adapt mini hdmi to regular hdmi through a keystone jack (cables are stupidly expensive, plus the box gained 4x3x2" in volume just to contain said cables) I think I’m going to take another route and just zip tie an adapter to the side of the unit so it won’t get lost.
I’m just lost on how I’m supposed to print a box with openings for screws and connectors on 4 sides. In my redesign, I may reduce it to only open holes on two faces and print it in two pieces. Stupid gravity! I guess I could try adding support; it’s pretty minimal and easy to cut out; it’s just a lot of work on a face like that; 5 openings plus three screw holes (those at least I can drill out in seconds).
This might take a bit of fussing with the printer and temp settings, but you might be surprised how much bridging you can get away with without supports. For connector holes like that I’d just print it as is. The likely worst case is a few strands of filament sag or come loose; just trim those until the connector fits with a craft knife.
Things like screw holes I’ve found tend to, usually, be OK without needing to print supports on the vertical edge. And you can always make a shallow angle support baked into the model (if there’s room for whatever you’re going to use), rather than use a support if you wanted for overhangs.
I’m glad to see the wheels still are made of hope and suckium. IIRC you’re supposed to mount them on a drill chuck and sand them so they’re actually round?
Haven’t done much lately but run many batches of the same parts through the printers while I do other stuff. I feel like I’ve got PETG working mostly reliable now though.
So I’ve started into TPU. It is so darn cool it’s worth the frustration of figuring it out; and man is there a lot of that it seems…
Layer adhesion and strength is amazing. Printing even a thin sheet is extremely difficult to tear by hand, it’s strong stuff. Sure there’s a lot of fussing with settings to try and get the surface finishes better, and the awful stringing. But it’s the extrusion issues that I’m still fighting with. 5 attempted calicats resulted in 2 good ones, 6 rubber bumper parts resulted in 2 good ones, and 4 attempts failed so far at a rubber Anderson Power Pole weatherproofing cover.
the filament keeps jumping out the gap between the drive wheel and the entrance to the bowden tube. I’ve run the temperature up to clearly too hot just to see if nozzle pressure had anything to do with it. I babysat 2 prints for way to long, hand feeding the spool every so often so it wasn’t pulling from straight above so hard and reducing tension into the extruder.
That also didn’t seem to help, but I’ll keep trying. This material is just too cool not to put up with whatever challenges it’s going to bring.
I wonder if there’s something I could lubricate the bowden tube with, that wouldn’t also contaminate the filament at the nozzle?
Not sure. Maybe reduce the spring tension holding the filament against the extruder wheel? Might be pinching it a bit too much and causing a bulge which with the softer material, cause enough back force to cause it?
Adjusted tension, even tried just a bit of silicone to see if lubricating the filament would help. Still no good. So I took the whole feed and hotend assembly apart. Definitely needed a good cleaning, and even the upgraded Capricorn bowden tube was looking rather rough and distorted at the hotend. So I trimmed that back, cleaned everything, and put a new nozzle on.
It’s a weatherproofing cap for those Anderson Power Pole bulkhead mounts I printed a while back. Looks like it will work great. Now I just need to make a version for the 2 APP mounts.
So these little ratcheting things make the perfect height adjustment for my new LED full spectrum lights. 2 shelves are ready, I might put another pair of lights on the bottom shelf.
Speaking of which, it’s spring (at least in this hemisphere)! Would anybody be interested in a gardening/permaculture/agriculture thread here on conversations? A place to share garden tips, plans, successes, experiments, etc.?