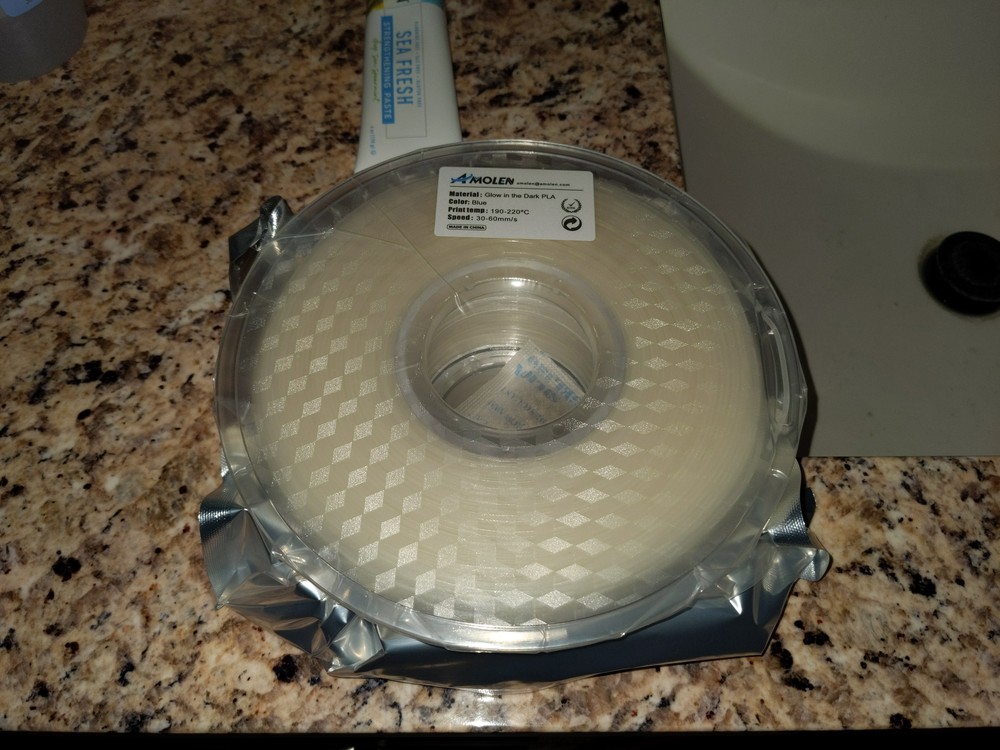
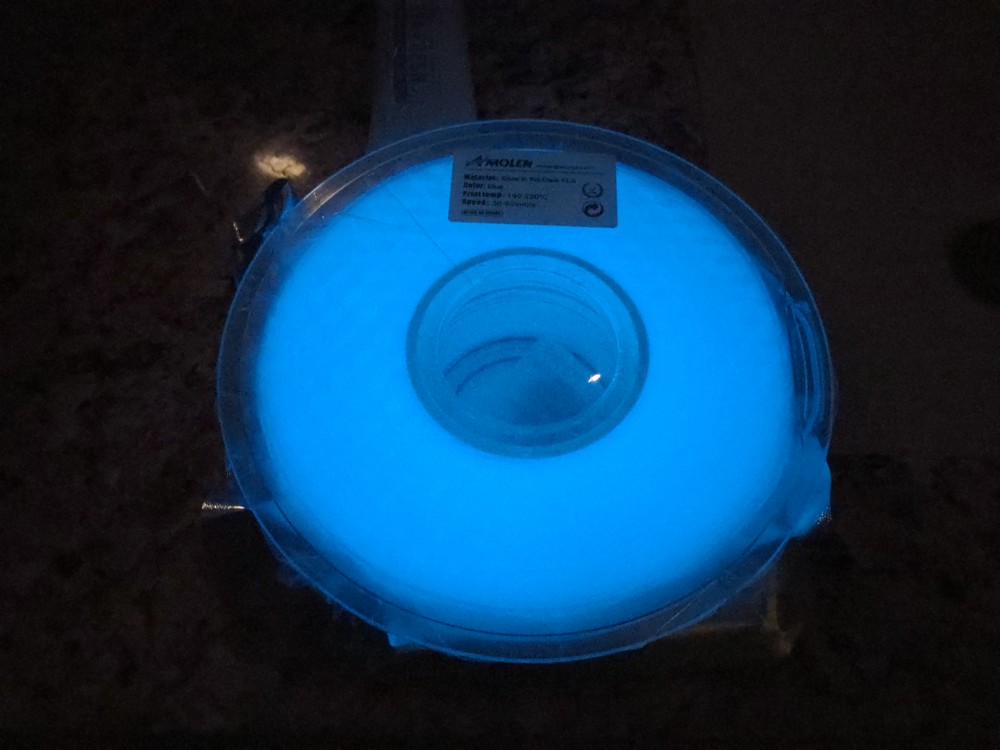
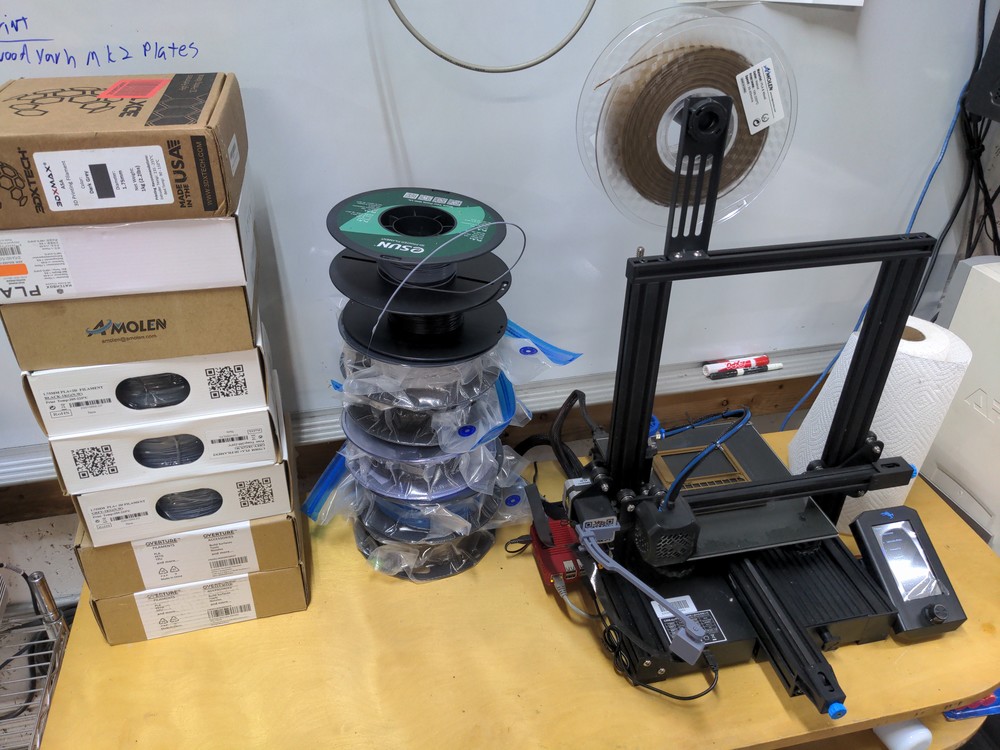
It is dimmer in person than the camera seems to show. Still, I really like the blue color so I’m excited to see what sort of enclosure parts I can come up with here.
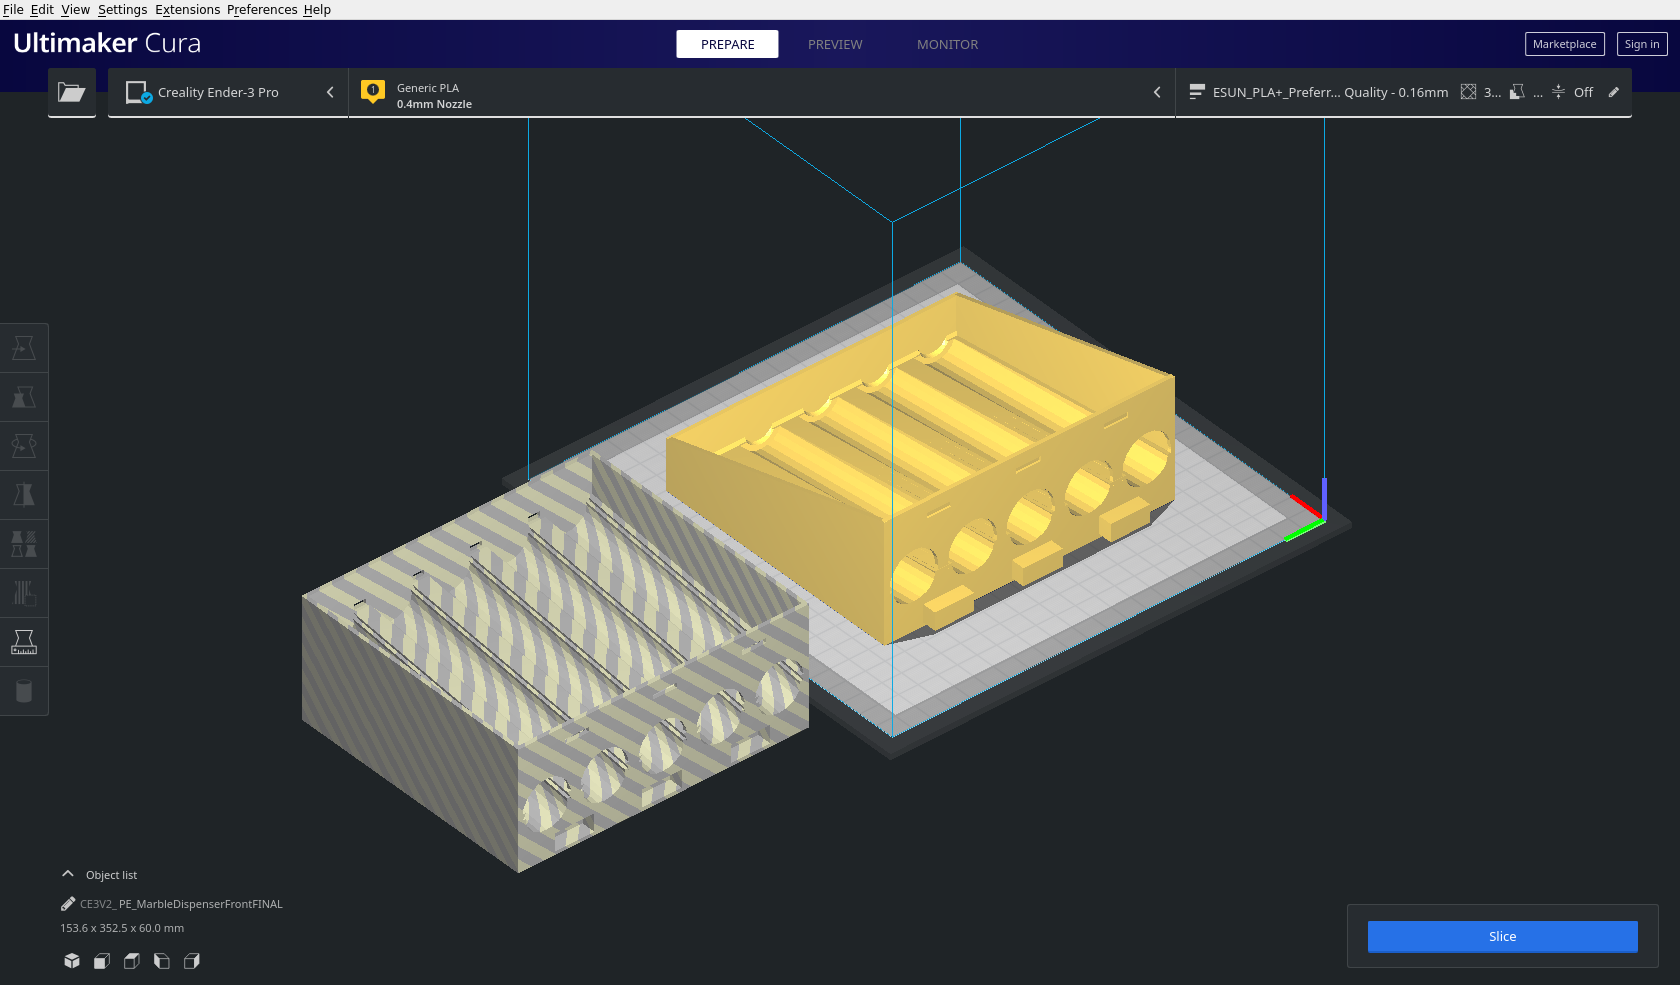
Quickly becoming my own version of ‘there’s an app for that.’ is ‘There’s an .stl for that’. A friend asked me if I could come up with a new marble dispenser for the game ‘Potion Explosion’. The original design is a sort of tab-and-slot cardboard assembly, I figured that would be easy enough to copy and make some printed flat panels.
Turns out I didn’t have to! Several designs already exist, with the best one being the one broken into 2 parts- my Ender 3 isn’t big enough to do the whole thing at once.
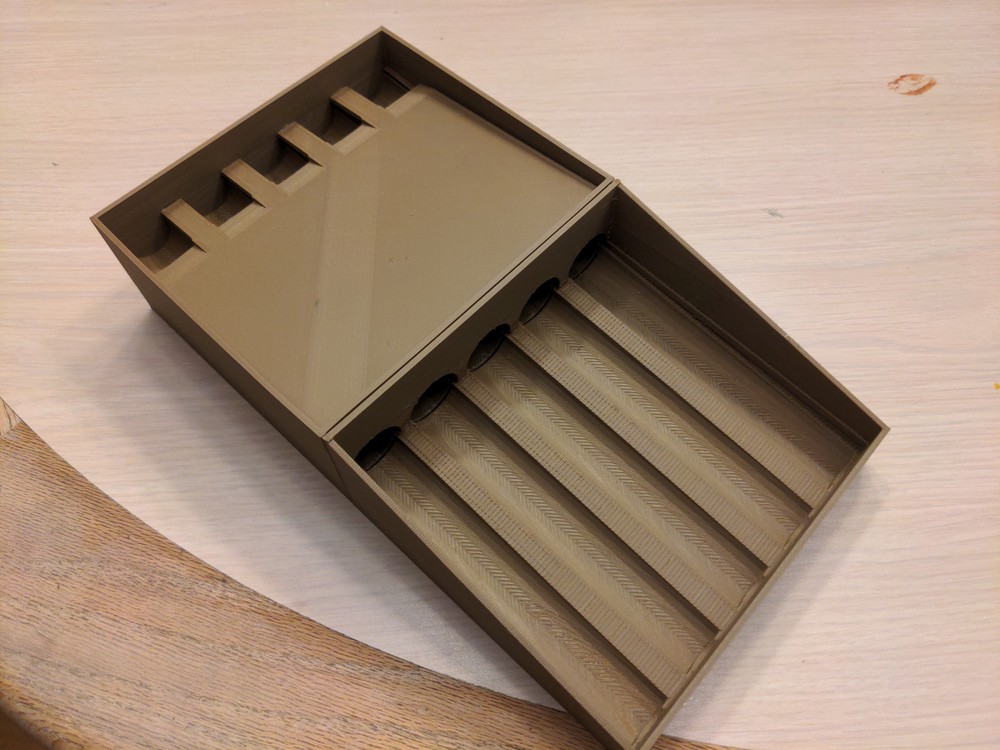
Thought it would be a nice test for the Amolen Walnut PLA. It doesn’t smell like anything now but it was smelling like sawdust around the printer after it was running for a while.
Looks good; hope to hear back soon that it works good too! About 30 hours of printing at 70mm/s to get this one done. Everything stuck down pretty good, but some finer features on other parts were lifting up in areas on the 1st layer, so I went to using glue-stick for this material and it’s been great since.
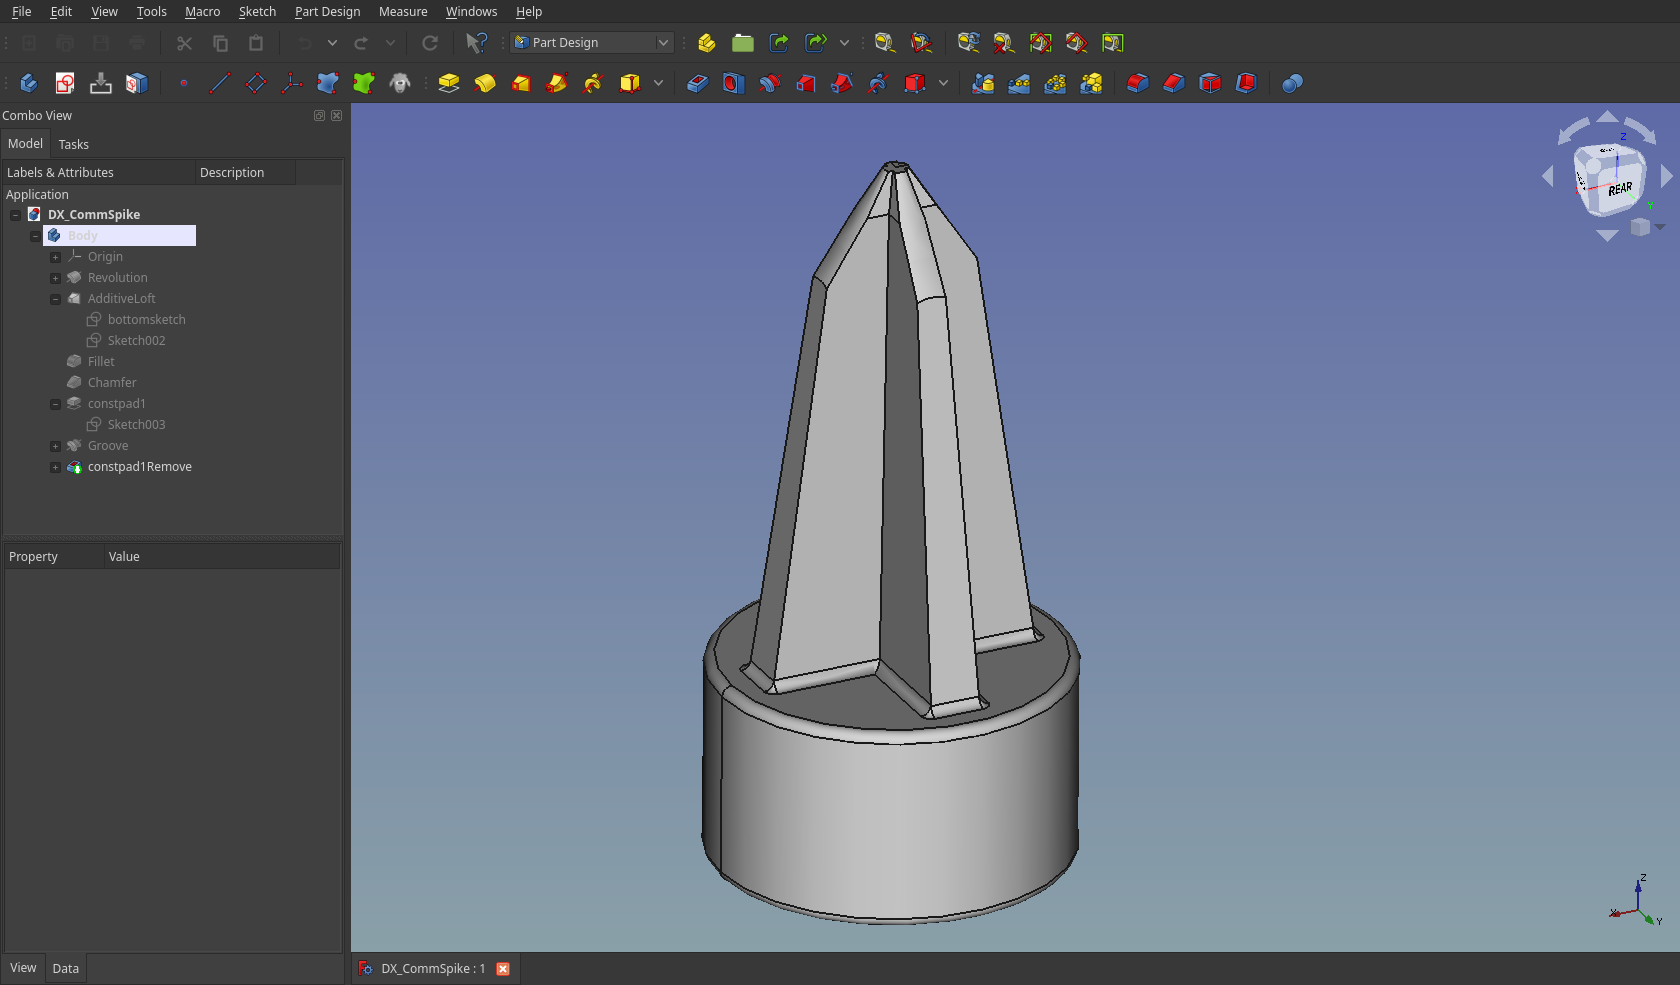
Just of 45 minutes from blank page to completed CAD: a ground spike for holding a DX commander antenna pole in place so it doesn’t slip around on the ground.
Well I’ve now pounded this into the ground a number of times and it takes it like a champ! The end is scuffed up but not bent and still pointy. I think it’ll take to any soil short of hitting solid rock just fine.
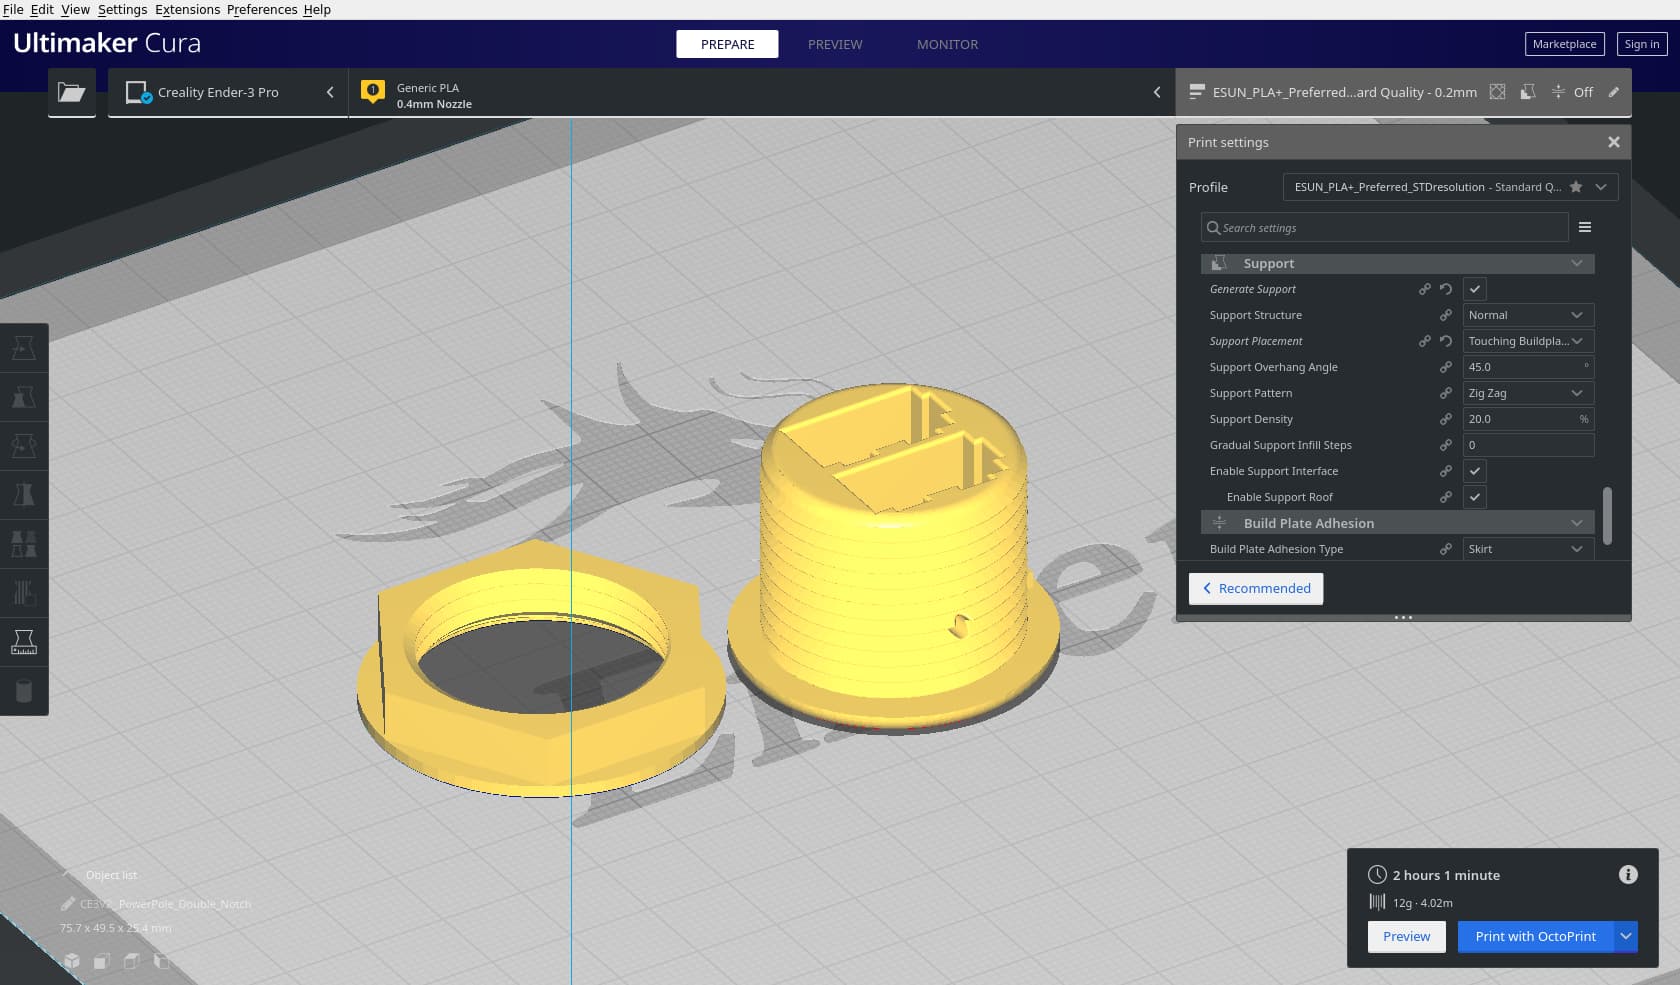
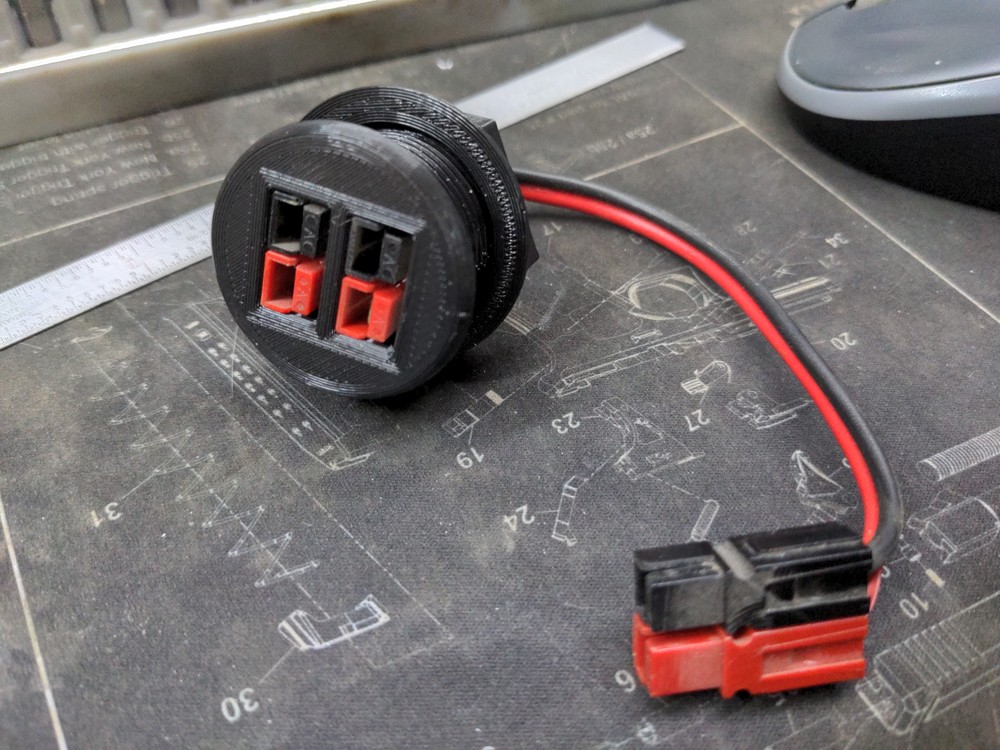
Up next, more printed threads for a panel-mount Anderson Power Pole holder. PLA for this first one to play with, then I’ll need several in PETG for my purposes.
Oh yeah, fantastic fit on this! Enough clearance on the thread that it works great with the 0.2mm layer height, no need for 0.16mm. There’s a cross-hole for securing the APPs in place too.
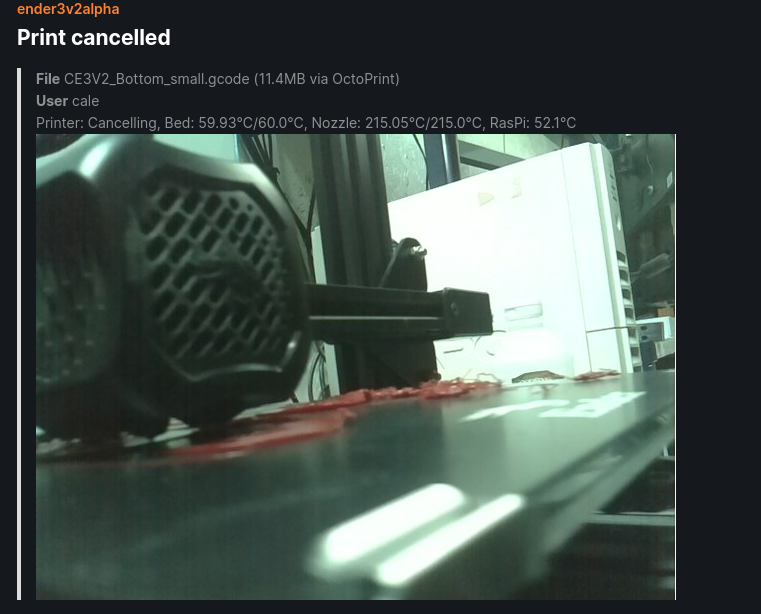
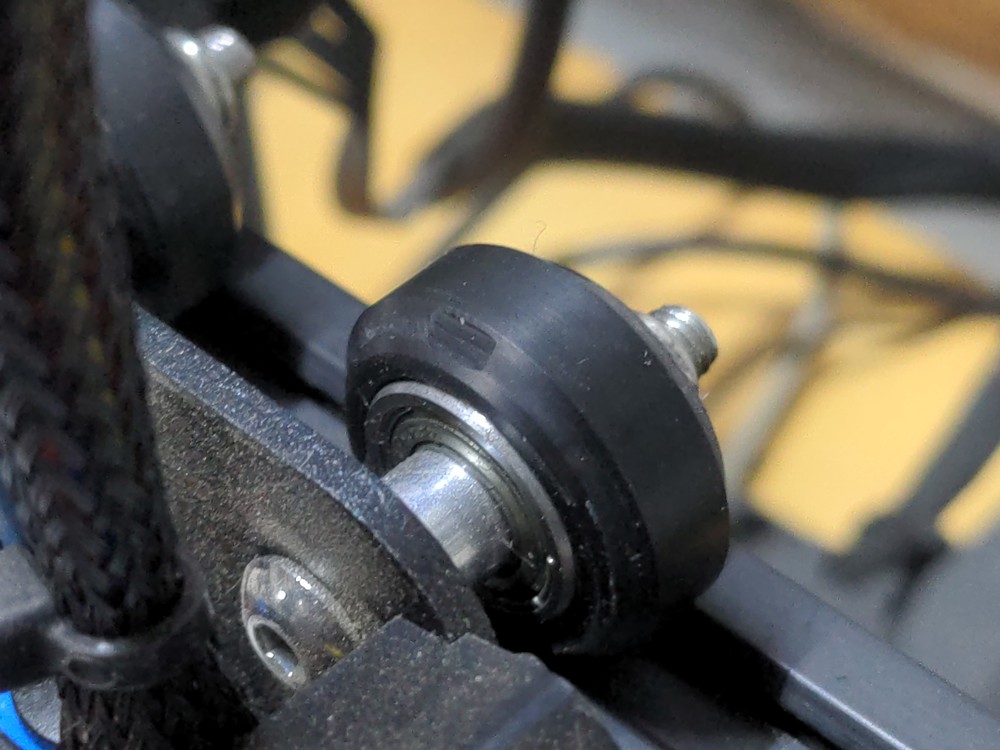
Alright- cancel, clean, level test. Find out it’s all over the place. So the print head was suddenly feeling quite loose on the X-axis rail, and I discovered this:
Not sure if something came loose and jammed the roller or if it has been sliding on a jammed bearing and that caused things to come loose. Either way it is not going to be producing very nice parts with a big thunk happening every revolution so time to replace that. I knew the nylon rollers were a wear item I just hadn’t gotten around to getting spares yet. Guess that will be fixed this week!
I must say though this thing as still far and away exceeded my expectations for reliability. It’s been running many overnight print jobs the past couple months with minimal care. One bearing swap-out and it’ll be back in action.
Up and running again! Lets celebrate by trying PETG again.
2 things that have helped my bed adhesion for PETG hugely-
Higher nozzle-to-bed clearance. PETG seems a bit squishey-er. Perhaps gooey-er. Like it won’t stay squished in shape and will instead spring back up. Usually this means it sticks to the nozzle and the print head starts to rip pieces of the print off the bed in the first layer
0.32mm first-layer height and a 90degree bed. Usually first-layers default to the same layer height as the rest of the print (0.2mm in most cases), but this seems to reliably put more material down on the bed, and cools it slower, so it sticks better.
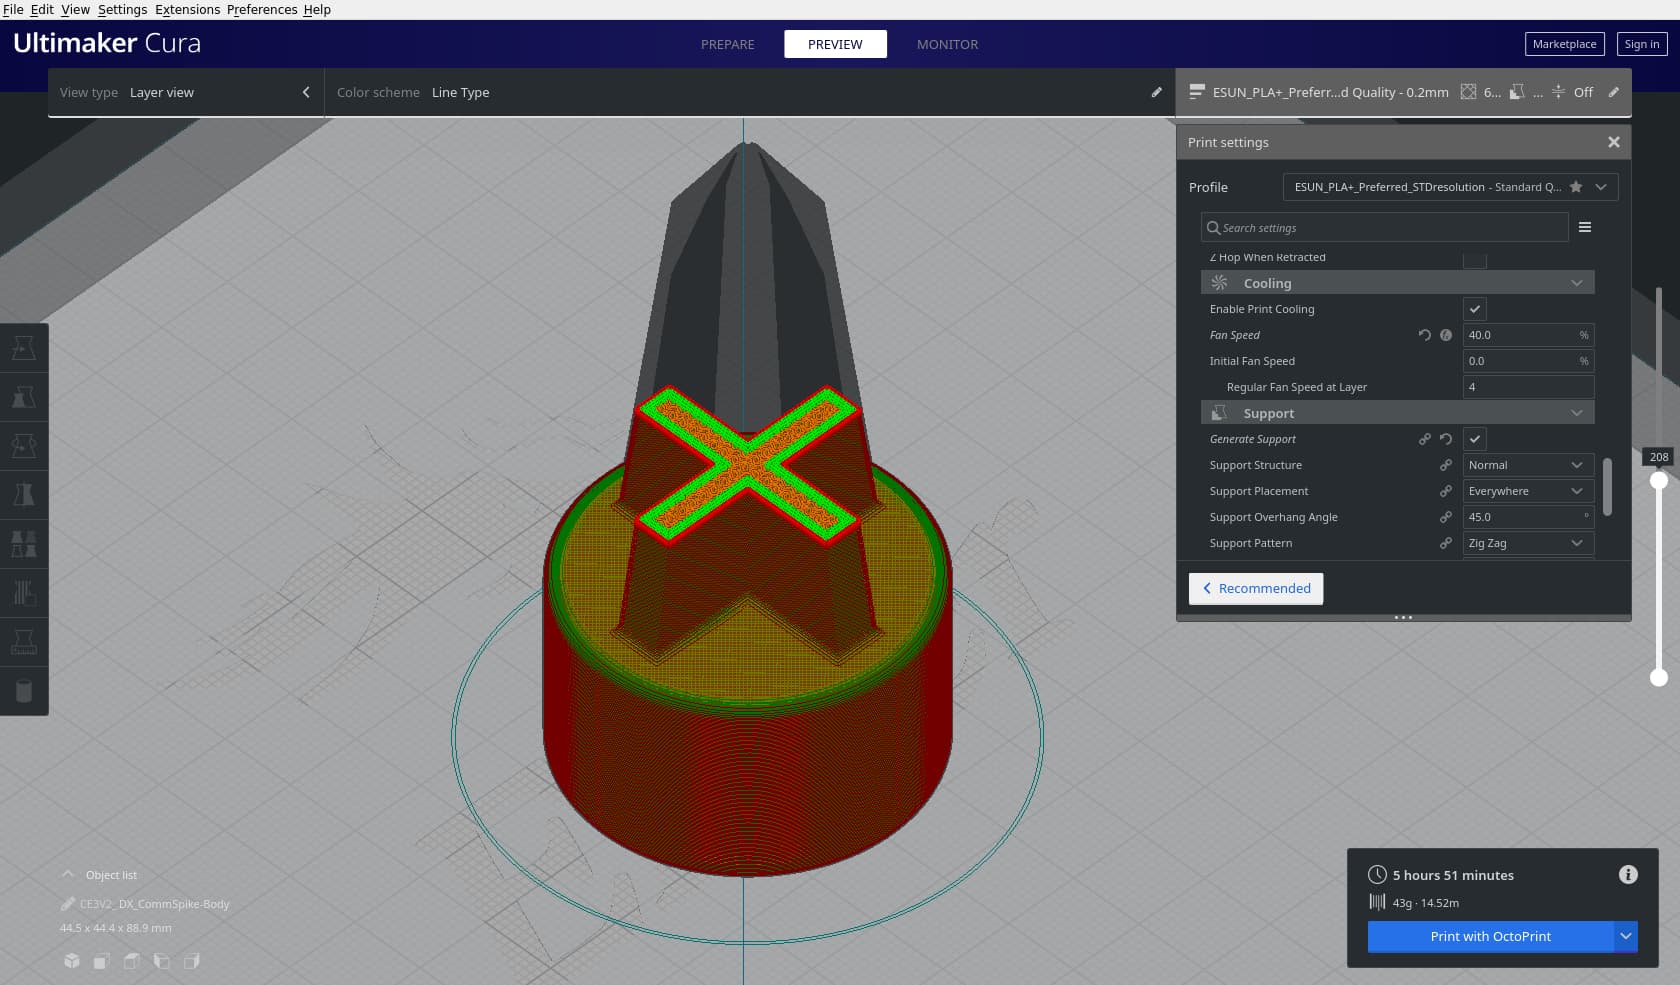
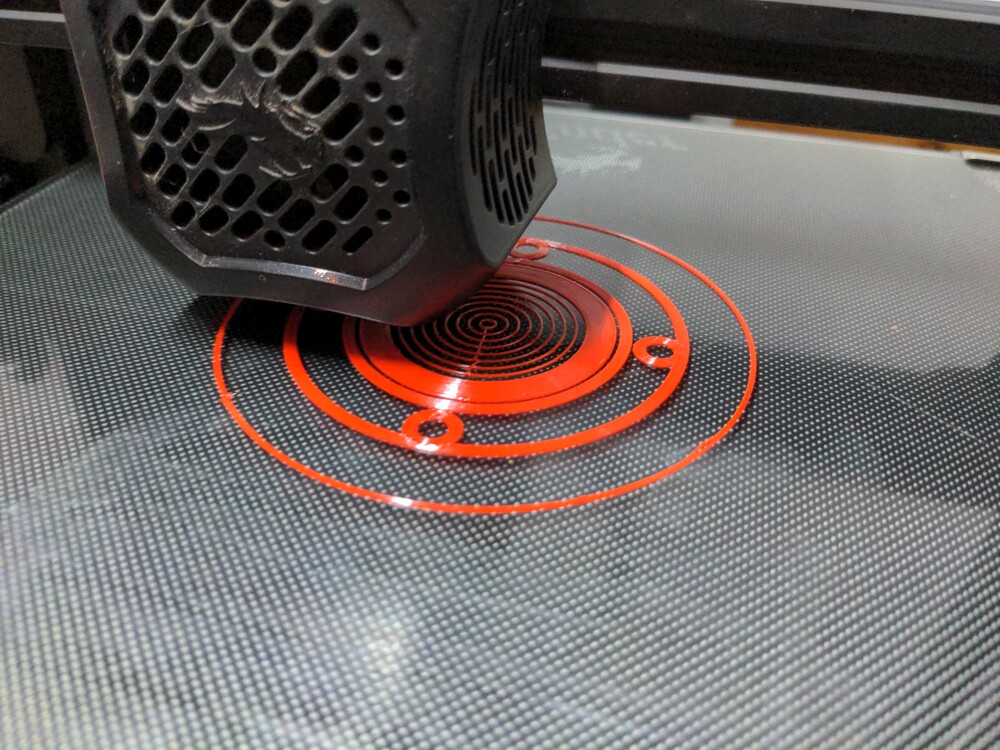
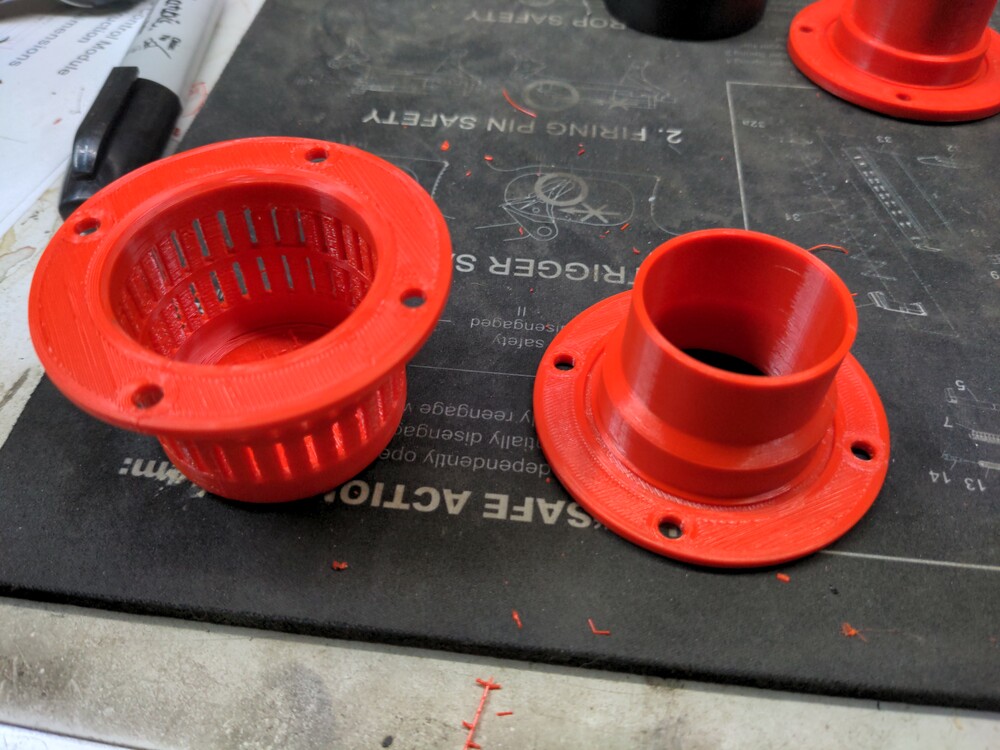
So with that started printing iterations of a battery-box hydrogen roof vent. Designed to let air out, but not let rain and bugs (mainly wasps) in to try and make a home.
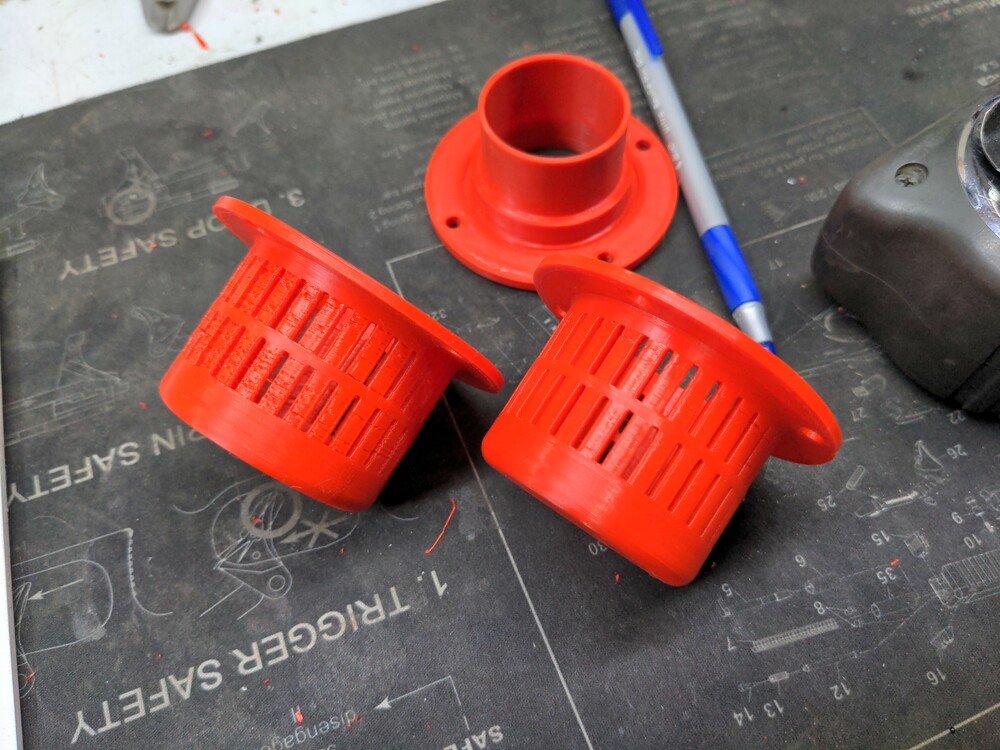
After a successful lower portion this was the result of the top. Great look of the contiguous layers; not so hot look of the slots though. I carefully watched the printer start a second one, and noticed the tension arm sort of moved out of position quite a bit on those many repeated, fast retractions as it jumps over all those slots.
@GoodeNerd was right, I’ve had my tension way too high! It’s never been a problem with PLA but somehow after crushing the PETG sufficiently and then backing up, it was kind of forcing the tension arm apart a bit, and then that lower tension would result in slipping as it tried to tighten back down again pushing the filament forward.
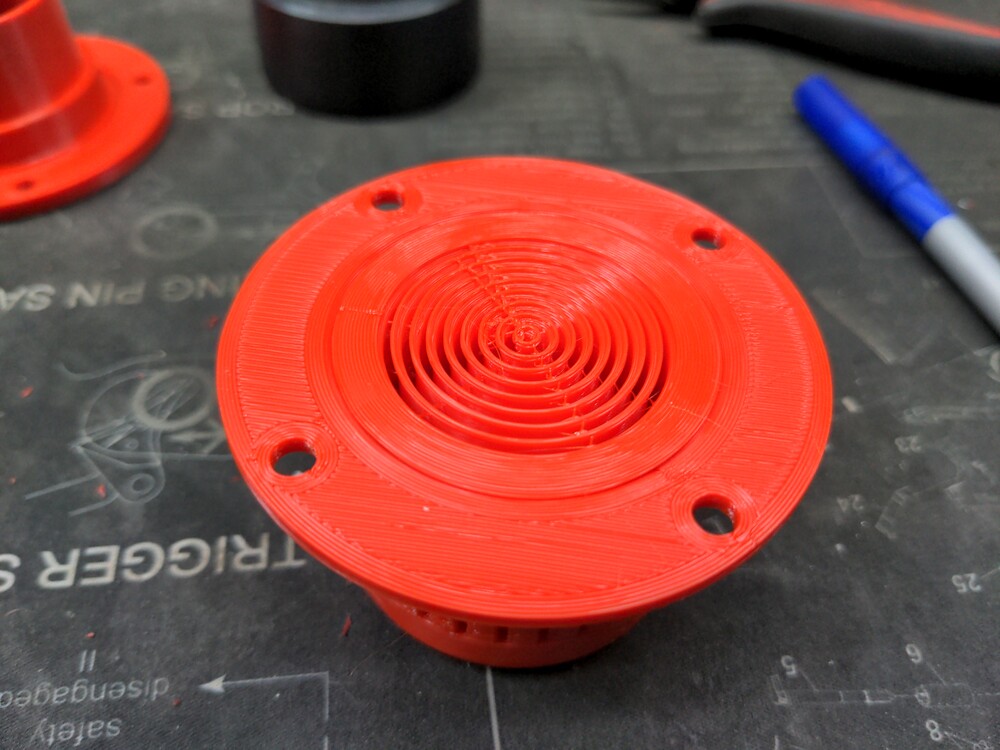
The plug of concentric support material that has to be pulled out. Seems to come out almost in once piece. I think I’ll start backing down the percentage fill of the support and see how low I can get away with. It just supports the roof of the vent, the inside doesn’t matter if the surface finish gets worse with minimal support.
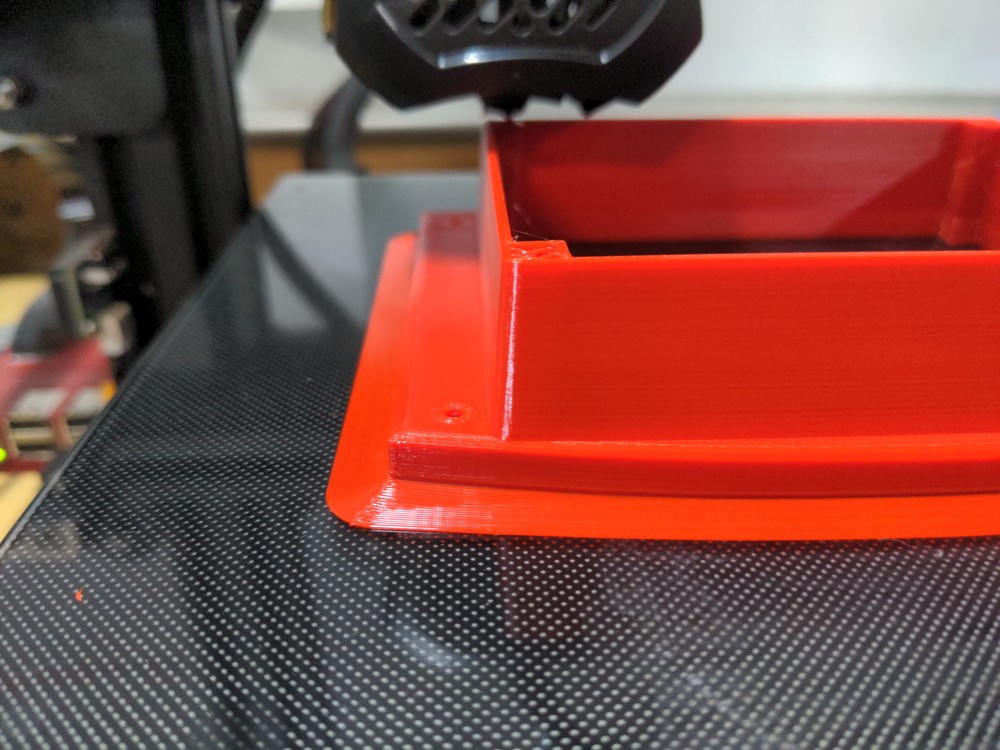
Well I guess it’ll be a fit test but that warp might be so bad that it’s not quite a usable part as intended, and too much to sand flat without breaking through to the infill.
I happen to have some actual black square 2x2 (4 conn) panel mount holders for anderson powerpole connectors (no pins). Free to good home, let me know if anyone wants some (I have I think a dozen? have only used one. picked them out of the trash at work).
So what do you think of the forthcoming Prusa XL, and the multi-head changing system? I’m willing to be they’ll have a laser etcher and light-duty CNC head, if not at launch, very shortly after.
I went ahead and put down $200 refundable for the base 1 head model for now, it’s BIG, so I’m going to have to consider where to put it. Might be worth building a proper outdoor cabinet for it, hehe. Or I can go ahead and get my rear in gear and hoe out a ton of crap I should have gotten rid of as part of the move and be able to fit it next to my desk.
I think it looks pretty damn epic! Size aside ~$2k base price on a multi extruder printer seems extremely reasonable. If it was from anybody other than Prusa I might consider it too good to be true. Since it is Prusa I feel more confident that the software will be there to appropriately back up the hardware.
I’m a ways off from dreaming of a 3rd printer at this point but prior to its announcement I was thinking something in the Lulzbot series when the day comes to get into nylon or similar. Now I’d rather have this.
EDIT: Why the hell do sites/manufacturers allow reviews to be posted for products on preorder? “5 stars, looks great on paper, can’t wait to see one in person someday.”
LOL, yeah, that is very unhelpful. And they probably won’t nuke all of them so that when it’s actually out it’ll start fresh.
And I agree. Coming from Prusa I think it’ll be pretty much there, maybe late beta software at worst, probably more production ready except for the bugs that get found when something finally is in use by a lot of people.
To allow the Human Justification Engine to rationalize purchases, of course!
“Well, I preordered it. It must be amazing, because I only preorder amazing products. Therefore it’s amazing, and it’ll take me three months and having posted a few this is amazing reviews to realize it’s not. But I’ll never say that, because that would be to admit that I picked something that wasn’t amazing.”
What I love is that the pre-order is really a refundable “hold your place in line” thing. So much better than a “well, now you’ve got to pony up the rest of the money or lose your deposit”. And that they didn’t make the pre-order the full amount.
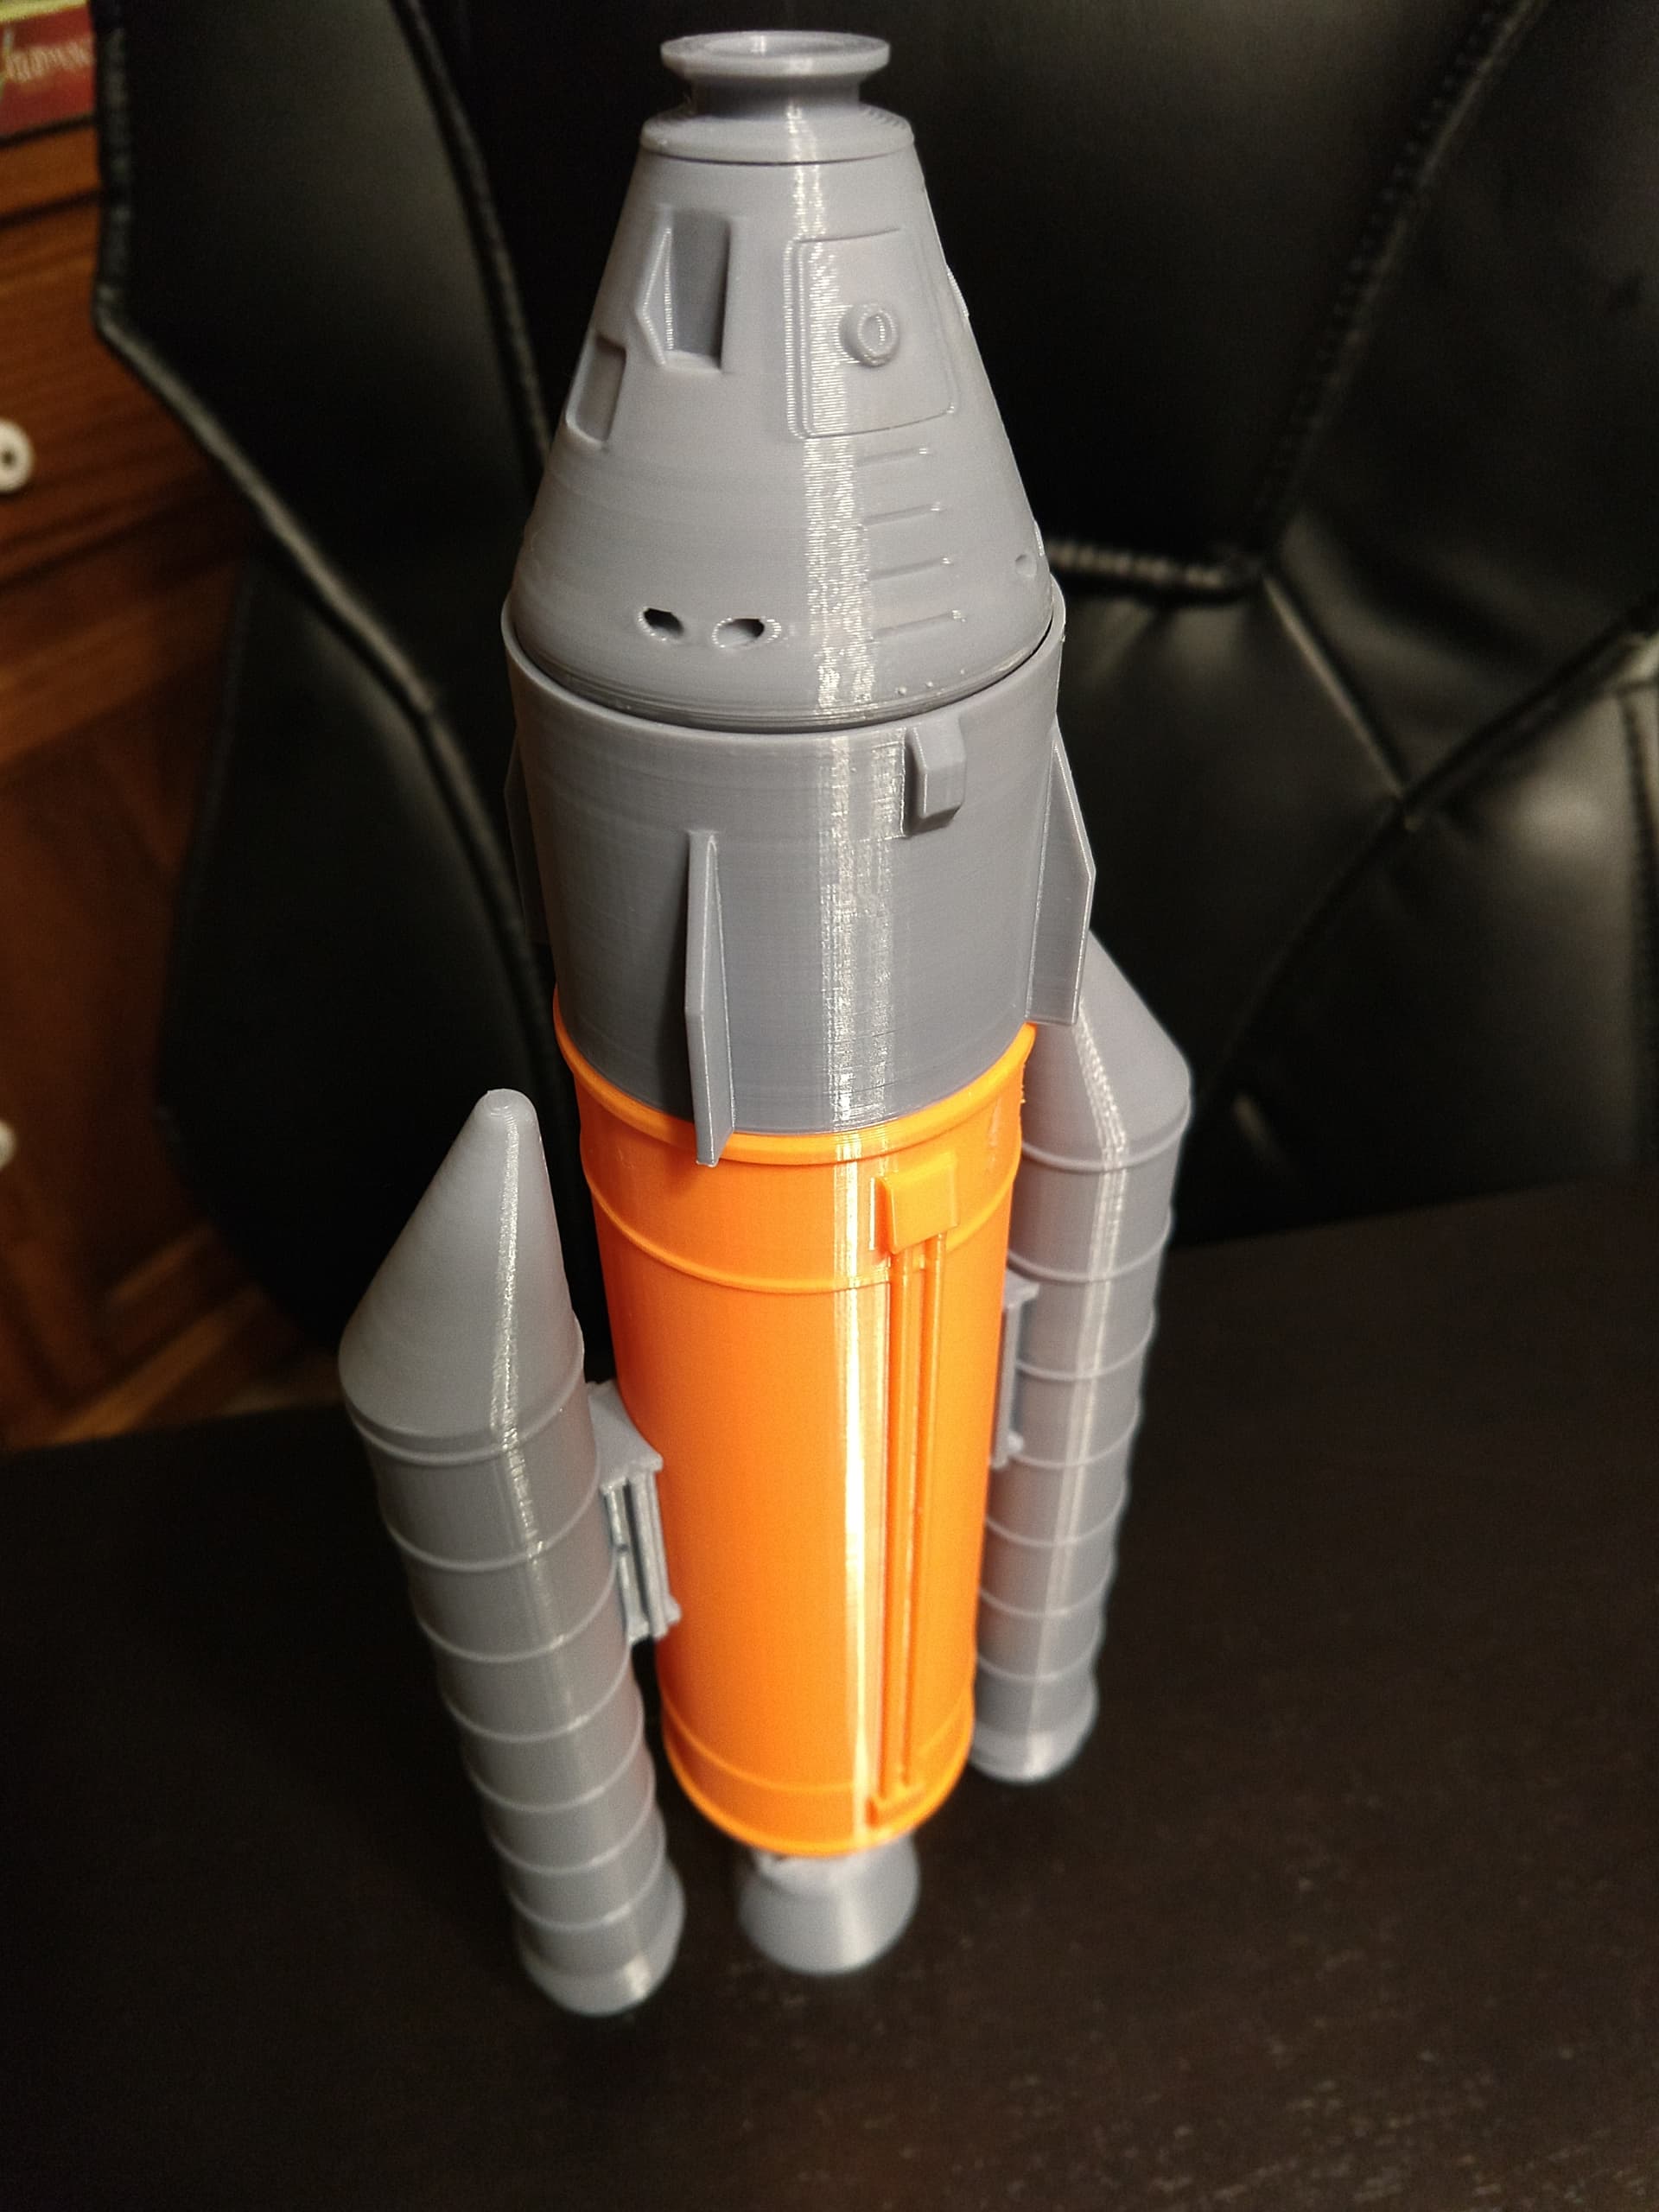
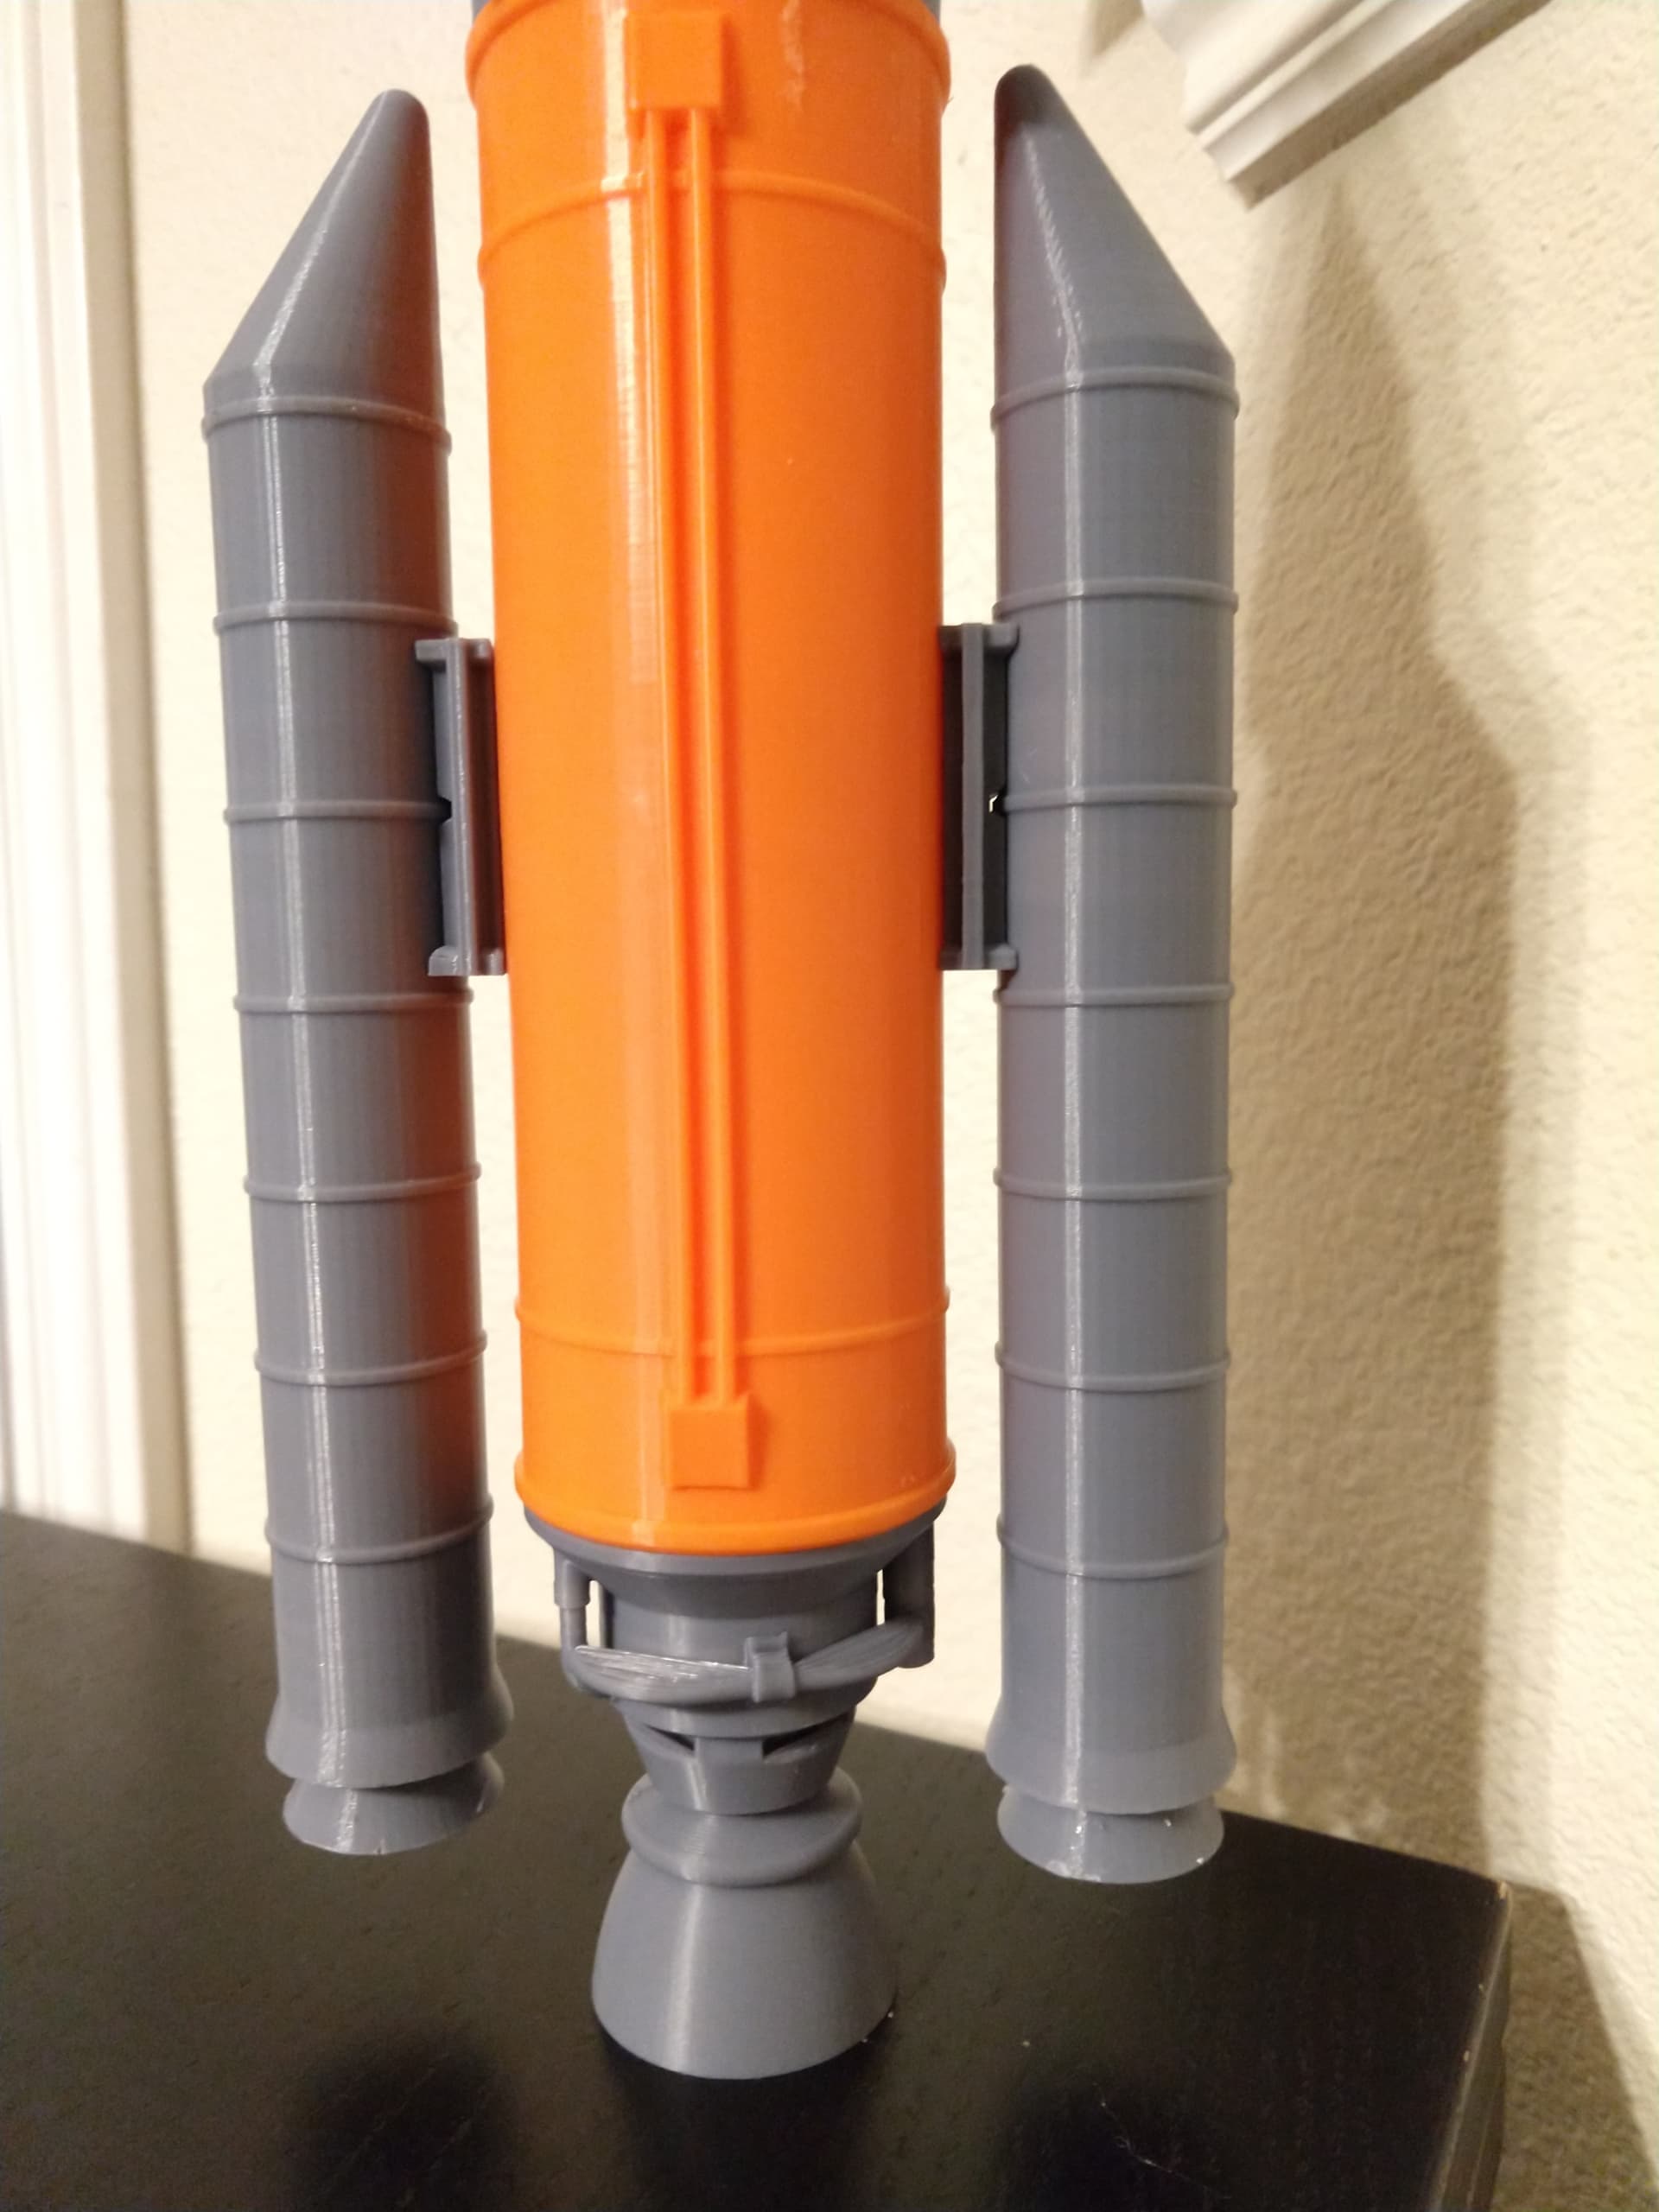
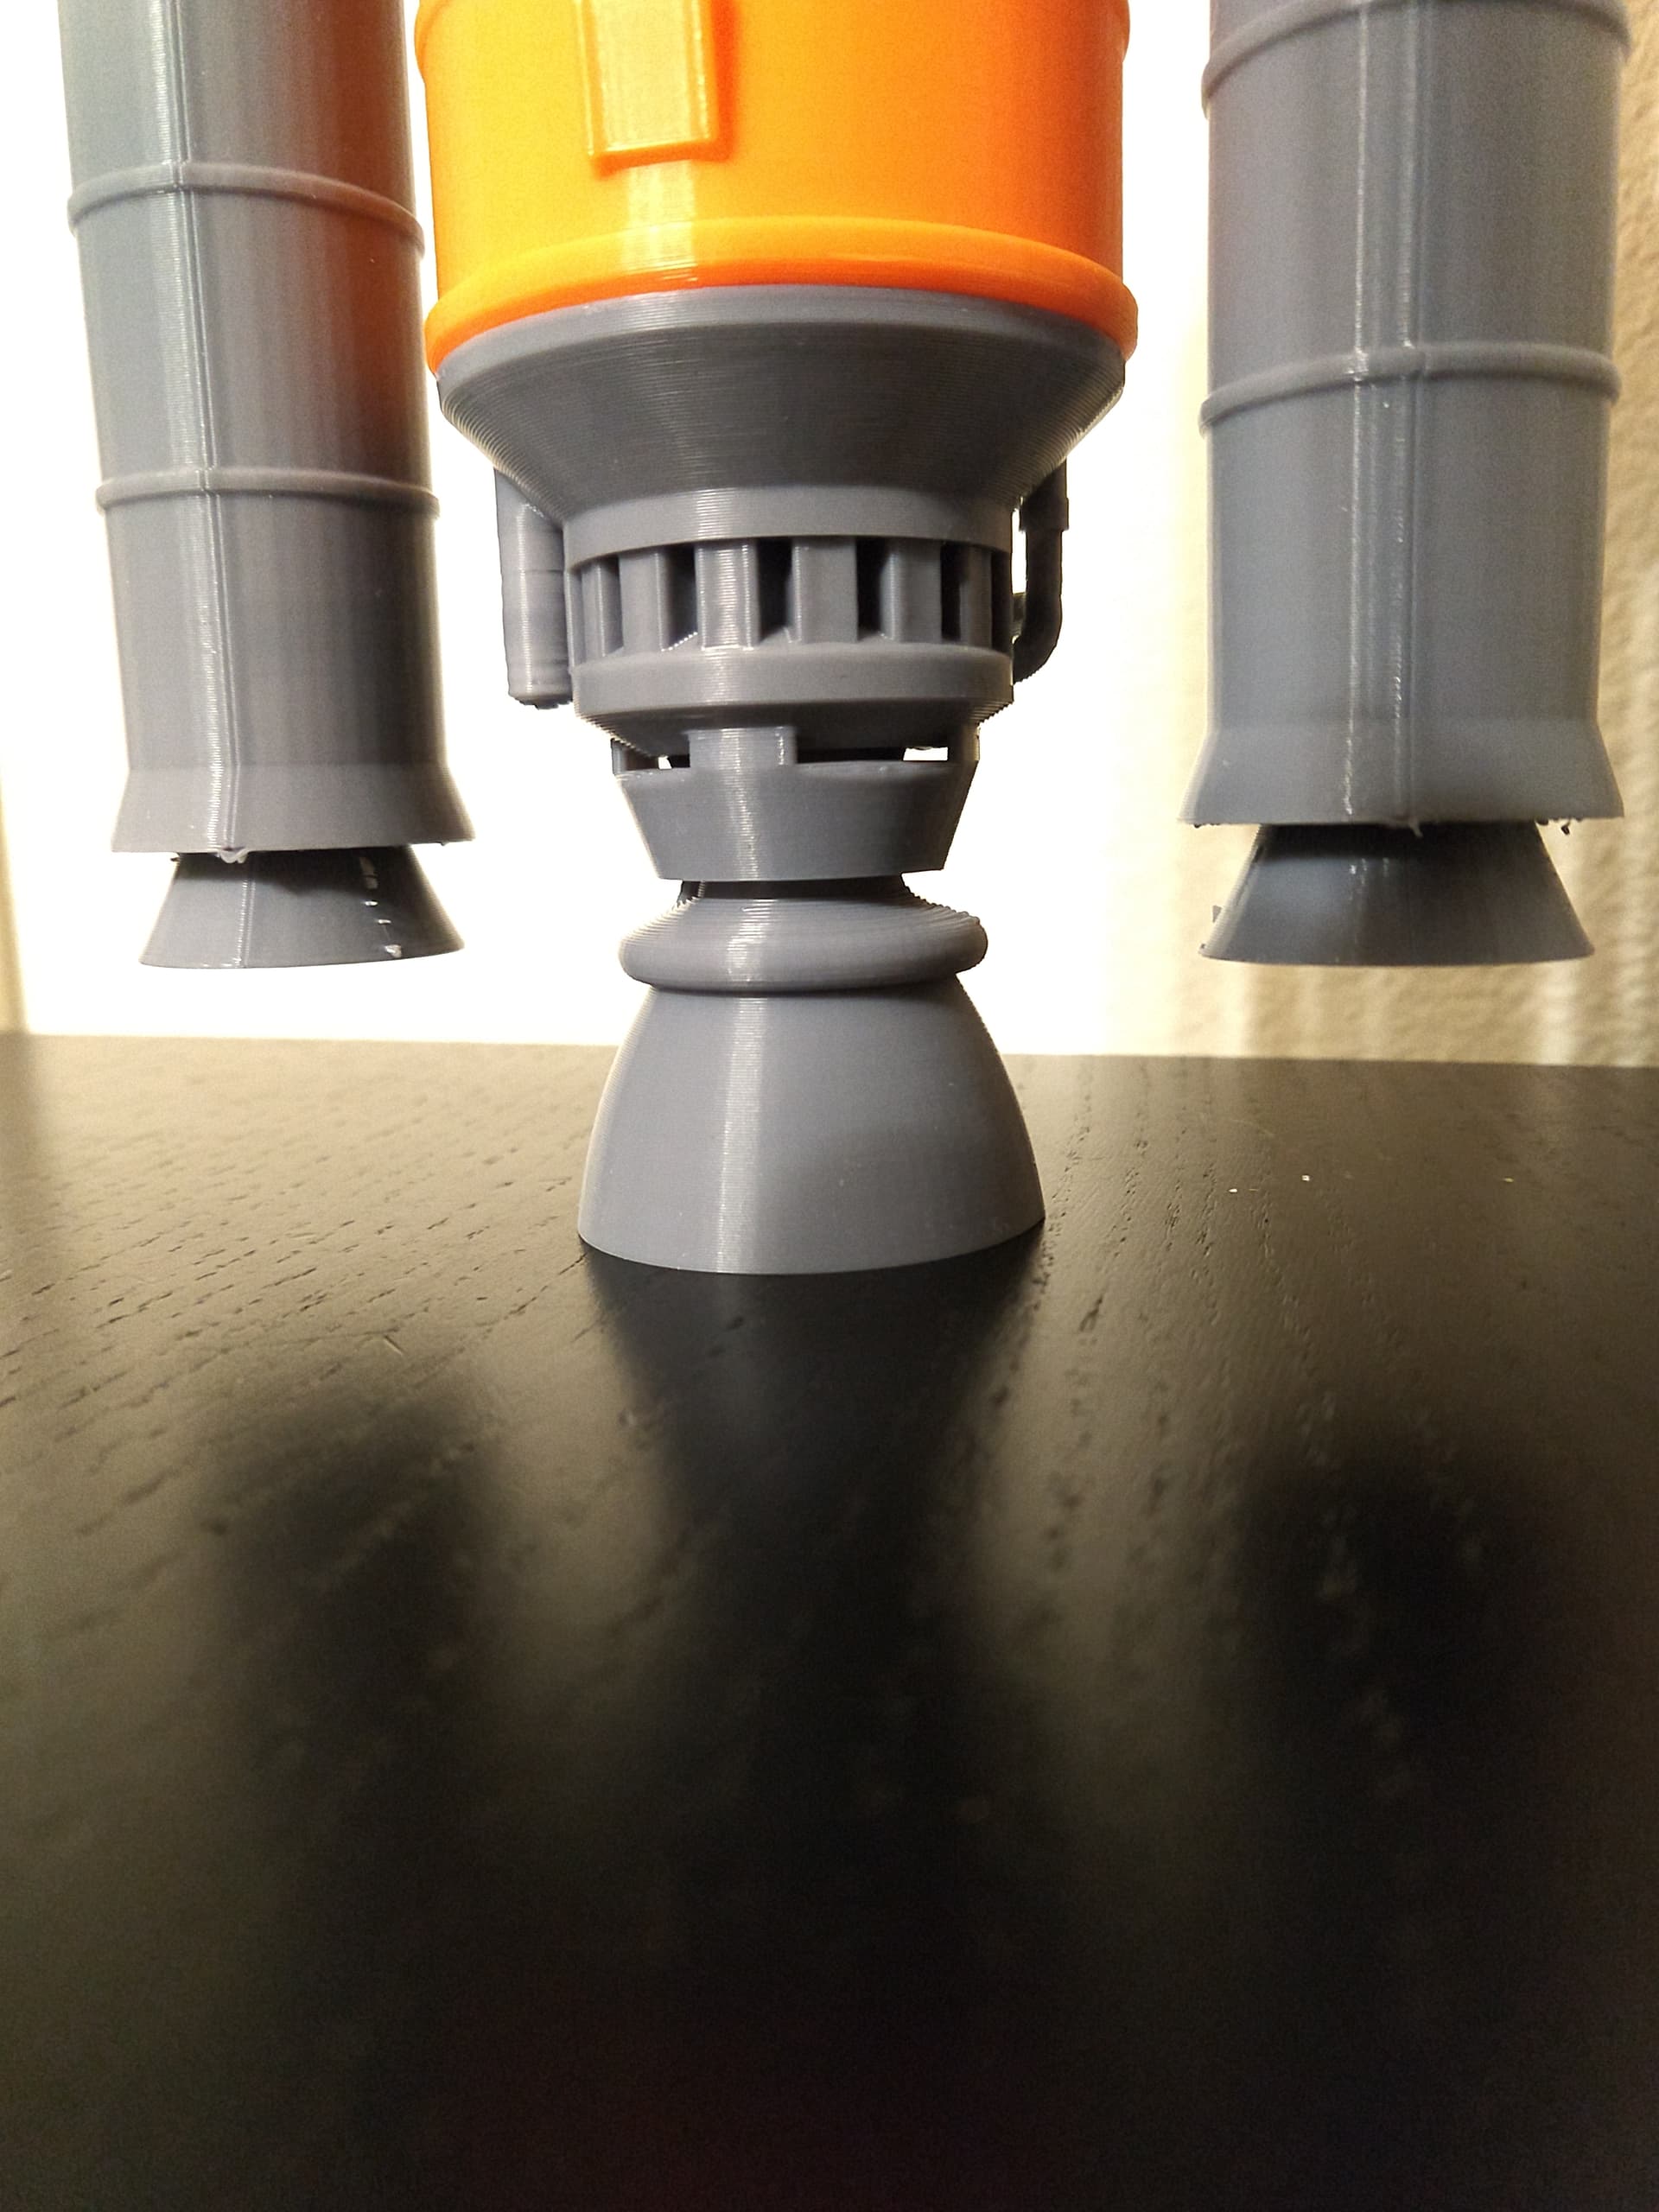
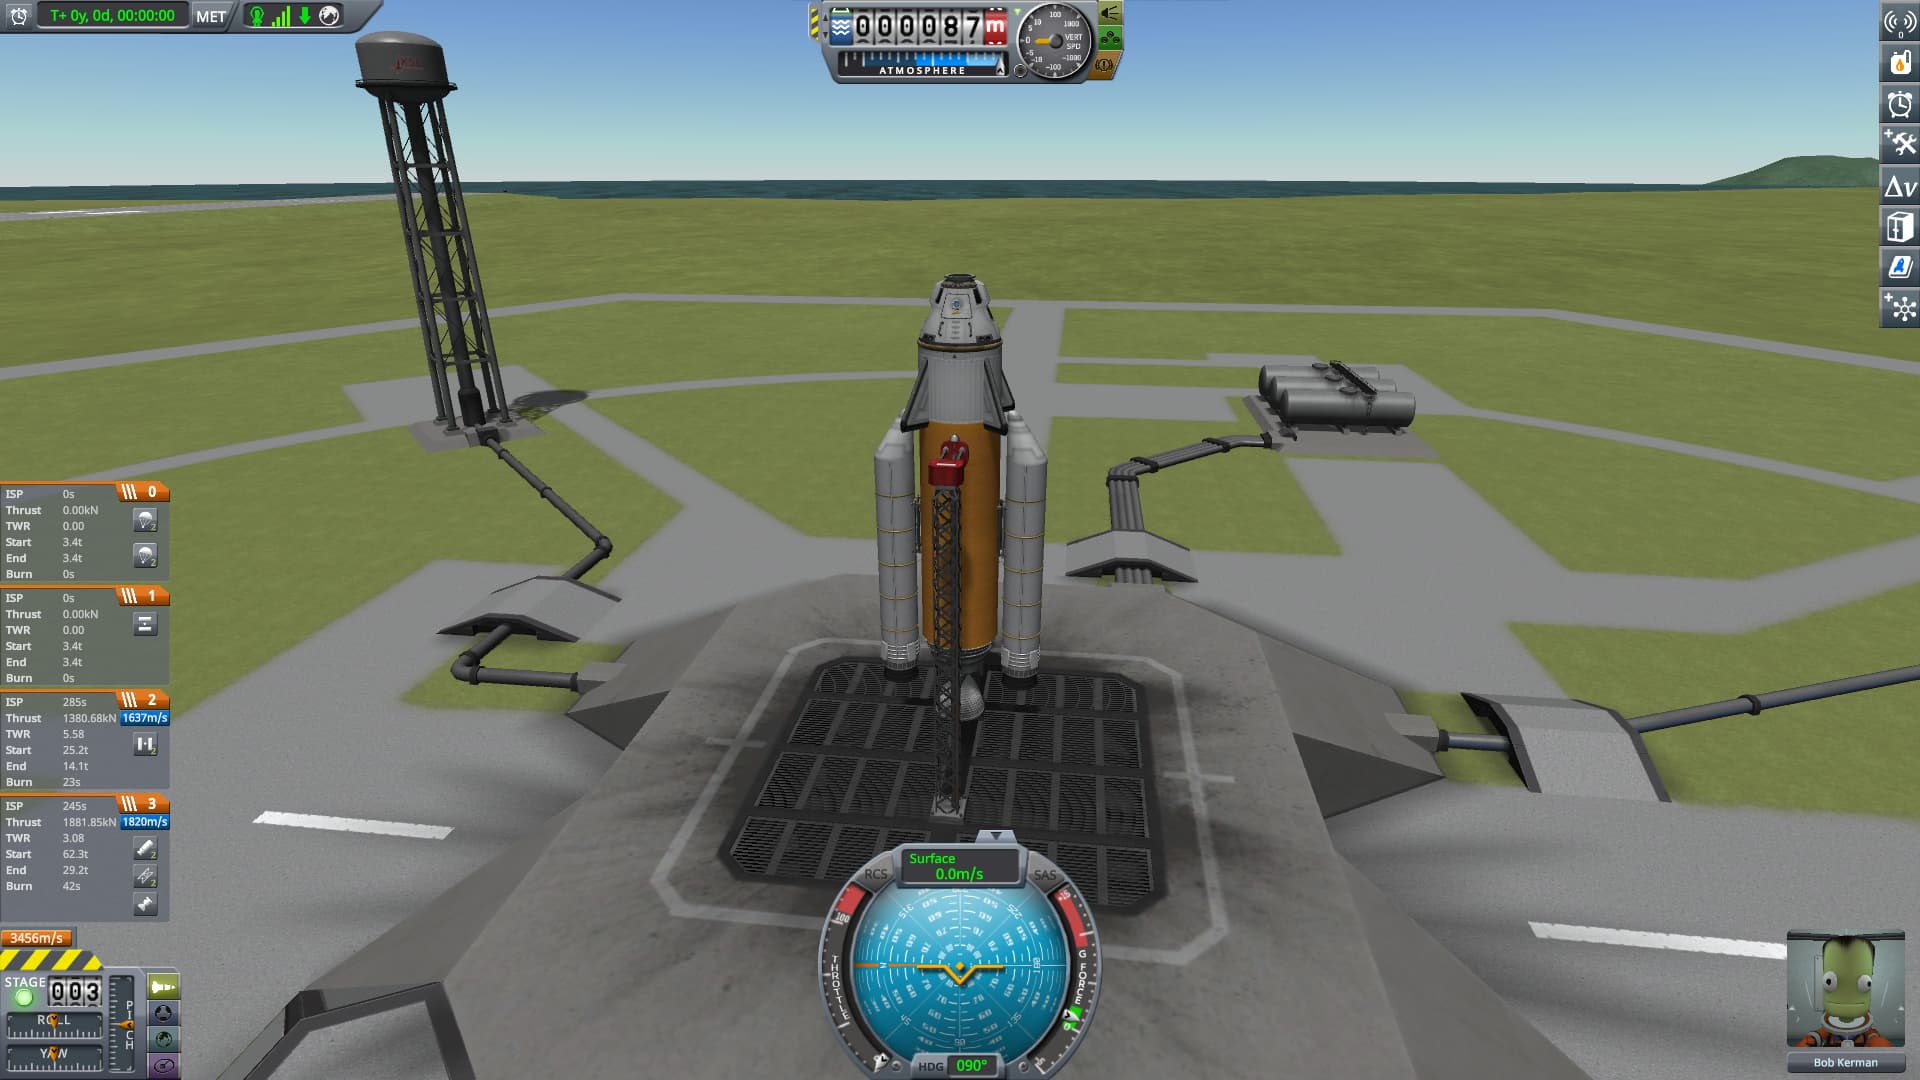
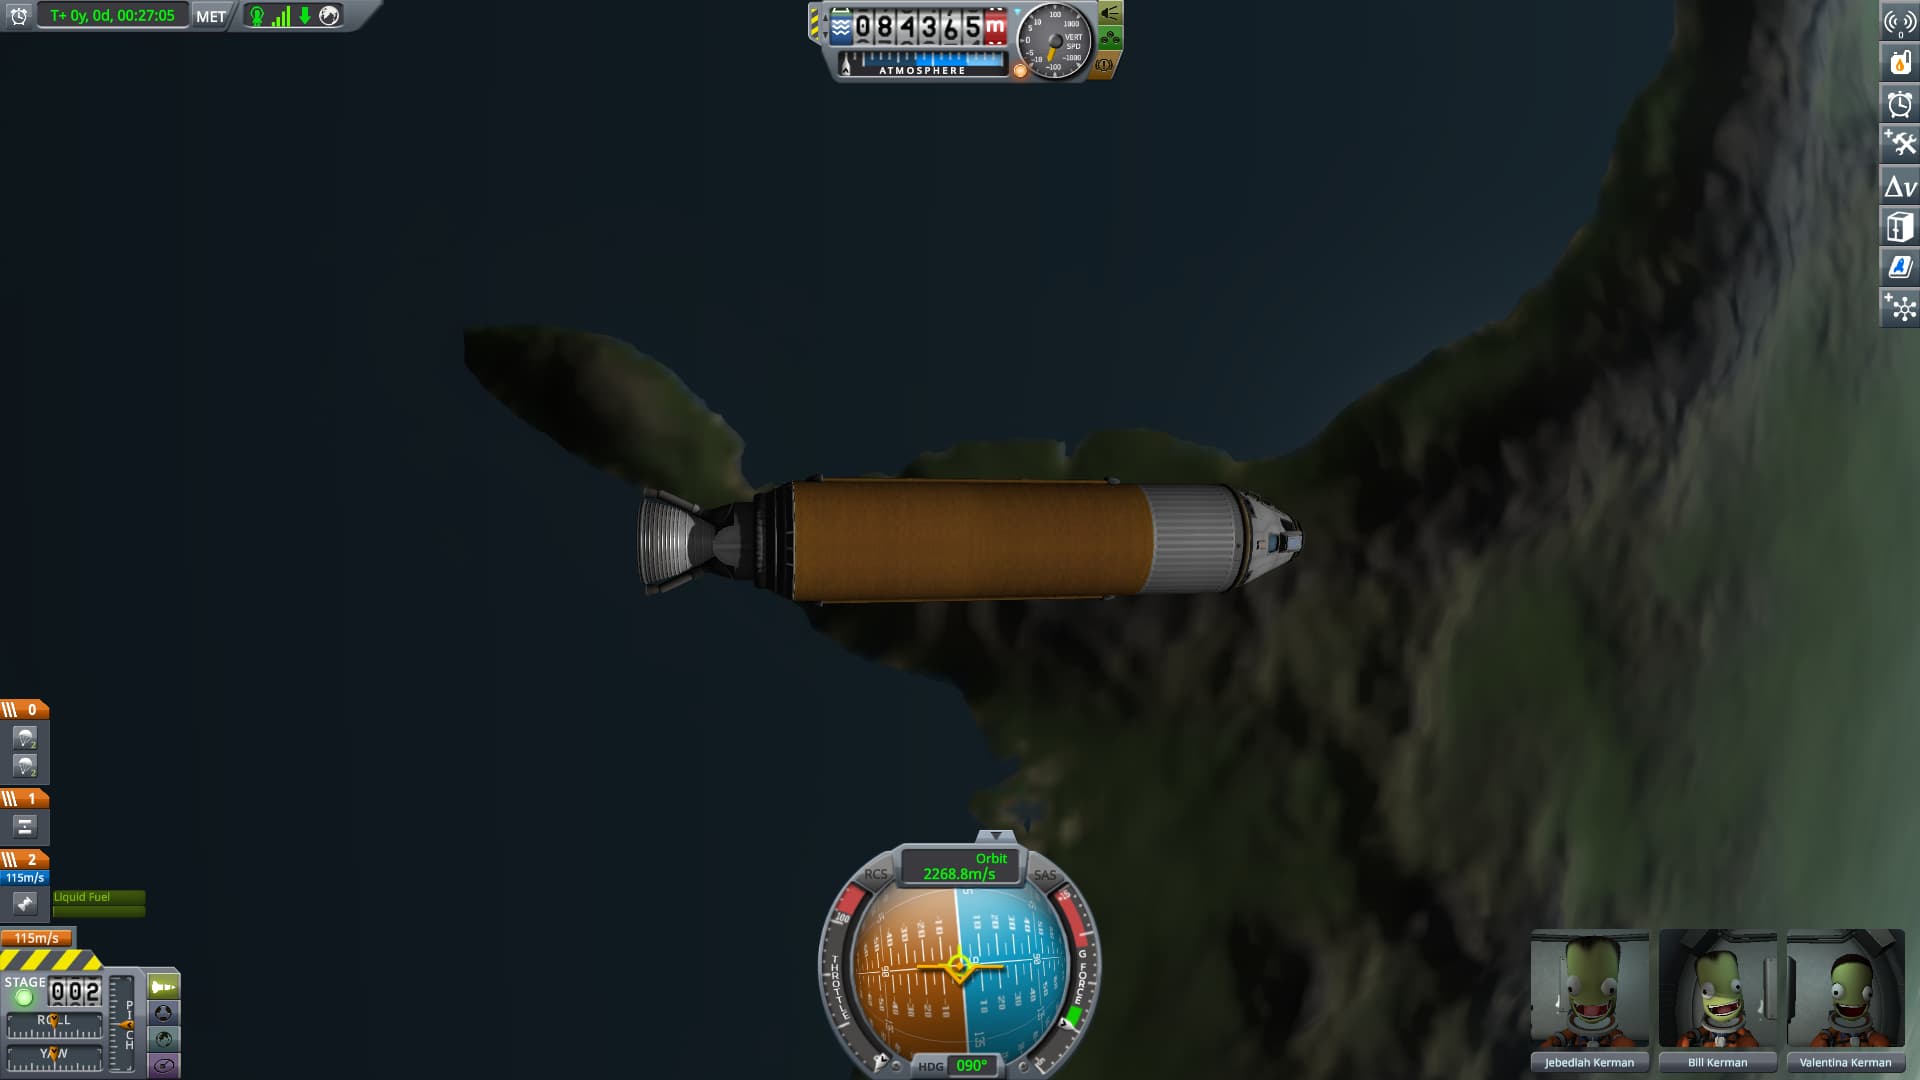
@Canem My son & I have been really enjoying the rocket construction set. We made a simple rocket and launched its equivalent in KSP. He suggested we add some parachutes – good thing, too. It took us several attempts and a prelaunch EVA to remove the wings before we made one to orbit.
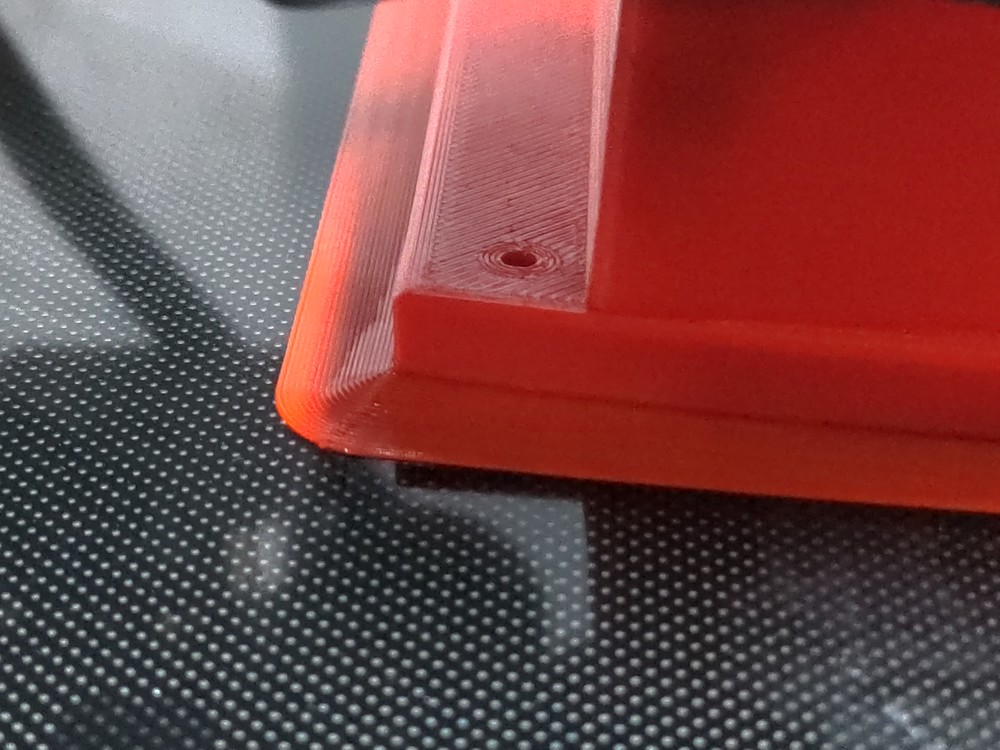
Printed in PLA, on a cheap Monoprice Select Mini ($200 ish), I’m surprised it fit first time! I’m starting to get a hang of where I can add extra spacing, and how much:
There’s 2 openings for the micro SD card and one USB connector (courtesy of a WaveShare usb+eth hat)
Add to that a RJ45 keystone for ethernet, a HDMI keystone for debugging, and a JST-SM 2-pin locking connector for power, plus thinning of the faceplate to accommodate the JST-SM (aimed for 1.5 mm thick; it will fit 1-2 mm thick panels).
It was supposed to be a panel to which a RPi Zero bolted to the back of and a box (with no other openings) on all other sides. Due to the cost of trying to adapt mini hdmi to regular hdmi through a keystone jack (cables are stupidly expensive, plus the box gained 4x3x2" in volume just to contain said cables) I think I’m going to take another route and just zip tie an adapter to the side of the unit so it won’t get lost.
I’m just lost on how I’m supposed to print a box with openings for screws and connectors on 4 sides. In my redesign, I may reduce it to only open holes on two faces and print it in two pieces. Stupid gravity! I guess I could try adding support; it’s pretty minimal and easy to cut out; it’s just a lot of work on a face like that; 5 openings plus three screw holes (those at least I can drill out in seconds).
This might take a bit of fussing with the printer and temp settings, but you might be surprised how much bridging you can get away with without supports. For connector holes like that I’d just print it as is. The likely worst case is a few strands of filament sag or come loose; just trim those until the connector fits with a craft knife.